✨ Featured Products


How to Cold Laminate Stickers & Acrylic Easily?
How to Cold Laminate Stickers & Acrylic Easily?
Cold lamination is a pressure-based finishing process used to protect printed materials without the application of heat. It is the preferred method for heat-sensitive items like vinyl stickers, acrylic sheets, and high-gloss photo prints. In the Indian market, manual cold lamination machines are widely used in photo studios and ID card centers because they do not require electricity and offer precise control over the lamination pressure.
Before you start
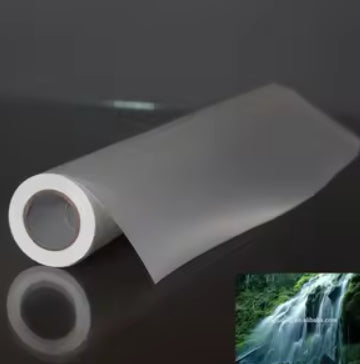
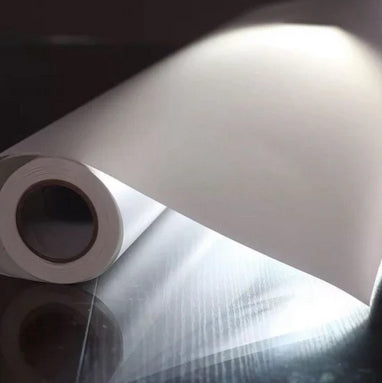
To perform cold lamination simply, you must use a pressure-sensitive lamination film and a manual roller machine. This process involves sandwiching your document between the film and the rollers to create a permanent, bubble-free bond. It is the most effective way to create durable stickers and protect acrylic surfaces from scratches.
Beginners should start with manual machines because they allow for immediate stopping if a misalignment occurs. Unlike electric laminators, a manual cold laminator gives the operator tactile feedback on the pressure being applied. This is crucial when laminating delicate acrylic or thin vinyl stickers that might stretch under too much tension.
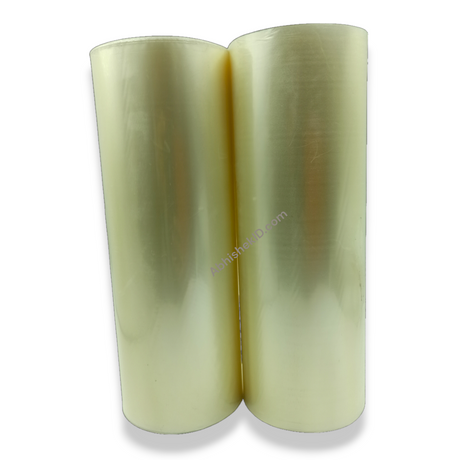
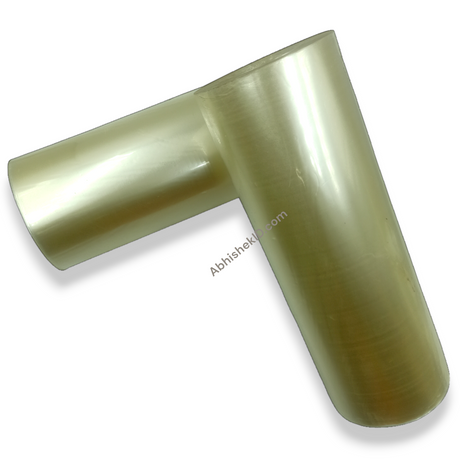
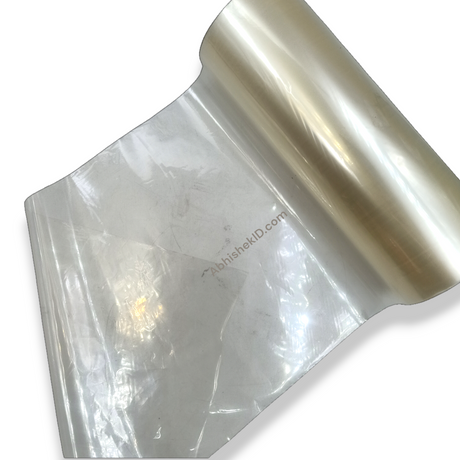
The first step for any beginner is to understand the film structure. Cold lamination film has a clear top layer, an adhesive middle layer, and a release liner. You must remove the liner as the film enters the rollers. If you remove the liner too early, the film will stick to the rollers or attract dust, ruining the lamination. Practice with scrap paper before moving to final prints.
Setup steps
Machine Selection
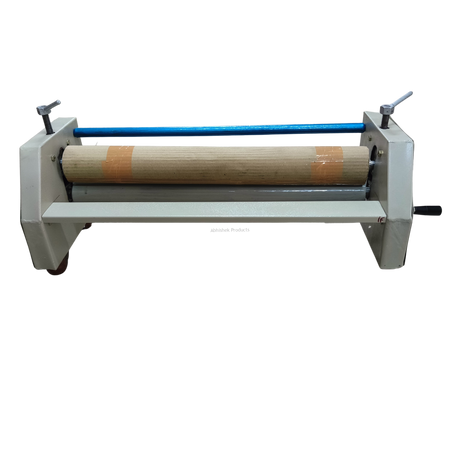
Using a 14 Inch Cold Lamination Manual Machine For Id Cards & Photo Studio allows for a controlled feed of materials. For larger projects, such as wide-format photo prints or commercial signage, the 22 Inch Cold Lamination Manual Machine For Id Cards & Photo Studio is the standard choice. This machine handles wider media while maintaining the same simple manual operation.
Preparing the Workspace
Place your machine on a flat, stable surface and ensure the rollers are clean. The best way to use cold lamination is to ensure the substrate is completely free of dust and the rollers are cleaned with a lint-free cloth. For professional results, always use a film that is slightly wider than the document being laminated.
How to use the printer
- Prepare the Machine: Place your 14 Inch Cold Lamination Manual Machine on a flat, stable surface and ensure the rollers are clean.
- Align the Film: Cut a piece of 125-mic cold lamination film slightly larger than your print. Peel back approximately 1 inch of the release liner.
- Initial Bond: Stick the exposed adhesive edge of the film to the leading edge of your document or sticker sheet.
- Feeding the Rollers: Insert the bonded edge into the rollers. Lower the top roller until it firmly grips the material.
- Lamination Process: Turn the manual crank handle with one hand while using the other hand to pull the release liner away from the film as it enters the rollers.
- Trimming: Once the document has passed through completely, use a paper cutter or scissors to trim the excess film from the edges.
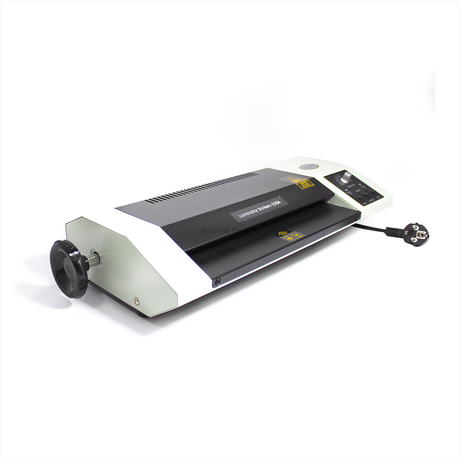
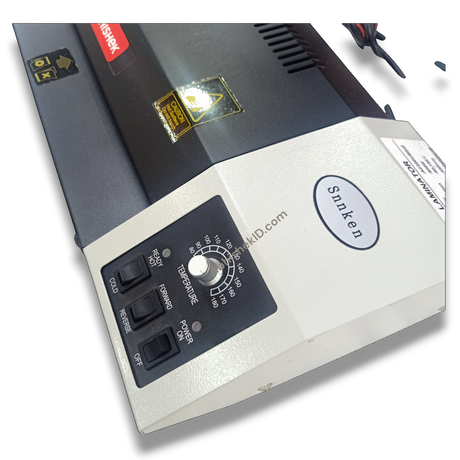
For heavy-duty applications like certificates or thick ID cards, the Snnkenn 12 Inch A3 350 Mic Lamination Machine is recommended. While it supports up to 350-micron thickness, the principles of cold lamination remain the same: slow feeding and high pressure.
Troubleshooting or common issues
Applying even pressure across the entire width of the machine prevents air bubbles and silvering. Cold lamination works through the mechanical application of pressure to activate a pressure-sensitive adhesive. Unlike thermal lamination, which melts a glue layer using heated rollers, cold lamination relies on the high-tension squeeze of rubber rollers to bond the film to the substrate.
The rollers in a 22 Inch Cold Lamination Manual Machine are designed to distribute this pressure evenly across the entire width. When the film and document pass through, the pressure forces out all air, creating a vacuum-like seal. This is why it is effective for acrylic lamination, where clarity is paramount and any trapped air would be highly visible.
The key to success is maintaining consistent speed while turning the handle to avoid horizontal lines or pressure marks on the finished product. If you remove the liner too early, the film will stick to the rollers or attract dust, ruining the lamination.
Related products
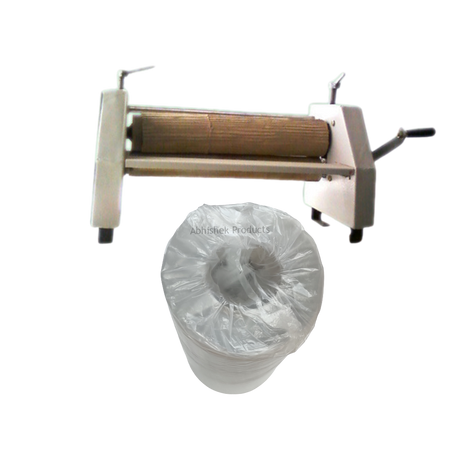
- 14 Inch Cold Lamination Machine + 13 Inch 125 Mic Cold Lamination Film (₹Contact for price) - Ideal for sticker making because it includes the specific 125-micron film needed for flexible, durable labels.
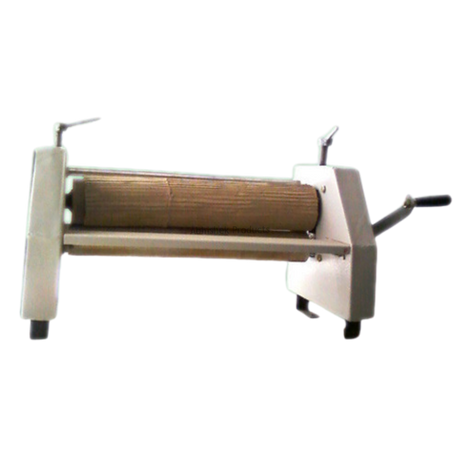
- 14 Inch Cold Lamination Manual Machine For Id Cards & Photo Studio (₹Contact for price) - Ideal for small Indian photo studios because it provides a 14-inch working width without requiring electricity.
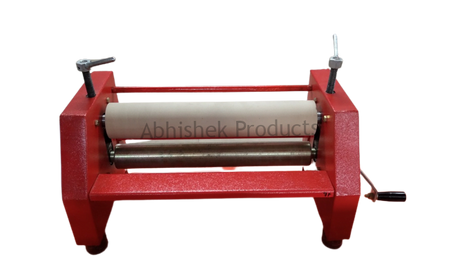
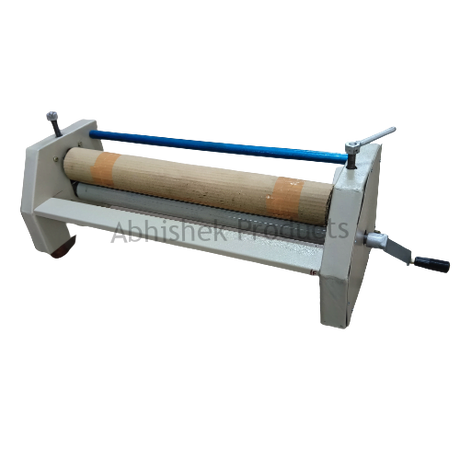
- 22 Inch Cold Lamination Manual Machine For Id Cards & Photo Studio (₹Contact for price) - Ideal for wide-format prints because its 22-inch rollers can accommodate larger posters and acrylic sheets.
- Snnkenn 12 Inch A3 350 Mic Lamination Machine (₹Contact for price) - Ideal for heavy-duty ID cards because it supports lamination thickness up to 350 microns.
Frequently Asked Questions
⚡ Fast Answers Summary
- Yes, cold lamination is the standard method for making vinyl stickers.
- No, manual cold lamination machines do not require electricity.
- The maximum width depends on the specific model of the machine.
Yes, cold lamination is the standard method for making vinyl stickers. It uses pressure-sensitive adhesive that bonds to the vinyl without heat, which prevents the sticker material from shrinking or warping. For the best results, use a 14 Inch Cold Lamination Machine with 125-micron film to ensure the stickers remain flexible and waterproof.
No, manual cold lamination machines do not require electricity. They operate using a hand-operated crank handle that turns the rollers. This makes them highly reliable for businesses in India where power supply may be inconsistent. The 14 Inch Manual Machine is a popular choice for this reason, offering portability and zero operating power costs.
The maximum width depends on the specific model of the machine. A 14-inch machine can handle materials up to 14 inches wide, which is suitable for A3 and A4 sizes. For larger posters or wide-format photo prints, the 22 Inch Cold Lamination Manual Machine is required to accommodate the extra width.
To prevent bubbles, ensure the rollers are clean and the film is applied with consistent pressure. You must peel the release liner back slowly as the document enters the rollers. Using a high-quality machine like the Snnkenn 12 Inch A3 helps maintain even pressure across the document, which is the most effective way to eliminate trapped air.
Yes, cold lamination is excellent for acrylic lamination. Because acrylic is sensitive to heat, thermal lamination cannot be used. A manual cold laminator applies the necessary pressure to bond a protective film or a printed graphic to the acrylic surface. The 22 Inch Manual Machine is often used for larger acrylic signage projects.
For standard ID cards, a 125-micron film is commonly used as it provides good protection while remaining thin enough to fit in wallets. However, for heavy-duty certificates or premium ID cards, you can use up to 350-micron film. The Snnkenn 12 Inch A3 350 Mic Machine is specifically designed to handle these thicker lamination requirements.