✨ Featured Products

How to 58mm Magnetic Badge: Complete Guide for Fridge Magnets
How to 58mm Magnetic Badge: Complete Guide for Fridge Magnets
The 58mm magnetic badge is the industry standard for creating high-quality fridge magnets and promotional items in India. This size offers the perfect balance between visibility and portability, making it a favorite for corporate gifting and personal souvenirs. By using professional-grade raw materials, businesses can produce durable magnets that adhere firmly to metallic surfaces like refrigerators and office cabinets.
TL;DR: To make a 58mm magnetic badge, you need a button press machine, a 58mm die set, and specific raw materials including a metal shell, printed graphic, mylar film, and a magnetic backplate.
- 58mm is the most popular size for Indian promotional fridge magnets.
- The process involves crimping a metal shell over a magnetic base using a manual or pneumatic press.
- High-quality raw materials ensure the magnet does not peel off over time.
Before you start
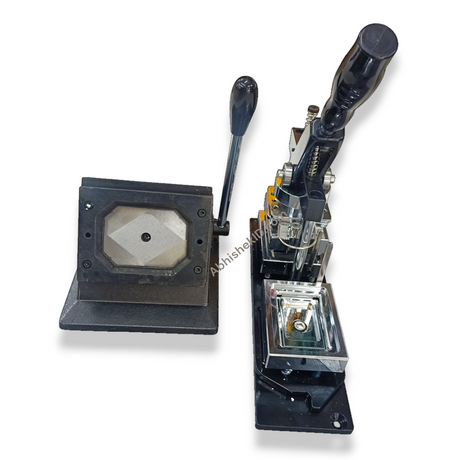
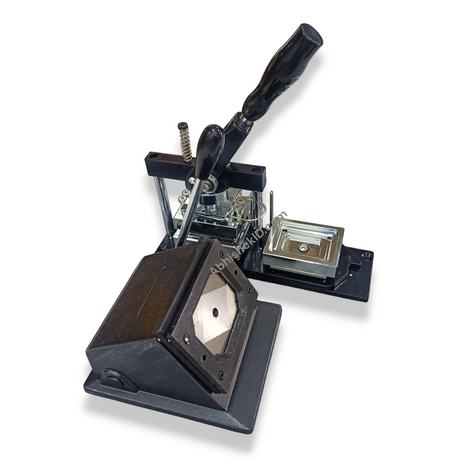
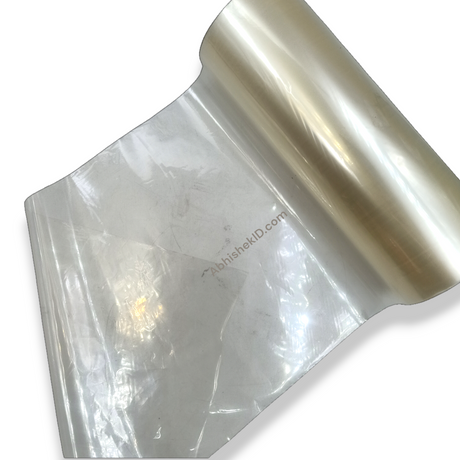
To create a 58mm magnetic badge, you must assemble four primary components: a circular metal top shell, your printed artwork, a transparent mylar protective sheet, and a magnetic backplate. These components are placed into a 58mm badge making machine which uses pressure to crimp the edges of the shell around the backplate, securing the magnet in place.
In the Indian market, the 58mm size is preferred because it provides enough surface area for complex logos and contact details while remaining lightweight enough for standard magnets to hold. Using the 58mm Fridge Magnet Button Badge Raw Material | Pin Button Badge ensures that the dimensions are precise, preventing jamming in the die set during production. This process is widely used by photo studios and gift shops in cities like Secunderabad and Hyderabad for quick-turnaround personalized orders.
The quality of the final product depends heavily on the thickness of the paper used. For 58mm magnetic badges, a paper weight between 100 GSM and 130 GSM is ideal. If the paper is too thick, the machine may fail to crimp the edges properly; if it is too thin, the metal shell might show through the design. Always ensure your circular cutter is set exactly to the required diameter for a 58mm badge, which usually includes a small bleed area for the wrap-around.
Beginners entering the badge-making business should focus on mastering the alignment of the shell and the backplate. The 58mm magnetic badge consists of a metal front and a plastic or metal back with an embedded magnet. It is crucial to understand that the "58mm" measurement refers to the finished diameter of the badge, not the size of the paper circle you need to cut.
Setup steps
Step 1: Shell placement
Place the metal shell into the left die of your badge machine. Ensure the sharp edge is facing downwards.
Step 2: Artwork alignment
Lay your printed design directly on top of the metal shell, centering it carefully.
Step 3: Mylar application
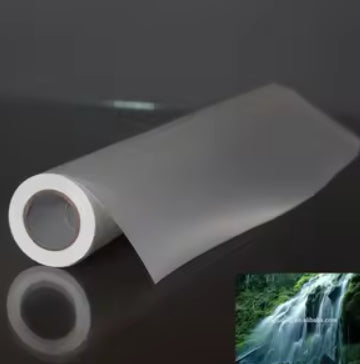
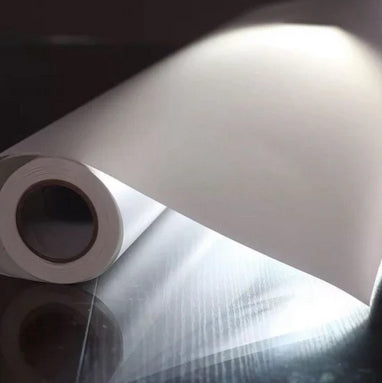
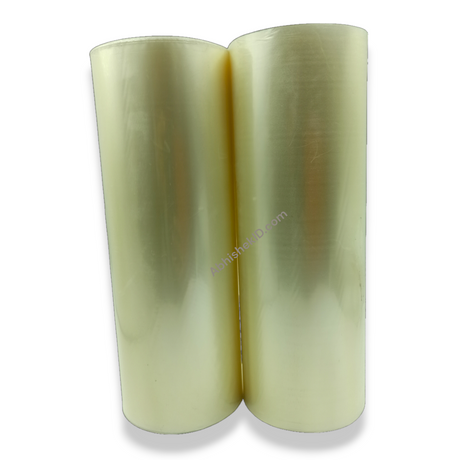
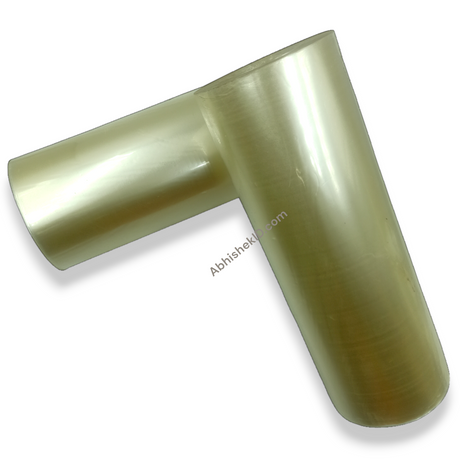
Place the clear mylar film over the design. This film protects the print from moisture and scratches.
Step 4: Initial press
Rotate the die plate so the shell assembly is under the upper press. Pull the handle down firmly to pick up the shell and mylar.
Step 5: Backplate insertion
Place the magnetic backplate into the right die. Ensure the magnet is positioned correctly so it will be on the outside of the finished badge.
Step 6: Final crimp
Rotate the die plate again and press down. This second press crimps the shell over the backplate, finishing the 58mm magnetic badge.
How to use the printer
The best way to use a 58mm magnetic badge is as a high-utility promotional tool that stays visible in a customer's kitchen or office for years. Unlike paper stickers, these magnets are durable and serve a functional purpose, such as holding notes or photos on a fridge, which increases the brand recall value for businesses.
For Indian businesses, these badges are exceptionally effective for food delivery services, plumbing contractors, and local pharmacies. By printing a QR code or a phone number on the 58mm Fridge Magnet Button Badge Raw Material, companies ensure their contact information is always within reach of the consumer. This "top-of-mind" marketing strategy is significantly more cost-effective than digital ads for local service providers.
Another excellent use case is for event souvenirs, such as weddings or birthday parties. In India, personalized return gifts are a major trend. A 58mm magnet featuring a photo of the couple or the birthday child serves as a lasting memento. Because the raw material is affordable, even small-scale event planners can offer these as part of their package, providing high perceived value to their clients.
A 58mm magnetic badge works through a mechanical crimping process that locks a decorative front to a functional magnetic back. The badge machine uses a two-step die system to first wrap the edges of a metal shell around a graphic and mylar, and then press that assembly onto a backplate. The tension created by the folded metal edges holds the entire unit together without the need for glue or adhesives.
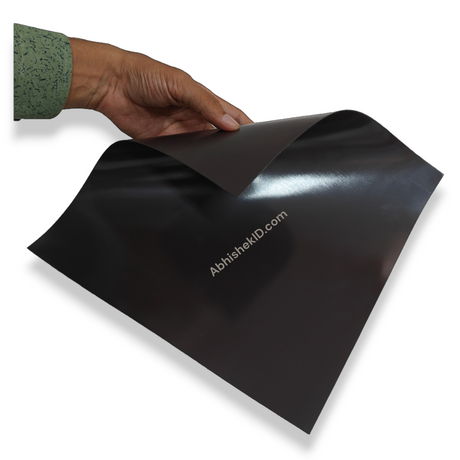
The magnetic component typically consists of a ferrite or neodymium magnet glued or embedded into a plastic or metal base. When the 58mm Fridge Magnet Button Badge Raw Material is pressed correctly, the magnet remains exposed on the rear side, allowing it to attach to any ferromagnetic surface. The 58mm diameter provides a large enough surface area for the magnet to generate sufficient pull, ensuring the badge doesn't slide down the fridge door under its own weight.
From a physics perspective, the mylar film acts as a tensioner. It is slightly larger than the metal shell, and when crimped, it helps pull the artwork tight across the face of the badge. This creates the professional, glossy finish seen on high-end promotional magnets. In India, where temperature fluctuations can be extreme, this mechanical bond is superior to adhesive-based magnets which may fail in high heat.
Troubleshooting or common issues
Beginners often make the mistake of placing the backplate upside down, which results in a badge that won't stick to surfaces. Always perform a test press with the 58mm Fridge Magnet Button Badge Raw Material | Pin Button Badge to ensure orientation is correct.
Maintenance of your equipment is also part of the beginner's journey. Keep your 58mm die set clean and lightly lubricated. Dust or paper scraps inside the die can cause the mylar to wrinkle or the shell to misalign. If you are based in India, sourcing your raw materials from a reliable supplier like AbhishekID.com ensures that the metal shells are rust-resistant, which is vital for longevity in humid climates.
If the paper is too thick, the machine may fail to crimp the edges properly; if it is too thin, the metal shell might show through the design. Always ensure your circular cutter is set exactly to the required diameter for a 58mm badge, which usually includes a small bleed area for the wrap-around, to prevent jamming in the die set during production.
Related products
The 58mm Fridge Magnet Button Badge Raw Material | Pin Button Badge (₹Contact for price) is ideal for high-volume production because it includes the shell, mylar, and magnetic back in one compatible kit. This product is specifically designed to work with standard 58mm manual badge presses used across India.
For those looking to diversify their offerings, the same 58mm raw material can often be adapted for pin-back badges by simply swapping the magnetic backplate for a pin backplate. This versatility makes it the most cost-effective stock item for small printing businesses in Secunderabad and beyond.
Frequently Asked Questions
⚡ Fast Answers Summary
- While the finished badge is 58mm, the paper circle must be approximately 70mm in diameter.
- No, you cannot make professional 58mm magnetic badges without a specialized button press machine.
- The magnets included in the 58mm raw material kits are typically designed to hold the weight of the badge itself plus 1-2 sheets of standard A4 paper.
While the finished badge is 58mm, the paper circle must be approximately 70mm in diameter. This extra margin allows the paper to wrap around the edges of the metal shell during the crimping process. Using a dedicated 58mm circle cutter ensures this size is consistent every time.
No, you cannot make professional 58mm magnetic badges without a specialized button press machine. The machine provides the uniform pressure required to crimp the metal shell over the backplate. Manual attempts usually result in uneven edges and the badge falling apart.
The magnets included in the 58mm raw material kits are typically designed to hold the weight of the badge itself plus 1-2 sheets of standard A4 paper. They are intended for decorative and light-duty organizational use on refrigerators or whiteboards.
An inkjet printer with high-quality photo paper or a laser printer with smooth 120 GSM paper works best. Inkjet prints offer more vibrant colors for photos, while laser prints are more durable and resistant to fading over time, which is ideal for long-term fridge magnets.
High-quality raw materials from AbhishekID.com are treated to be rust-resistant. However, because the core is metal, it is best to keep the badges in a dry environment. The mylar film on the front provides excellent protection against surface moisture and humidity.
Once a badge is pressed, the metal shell is permanently deformed and cannot be reused. If a mistake occurs during the pressing process, you will need to use a new set of raw materials. This is why it is important to double-check alignment before pulling the lever.