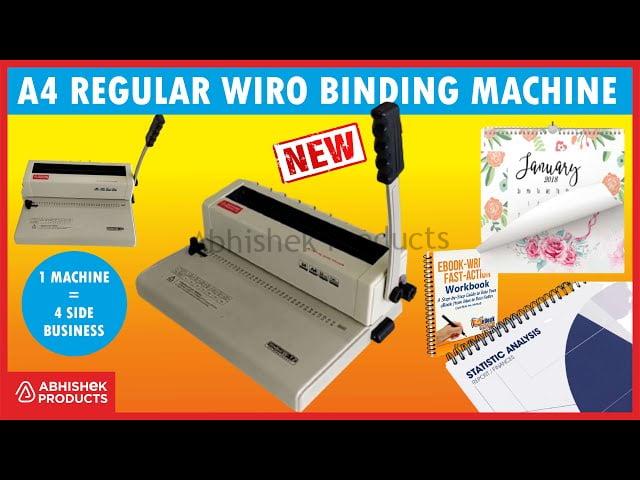
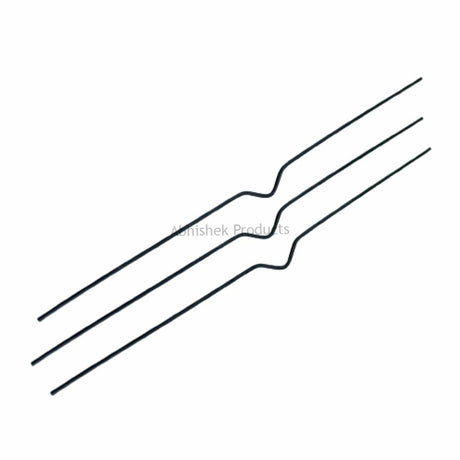
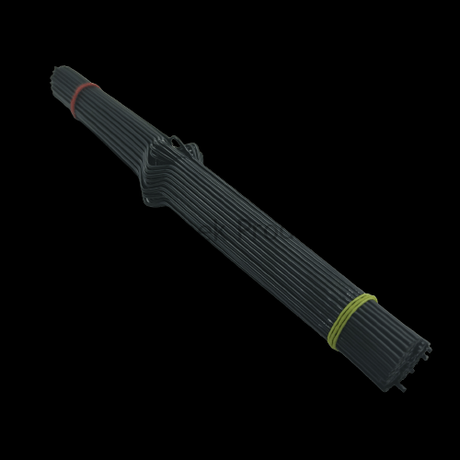
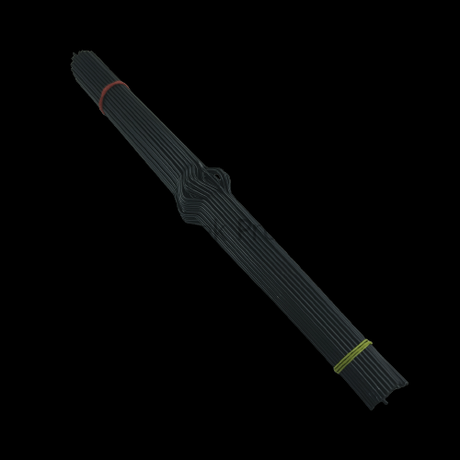
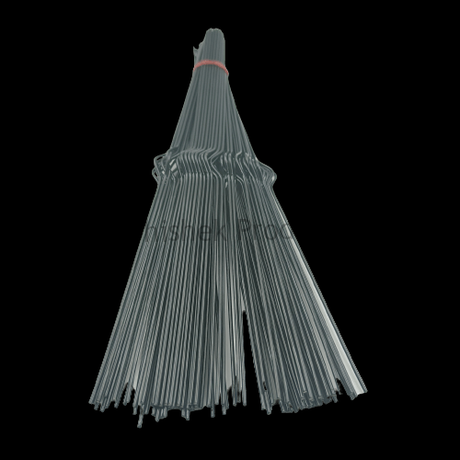
A4 Wiro Binding Machine for Making Reports, Books, Office Use. One handle, two functions, Means one handle can both punch and bind. Super large waste bin. All pin to punch small paper like A5 and so on to A4
- Machine Specification -
Punching Capacity: 10-15 Sheets (A4 Size 70GSM)
Binding Capacity: 150 Sheets (A4 Size 70GSM)
Dimension: 325 x 355 x 220 mm
Weight (Approx.): 4.5 Kg.
Max. Bind: 14.3mm Wire Loops
Size: A4
A4 Wiro Binding Machine For Books, Calendars, Reports, Menu & Catalogs
Hello everyone, and
Welcome to Abhishek Products
Today we are going to talk about
Regular duty wiro binding Machine A4 Size
in this full video, you will know about
using this simple machine how to do
menu card or catalog book for any
the company, hotel, restaurant
reports, even student records
and how to make a hanging calendar
from this Small Machine, you can
make PVC covers, PVC holders
transparent paper, transparent sheet, OHP covers
non-tearable covers
and using 300gsm board paper
how to make different products
after punching
you will know that in this
whole video
and before starting
please like our channel do share and subscribe
so that you
will get business-related videos
regularly
so let us begin
first, we talk about this machine
there are such square holes inside
this machine
there are 34 holes in one series
to get proper alignment of the square holes
there is an adjuster so that the square holes
are properly aligned
with this adjuster, you can set that
if you look here in your right-hand
side, you will see the waste tray
when the paper is punched the waste tray
collects here
this is its stainless steel handle
it does double duty, it's first duty is
to punch holes here
and the second duty is to press the paper here
which we will tell you at the end of this video
and in the right side, you can see paper
paper pressing or paper crimping adjustment ruler
that too you will understand, the clarity
of how to use it at the end of this video
and on the left-hand side, you see paper
hole adjustment tool
you can adjust the depth of the hole
with this tool
with clarity, we will also explain
to you in this video on how to use this knob
First of all, we are making a small report
or a small record
first, we take some papers
and over it place PVC transparent sheet
and below all the papers place PVC opaque
transparent sheet
there are many different qualities in this
covers
here we have used PVC quality
because when you are using wiro binding,
you are doing such high-quality work
the top cover must also be of good quality
so that we have used PVC quality covers
first of all, take the PVC cover and
punch like this
before punching, we will do our adjustments here
we freed the machine to make adjustments
we adjusted the hole adjuster so that
you can see that where the hole is punched
you can also use A4, A5, A6
you can make reports, books, calendars
at that time this adjuster will be very
useful
at this time we are making a report on the A4 size
we have adjusted the A4 size according
to our knowledge
this adjuster controls the
depth of the hole
hole distance adjuster
we have put a paper to check how
the holes are made
we have kept the hole distance at zero
and holes are punched close to the edge
now we increase the hole distance
how it gives the output
now we have increased the hole distance
now you see the yellow, which means
the hole distance is increased
now we punched the paper
now we can see that the hole distance has
increased a little bit
like this when you make a report or records
you can give a different look or design
we have increased one more level, that
is level 3
now we see the red color which is the
highest hole distance
one more time we punched the paper
now we see that the hole distance increased more
a good distance is obtained
this is level 3, this is level 2 and this is level 1
like this
you get three types of hole distance
now you think what is the purpose of increasing
the hole distance
when you are making a thin book use the
smallest distance
when you are making a thick book
use more distance
what happens with this is when the customers
turns this book
it will turn easily, they will use it easily
the book will not be stuck in between
it will not be jammed
in this way by increasing and decreasing
the hole distance
now you can control the way the book is turned
now I'll tell you how to make this book
in the back, we have kept the transparent
paper, over it we have kept some papers
now we put this in the machine
we have adjusted the hole distance to level zero
with the help of a distance adjuster
now we are punching our papers and sheets
inside the machine
You have to take care of one thing at this time,
you have to put 10 papers at a time
and if you are putting PVC cover then you
have to put only one cover and one paper
so that the handle of the machine will be smooth
see that now we have put the correct number of papers
so that we get smooth output
when you put more paper the machine will be stuck
at a time you can put 10 papers of 70 gsm
when you are putting 300 gsm papers you can
put 2 papers only
when you are putting PVC non-tearable papers
which is used in menu cards, catalogs, and used
for little brochures
in that case, you have to put two papers only
when you are putting PVC binding cover like this
put 1 PVC cover and two or three 70 gsm papers
so that the hole will be equal and the same,
and it will be easy for you
after practicing slowly you will also be able to
punch paper perfectly
you can put holes with perfect alignment
we have shown before you how to punch
this whole book
you have to use this adjuster all the time
you have to put the paper inside properly
so that you will get good finishing and
good looking books
this is obtained only by practice
you have to make 4 or 5 books
you have to waste some books
so that only you can learn
now we are going to crimp or binding
what we have done is that we have brought the
opaque cover to the front
after bringing it to the front like this we will put
the wiro ring in it
this is the wiro ring, now we slowly put
over this in the book
if you have put the holes perfectly then the
wiro goes easily
now you have to set all the wiro in 90 degrees,
and you have to lift this and put it in this slot
now you will know the use of this knob
number in this knob will be higher
according to the thickness of the book
now we are making a 6.4 mm size book
this book is bigger than half a centimeter
or it is a 1/4 inch book for which we have selected
the 6.4 mm wiro
in wiro, there are many sizes
this is 6.4 mm wiro so we have set 6.4 in the
knob
as you set the knob the shutter above will adjust
according to your setting
now we slowly put our book
and pull the handle down
as you bring the handle down
as the setting in the knob, the shutter presses the
book from down in a forward direction
as you press all the wiro will stick to each other
now I will show you the side
when I showed you first it was open
now it's closed completely
so in this method, the wiro is locked
now I will tell you why we have kept the
back side paper to the front side
Now the locks inside are hidden
the book is completely ready in this way
like this, the book opens
when you give it to the customer they will not see
the inner lock because
the lock is hidden inside one piece
because we have used the correct hole distance
the book opens easily
the lock is hidden on this page in
backward direction
before the last page
In this way our entire book is ready
it has become a normal company
report or a report for students
and in this way, your report will
be a fancy report or arts and crafts
if you are selling books online or making your
own brand book and supply
so put this multi-color PVC cover over it
so like this you can make a vertical book also
now I will tell you how to make a hanging calendar
using this small and simple A4 size office duty
wiro binding machine
now we discuss how to make this calendar
we are placing a transparent sheet first
over the calender
you can put 100 microns or 175 microns also
we supply this sheet also
with this, at the back, we have our
printed calendar also
this can be a 300 gsm paper or 120 gsm or
130 gsm
printed glossy paper or photo print
we put this calendar rod over it
we have 9-inch and 12-inch calendar rods which
is regularly size
which is used of making a calendar
A 9-inch rod is used for making a vertical calendar
when you are making a horizontal calendar
like 13x19 length
for that, you can use this 12-inch calendar rod
after that you have to use this, this is called
d-cut
with this calendar d-cut
with this D-cut the calendar rod is installed
now I will tell you with small process
first, we punch our transparent sheet and papers
you have to take two or three 70 gsm paper or
one 300 gsm paper
with this paper, you have to keep the transparent
paper which is 100 microns or 175 microns
you can also use 250 microns also
then you have to punch it
when you are punching, keep this
knob to punch mode
if you have kept the knob to pressing mode
this will not function correctly
when you are making holes, we say it as punch,
then set in the pouch mode
now see carefully how the paper is punched and
turned
so that your printed papers alignment
and numbering will be correct
like this, we have punched the paper
and we have to bring it back
now we will do the wiro pressing
sorry, now we will do the calendar D-cut
before cutting in the D cut, there is left and
right alignment set it first
now we are going to punch it
there's a limit to punching in this
you can punch 7 or 8 papers at a time
you have to press like two or three times
so like this method you have to press
your book 2 or 3 times
after pressing you will get this
D cut above
now you can see that the D cut is formed here
the plastic above has been punched like this and
the white paper is neatly pressed
now we will do wiro this
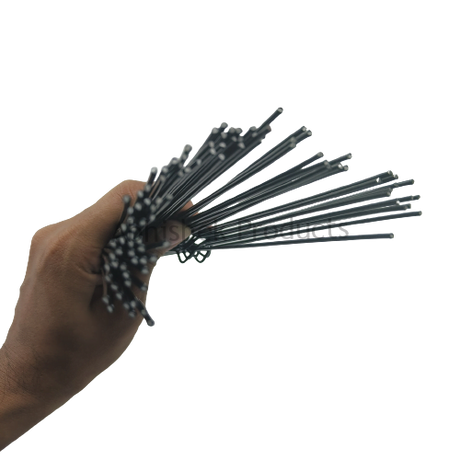
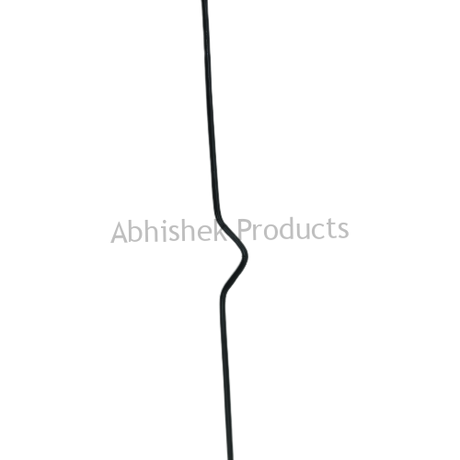
there would be one wiro in the
left side and another on the right side
with the help of a wire cutter cut the A4
size wiro into a little piece like this
insert this into the machine and press it
same technique, we bring some paper from behind
and put it in the front
so that the wiro's lock is hidden
the customer won't see that
we have inserted in left and right
and the machine is set to pressing mode 6.4 mm
slowly put the calendar on the machine
and press the handle gently
this is the pressed calendar it's pressed
and locked inside
now the hanging calendar is almost ready
now we bring the transparent sheet back to front
now we insert the 9-inch calendar rod
to the A4 size paper slowly
as it comes to the center it locks and the
calendar is ready
now you can see them when shaking it doesn't fall
because it locks when it comes to the center
now we will show how to rotate this calendar
with the rod
for example to change the week or month you
you lift the sheet like this
the rod always remains at the top
because we used D cut for it
like this your hanging calendar is ready
from this little machine
you can target many industries and companies
xerox market, company market, restaurants,
new car business
you can target all these companies and sectors
or work with them
and in the new year season, you can make a calendar
with this little machine and supply it
if you have a small photo studio
photo framing is your business
so you can give the calendar in non-tearable paper
like this
you can give a hanging calendar to them
and if you have small xerox shops you can do
the side business
or if you want any corporate gifting or
different types of branding work. with this little
machine, you can give the customers reports
you can introduce bookbinding and calendars
product and you can expand your business
so this was a small video to understand
this machine and the whole setup
shown products in this video like a machine,
plastic sheet calendar rod, D-cut,
PVC sheets and transparent
sheets and of course wiro
we supply all these products on our website
which name is www.abishekid.com
but the story doesn't end here
the story begins here, with wiro binding we have
we have 222 machines other than this
so that you can include it in your business
may it be ID card cutters, round cutters,
lamination machine, speed lamination
machine or 18-inch lamination machine
thermal machines, sublimation
machines, corner cutters, gold foils
staplers, button badges, and paper cutters
if you want to know all these products
you can subscribe to our YouTube channel
or join our social media handles
like Instagram or Facebook
if you want to clarify any doubts,
use YouTube comments below
Thank you

