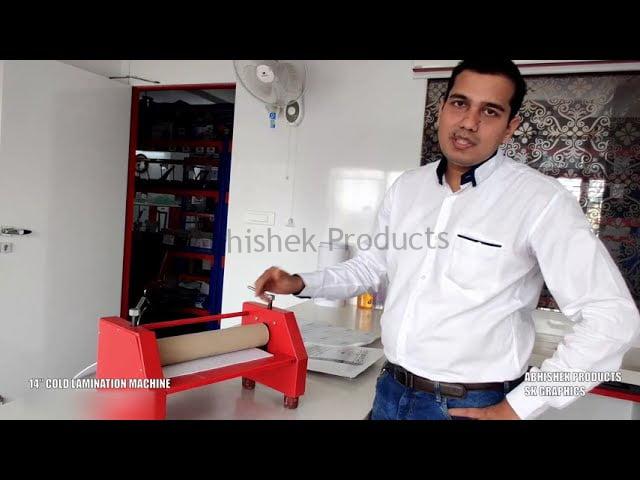
How to do the cold lamination with 14" cold lamination machine.
Cold lamination machine demo. One side cold lamination. Two side cold lamination
to make sticker
Hello everyone, I am Abhishek Jain,
Welcome to another video
In this video, we talk about 14 inch
cold lamination machine.
We are from Abhishek Products by
S.K.Graphics
Our office is at Secunderabad,
and if you want to order this machine or
want more details about this machine
message through the below given WhatsApp number
We can start this basic machines demo
This is the 14" cold lamination machine
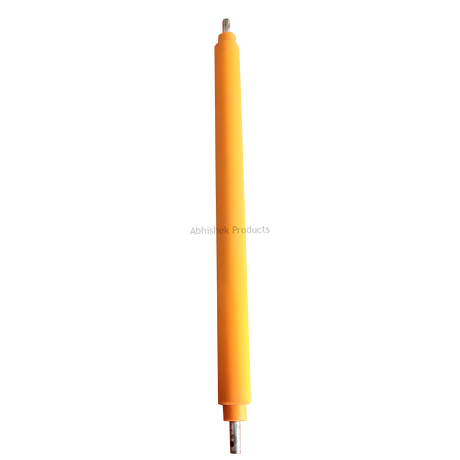
The rubber roller you see is of 14"
Now we will zoom and show you
the closeup of the machine
This is the 14" rubber roller
This is the metal roller
Here they're two hinges
Hinge No.1 and Hinge No.2
Through the hinges, you can adjust the
height of the rubber roller
By adjusting the two hinges you can adjust
the height of the rubber roller
Now we can see that gap is formed
between two rollers
Now you have more gap so that you can put photo
frame or photo articles
you can put a big MDF board into it for lamination
thick acrylic board lamination can also be done
If you have a photo studio you can laminate paper,
sticker sheet, PVC sheet, normal addon sticker, ID card
rotate the hinge so that the rubber roller goes down
when hinges go down the gap between two roller
also reduced so that only paper can be inserted
now bigger articles like 6mm or 10mm cannot
be inserted
this configuration is used for ID card lamination,
and use another configuration for photo frame lamination
On the right side is its handle
When the handle is rotated the metal roller also rotates
As the metal roller rotates, it also rotates the
rubber roller
I show you how to laminate paper
I will give an idea of how to laminate
you can use for top layer finishing like glossy, matt,
velvet, different types of lamination and finishing
I will show you how to convert normal paper
into a sticker with this machine in this video
Now I will give the basic idea or demo, how to use
this machine
First, we use foam board
you can buy this foam board in common stationary shops
We have tightened the foam board like this
you can adjust the tightness as you need, We have tightened
the foam board is too much, the board is not moving
so you have to lose the hinges
Now the foam board is moving
so that you can easily manage it
when I rotate it, it rotates
The foam board is now set,
now we will tight little more
If you set the correct tightness, the finishing
and the quality of the lamination will be very good
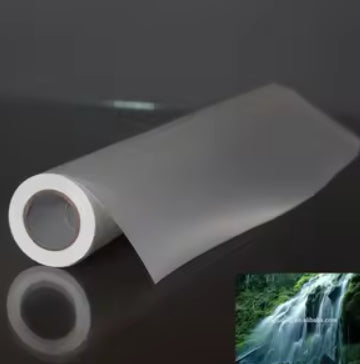
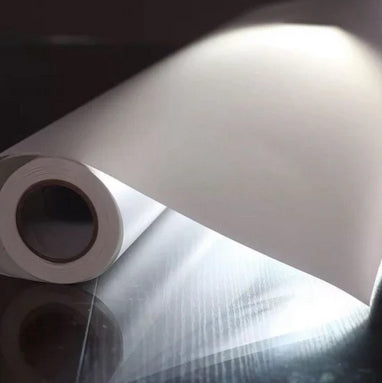
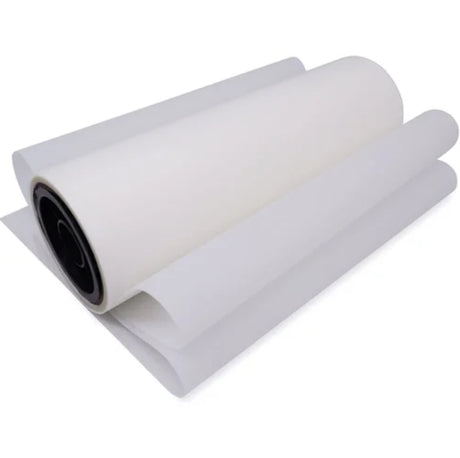
This is the glossy lamination film
This is the glossy lamination film, it's
one side is shining and at the back is its sticker
How to use this?
first, bend the sticker
Peel the transparent sheet like this
If you want to order this glossy film, you can
contact the WhatsApp number given below
I have folded the transparent sheet like this
Paste the transparent sheet like this
First, fold the back side paper like this,
so that you can manage the film well
Paste the film like this on the foam board
tight the roller like this
and put the remaining paper under the rod,
like this, it's very simple
This is our black & white poster
This is Abhishek's ID card's simple b&w poster,
which I'll laminate and show you
Like this, we've inserted the paper.
moved the roller a little bit, removed the back
side paper a little bit
we have kept the poster like this, and the
the back side release paper is pulled a little bit
Now rotate the roller with the handle,
while rolling pull the back side paper upwards, and
the transparent film sticks to the poster, making a good finish
and the lamination is done
The poster has been laminated, here it's laminated
foam board has reached its end,
and the back side paper has come here
The lamination layer has pasted well here
now roll the roller in the reverse direction,
so that good pressing is given to the poster
now pressing is done well
Now we remove the sticker from
the foam board
The extra film which was left in the foam
the board stuck in the foam board is released
and we have done the cold lamination successfully
As I have said in the
starting of this video,
with this machine, you can laminate
Glossy, matt, velvet, 3D lamination
But with this machine, you can do mounting,
mounting means double-side gumming
So I'll tell you how to do that in this video
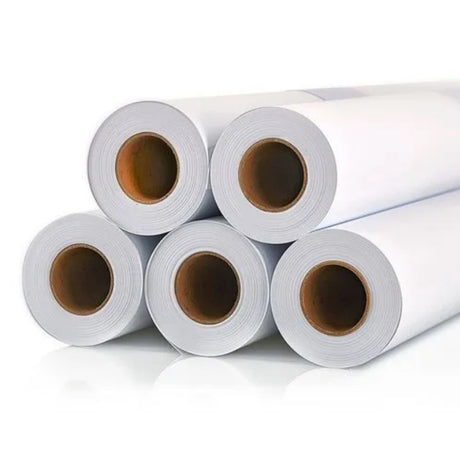
I have cut the double-side sticker to the size of
the poster is already for mounting
and in this sheet, there’s double-side gumming
Like this, we release this sticker
like this, we have released this sticker and this
the release paper and this is the gumming paper
Right
What you have to do is, bend this paper like this
so you find three-layer, back sides
release paper, front sides release paper,
and in the centre transparent sheet,
in which the gumming is present
You have to do the simple work like this
first, fold the release paper like this
turn the sheet and
paste it on the foam board
As it's pasted on the foam board, it's easy to
manage the sheet
Now we place the poster on the foam board
Pull the release paper a little bit like this,
roll the machine's roller slowly
slowly the double-side sticker starts sticking
On the one hand, the release paper is pulled up
and with another hand, we roll the roller
It's a simple operation, like this, we can do this
After the rolling is finished,
take the poster slowly
Now the sticker has come in the backside
This is double side gumming sheet, when we
release the back side paper, it becomes a sticker
and the front side is already laminated
How will you do the finishing
work for this sheet?
First, we'll cut with scissors.
cut the remaining sheet
On the back side, there is creasing, which shows
the end of the paper
you can cut by seeing that or see the front
side and cut
This time I'm using the scissors, it’s more
convenient to use a rotary cutter instead of scissors
we sell rotary cutters also.
If you cut it with a rotary cutter, the work
will finish faster and finishing will be good
It's ready to use, it's ready to deliver to the client
customer will take the back side paper
like this when you give it to the customer
the customer has taken the back side paper,
and at the back, there is gumming
at the back side there’s gumming, it
sticks when I touch it
It's strong gumming
now we can paste it anywhere like on a wall or
poster or pillar or anywhere you want
at an event or any photo frame or photo
studio so you can paste this anywhere
The same machine and the same method
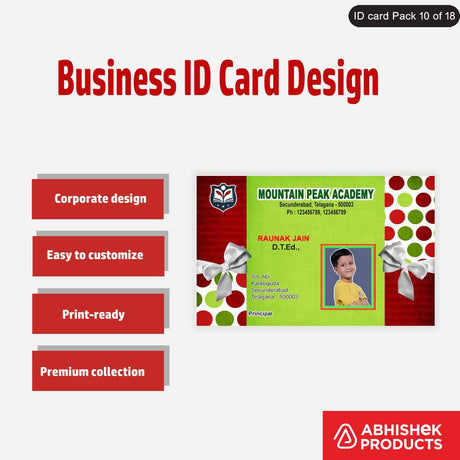
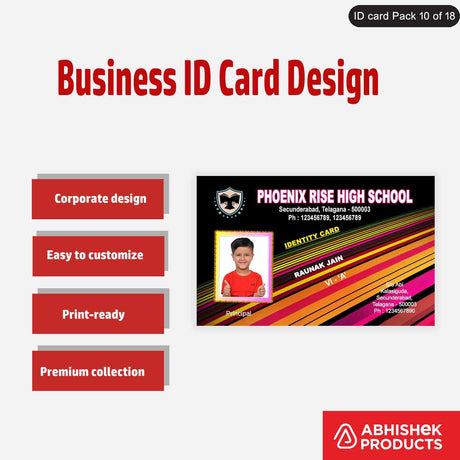
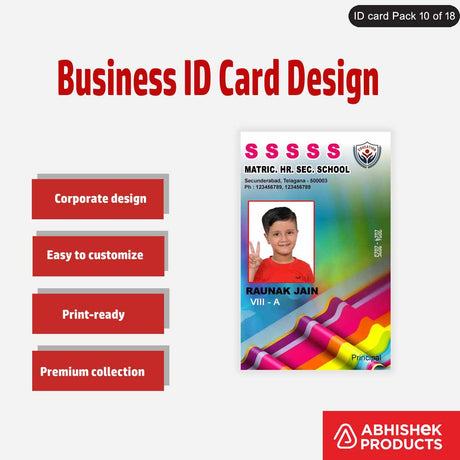
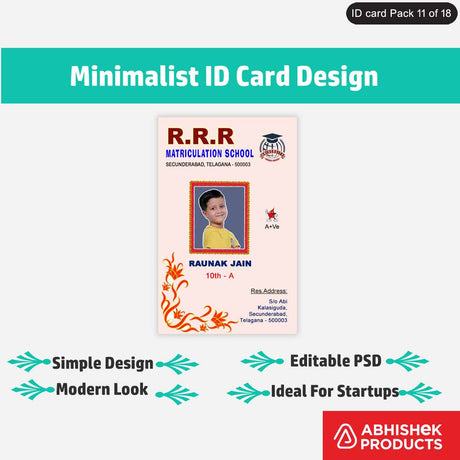
A to Z is also used for making the ID cards
This time we have used ID card posters
instead of printing the poster on 13x19 paper
put the ID cards in it
In 13x19 size paper, I believe there’d 25 cards
after that, you have to cut it with a die cutter
so the same machine can be used for the
photo studio, ID cards, photo frames
this is the most versatile machine,
it’s a 14-inch machine
we can supply a 25-inch machine also
we can supply 30 inches and up to 40 inches also,
the model is the same
we will tell you about the bigger machine
in the future videos
but if you want to order this machine
so you give a message to the Whatsapp number
given below
send your visiting card from their well will find
your requirement, we will give machine's suggestions
we will give the full billing details, parcel delivery
or home delivery or any method, we will tell you that
Thank you

