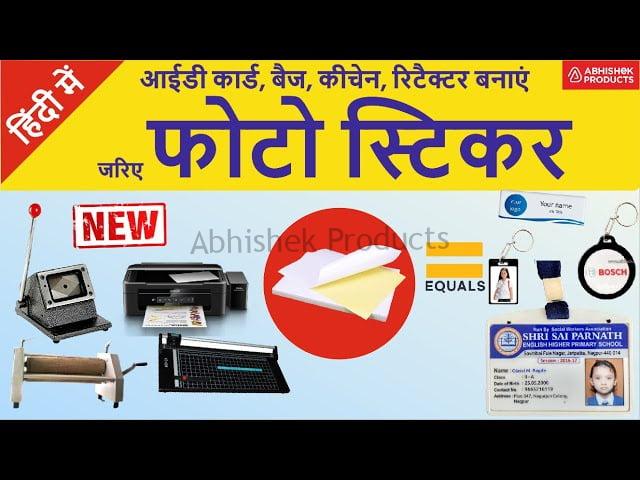
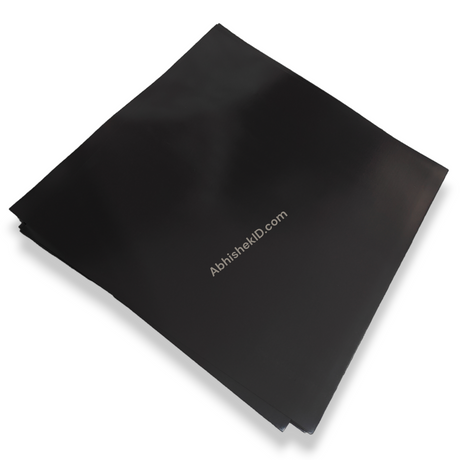
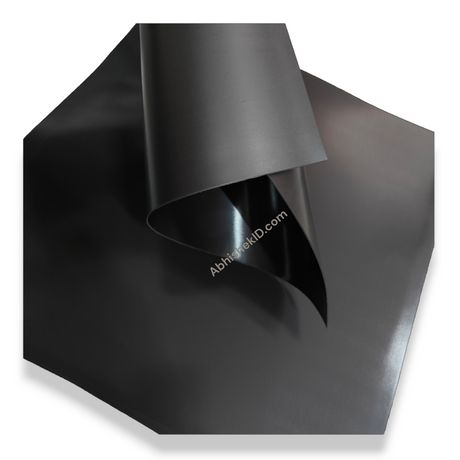
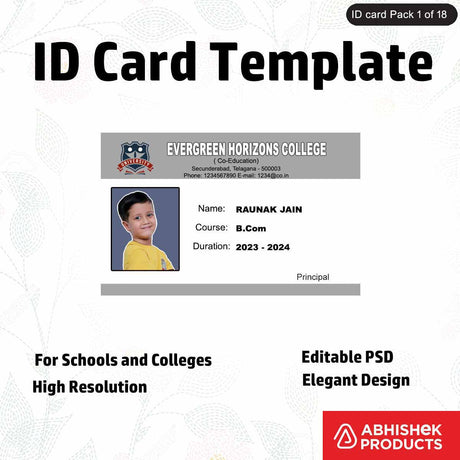
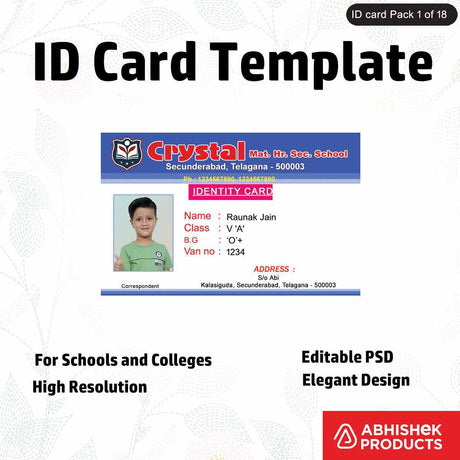
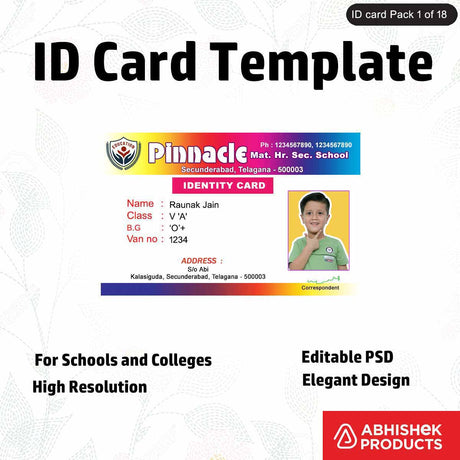
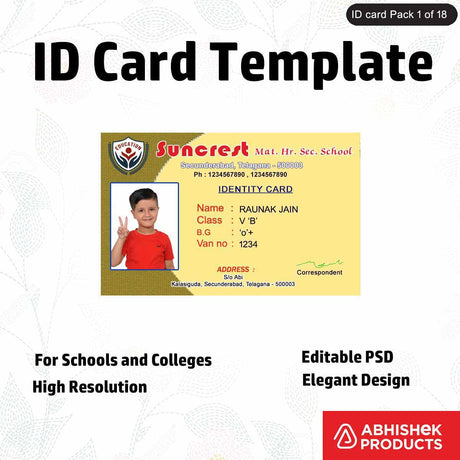
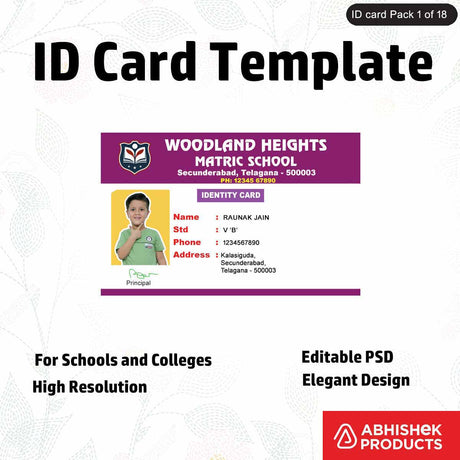
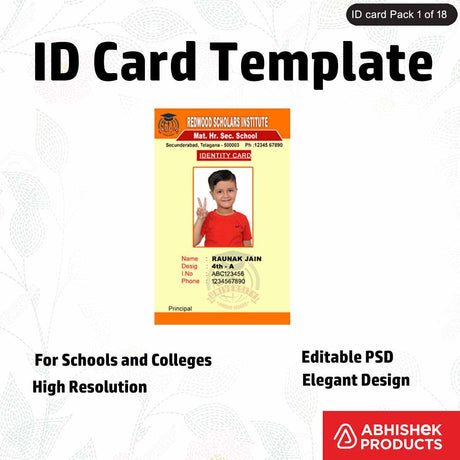
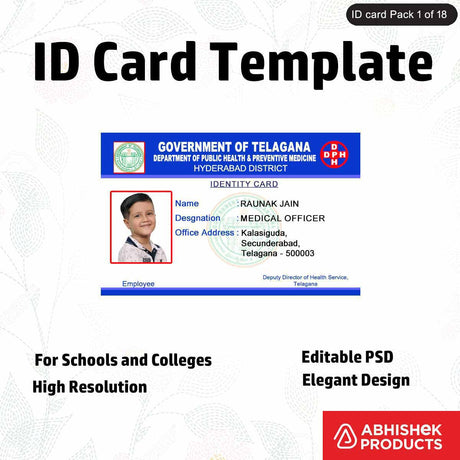
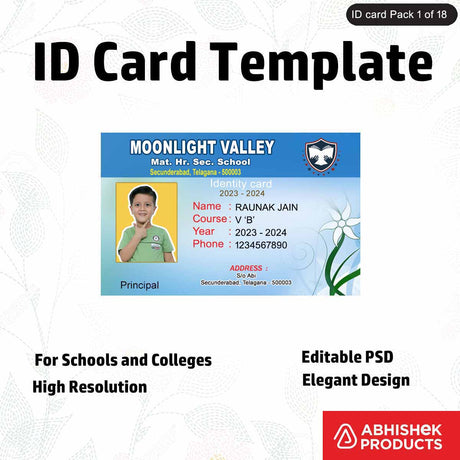
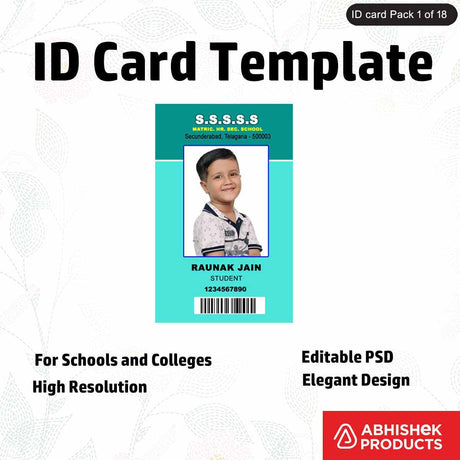
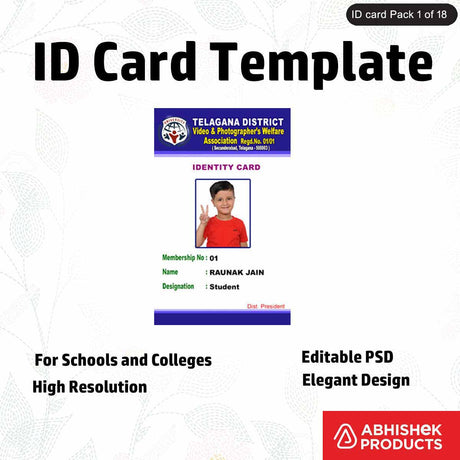
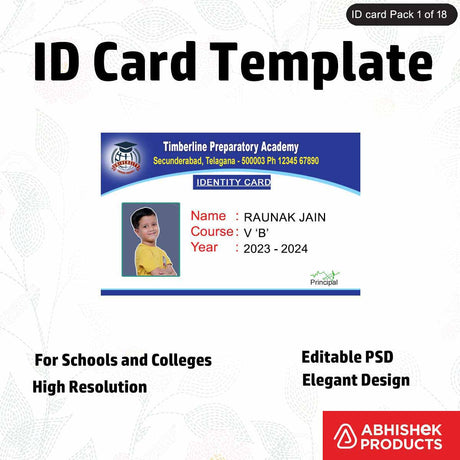
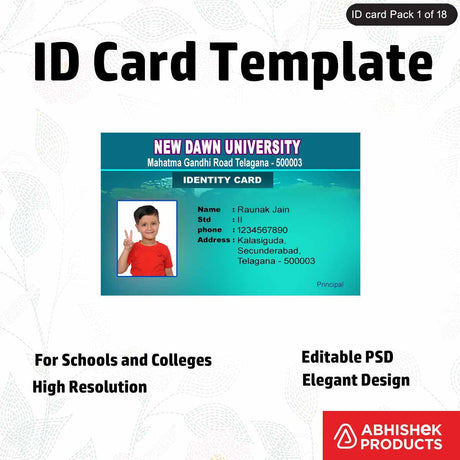
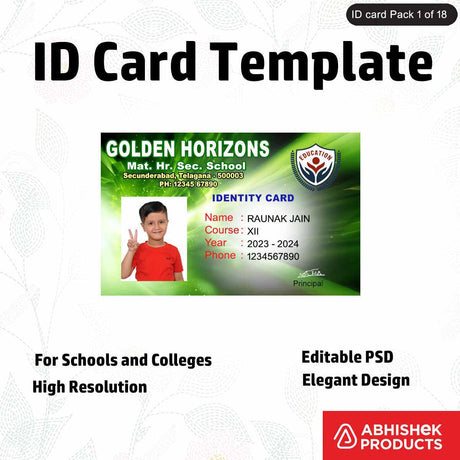
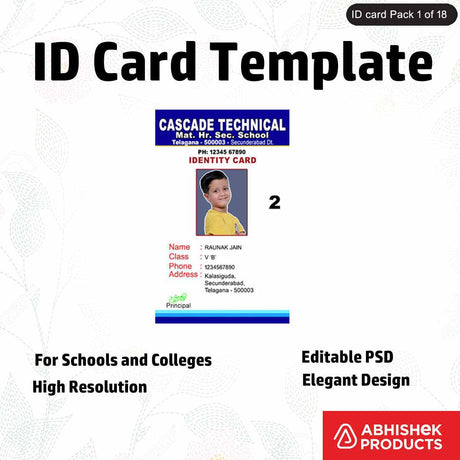
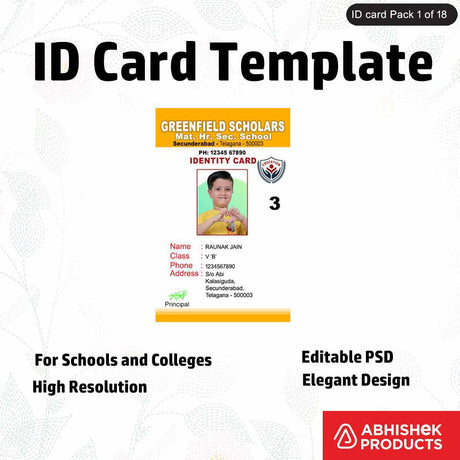
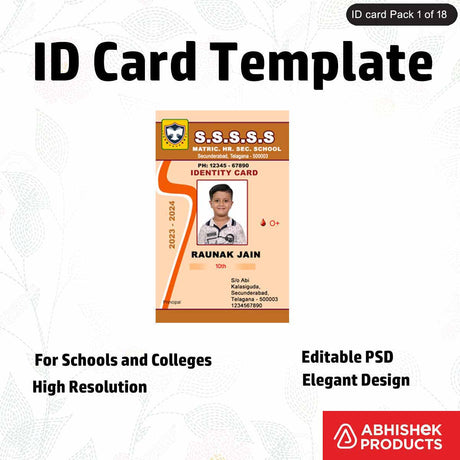
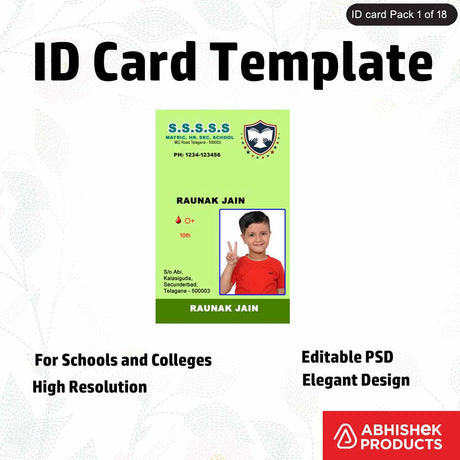
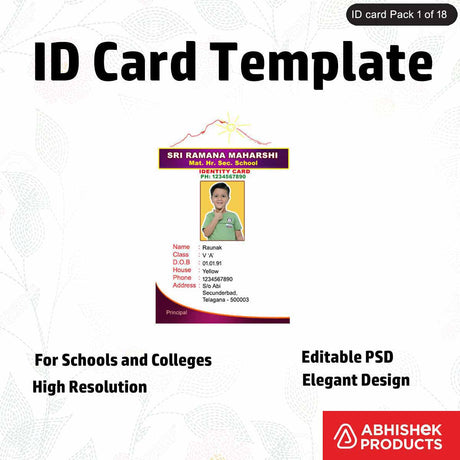
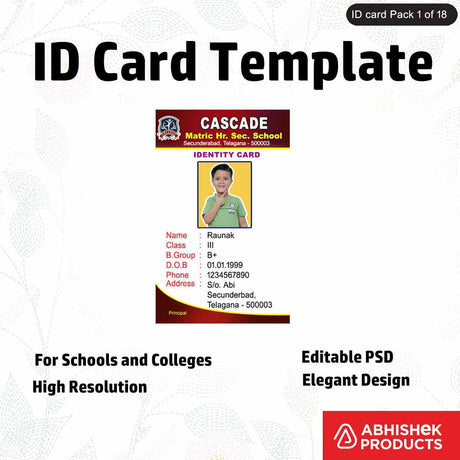
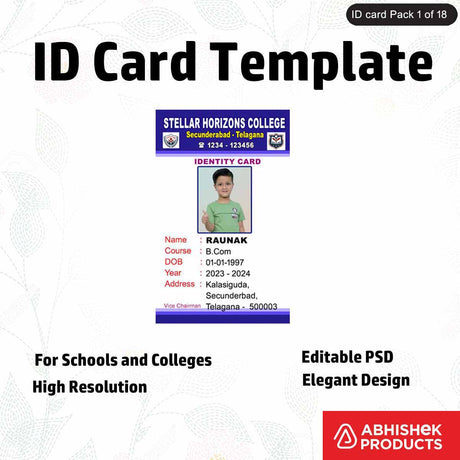
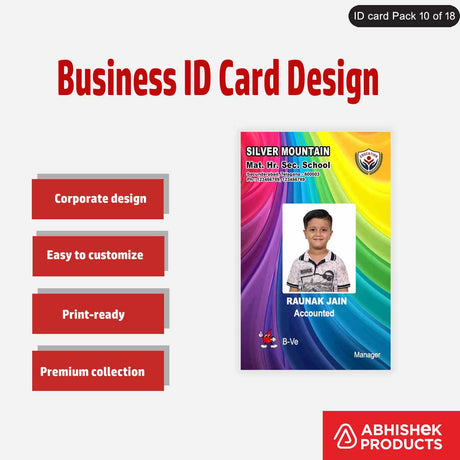
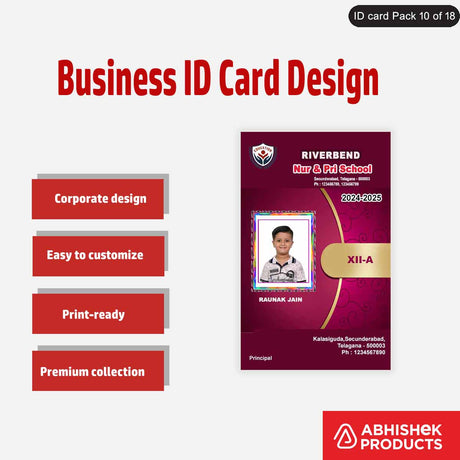
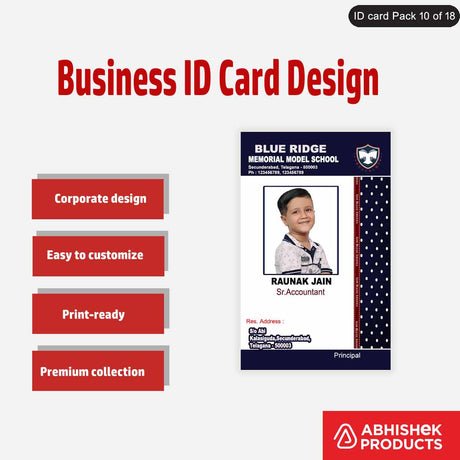
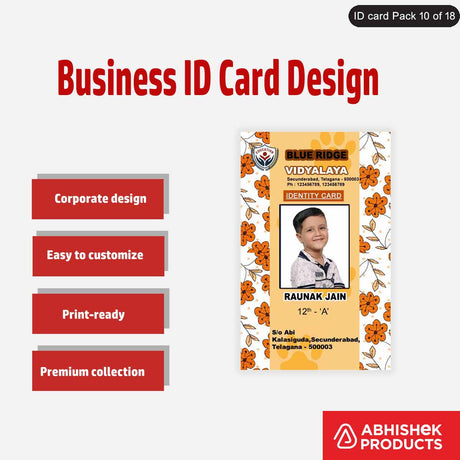
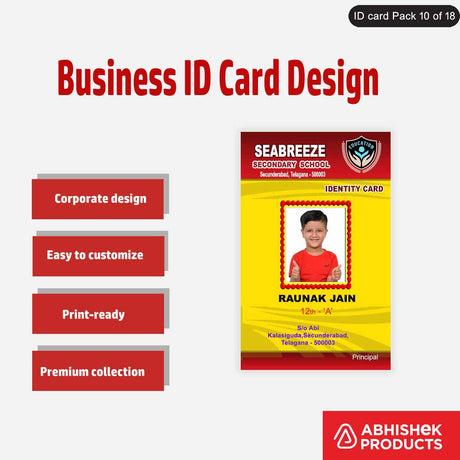
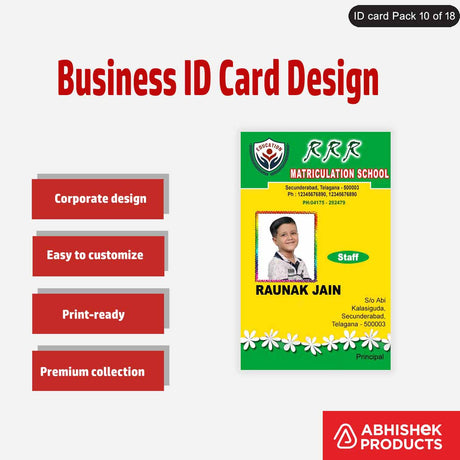
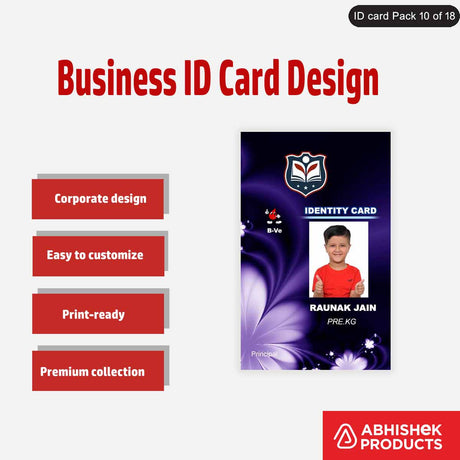
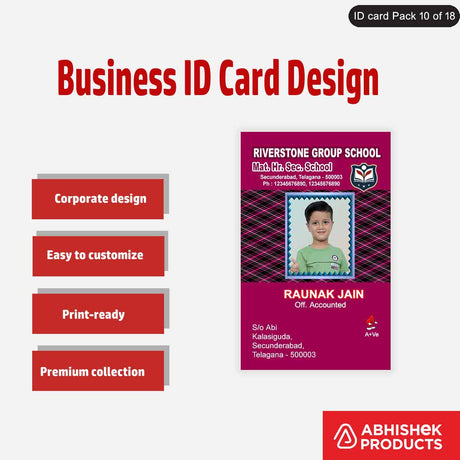
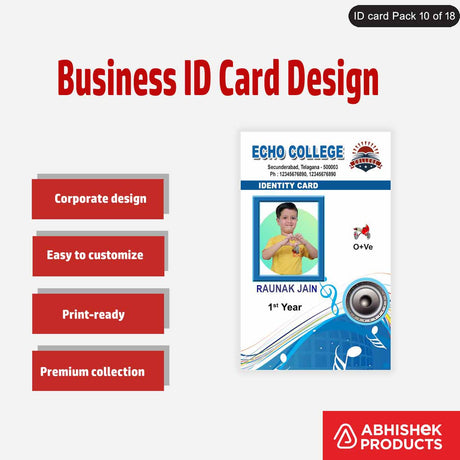
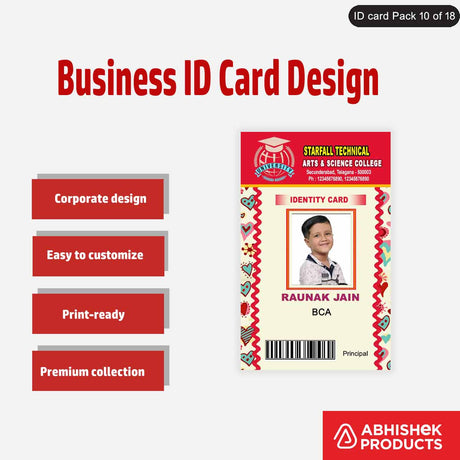
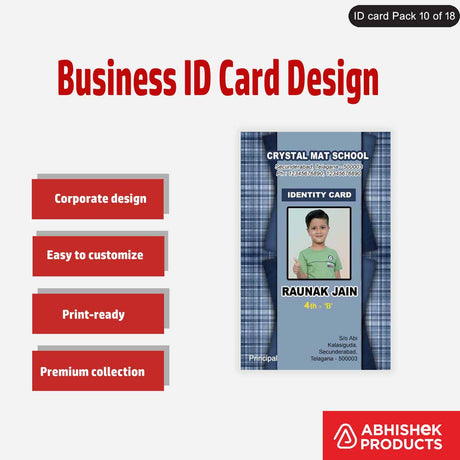
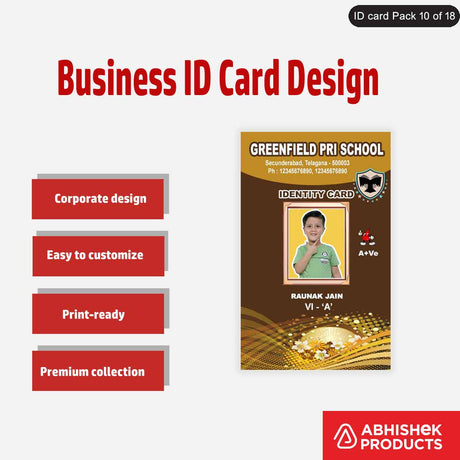
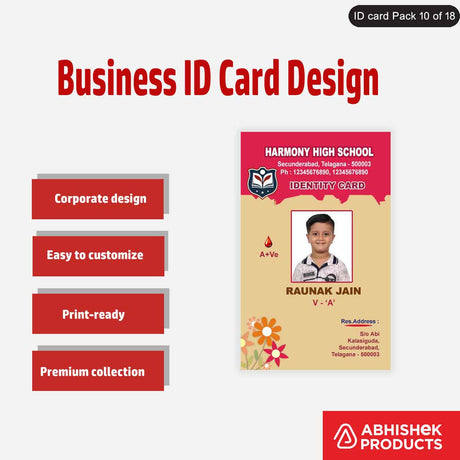
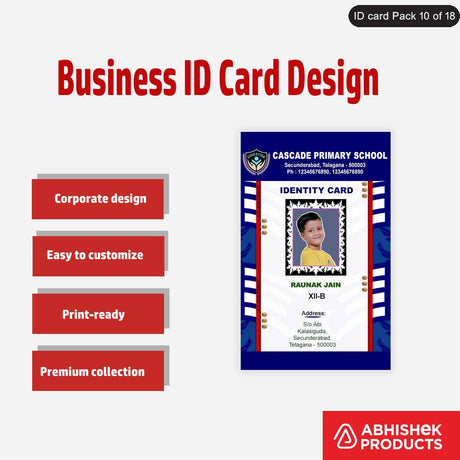
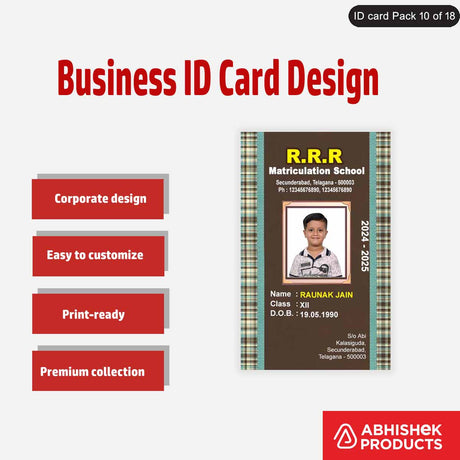
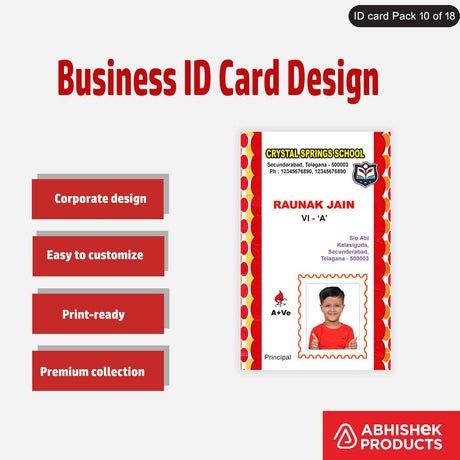
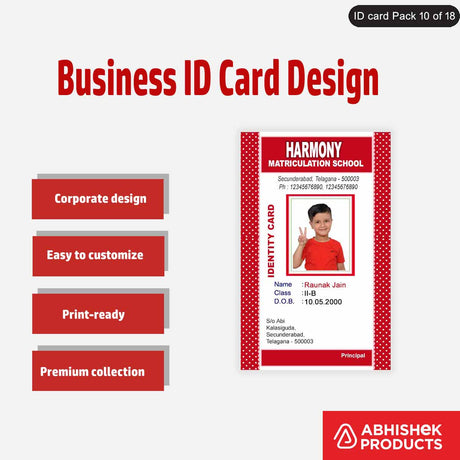
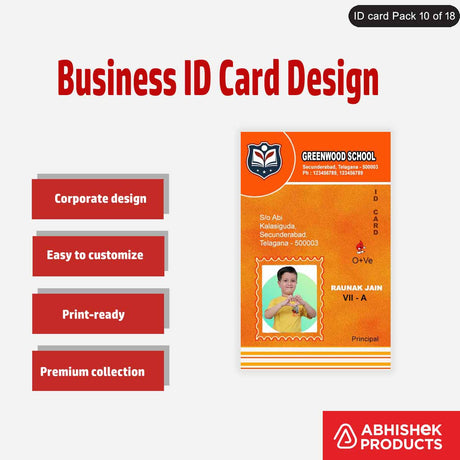
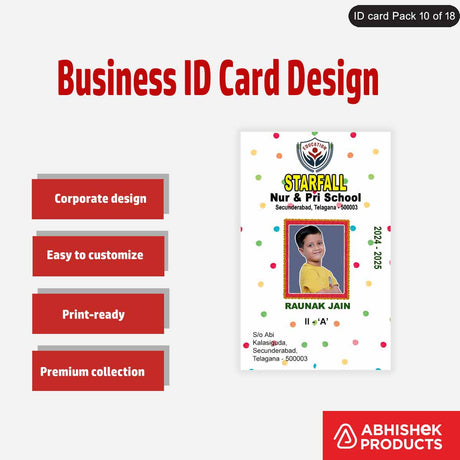
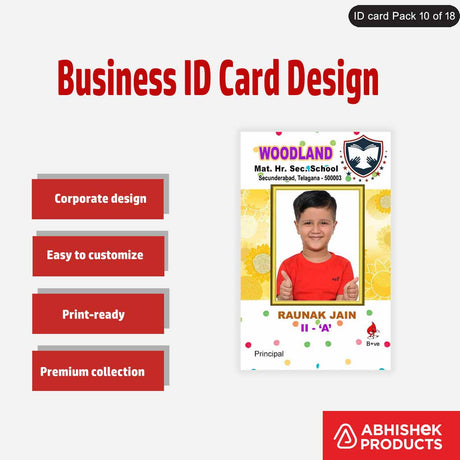
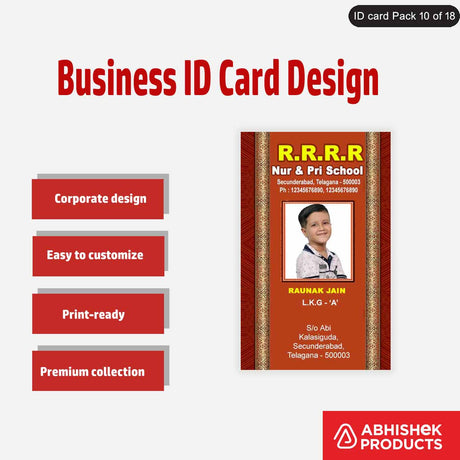
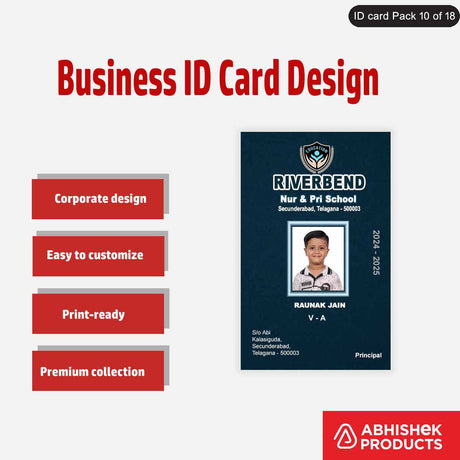
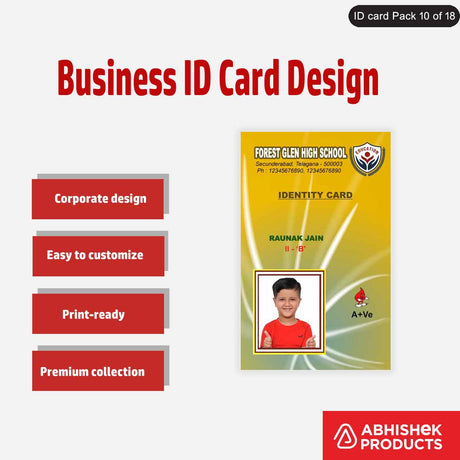
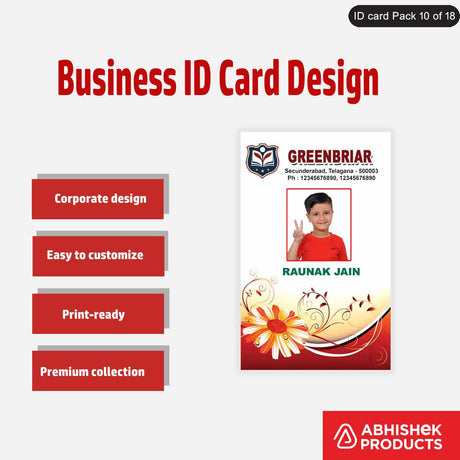
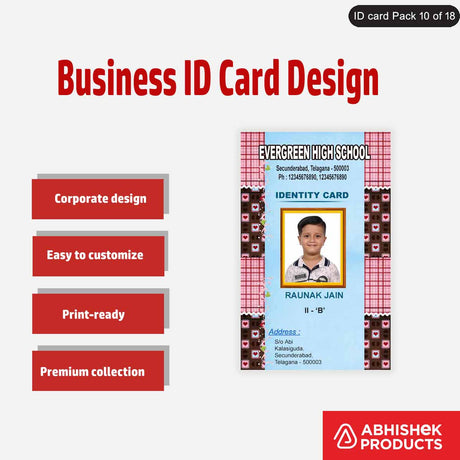
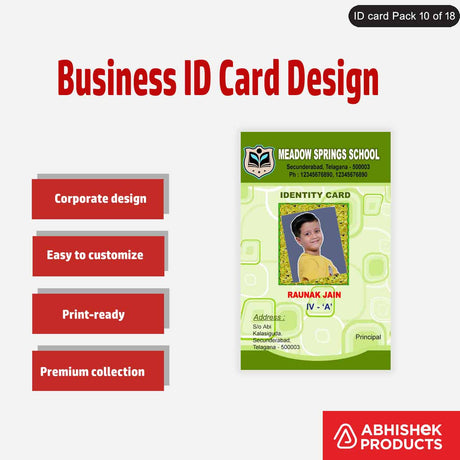
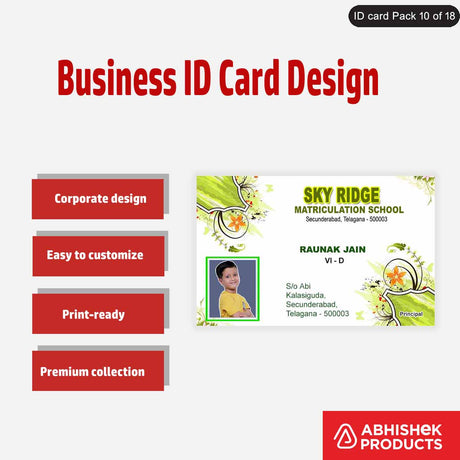
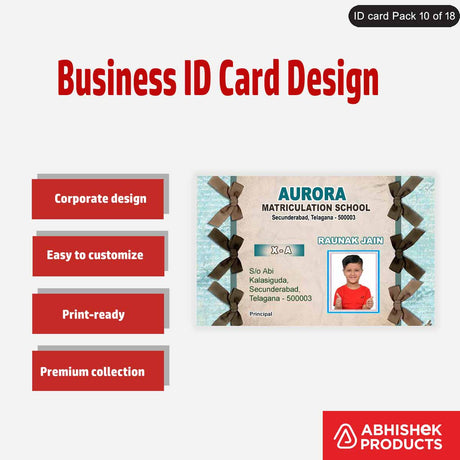
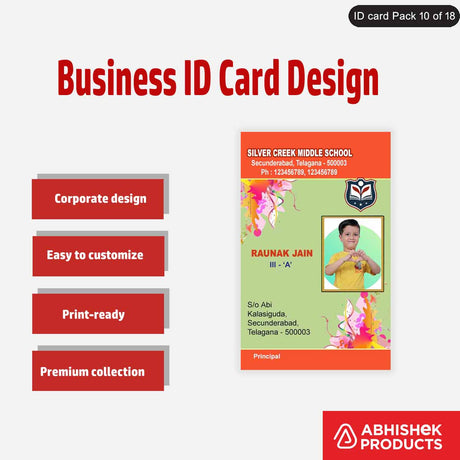
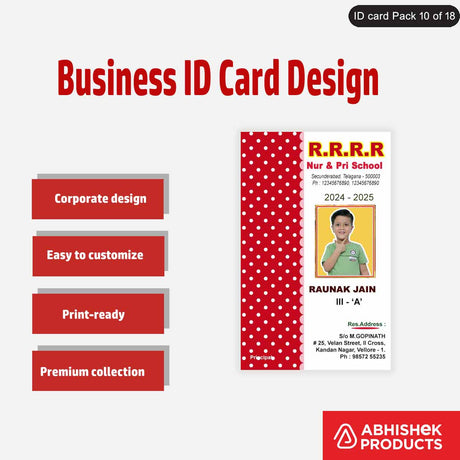
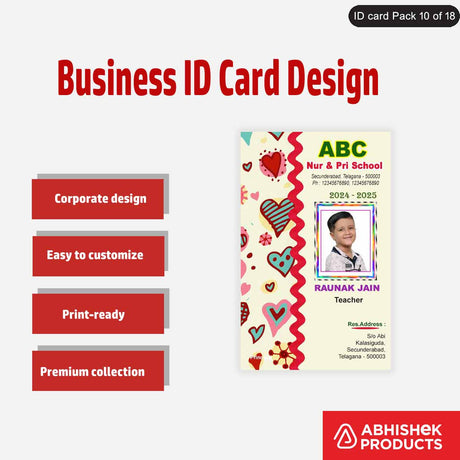
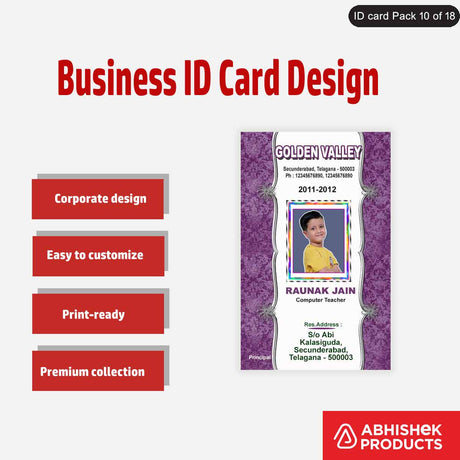
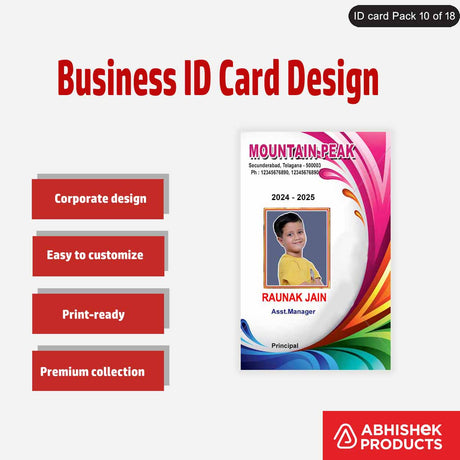
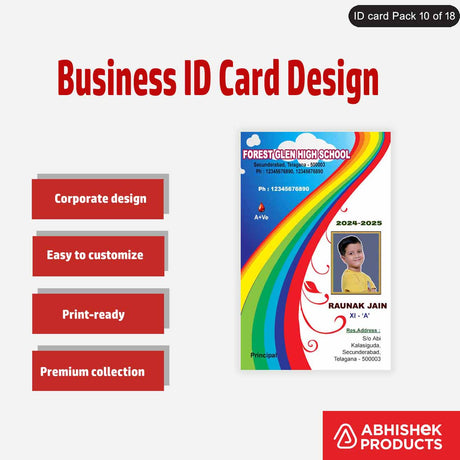
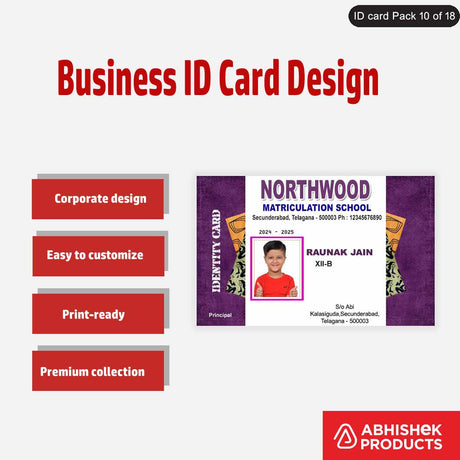
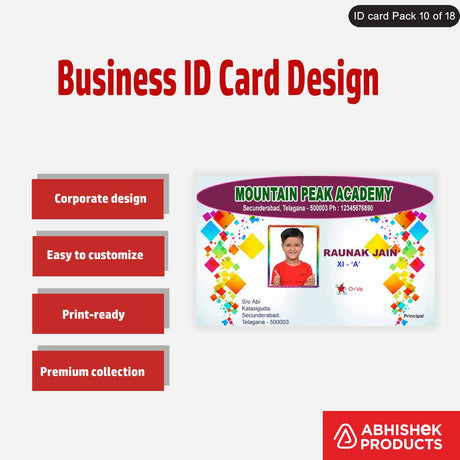
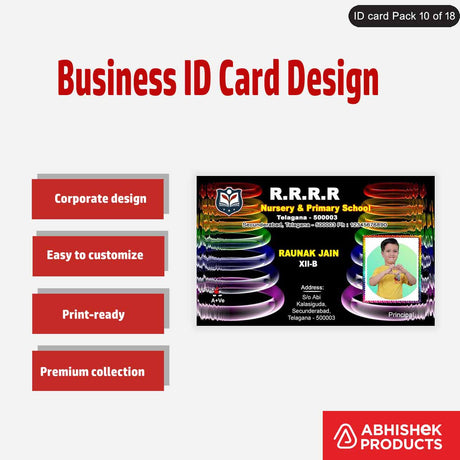
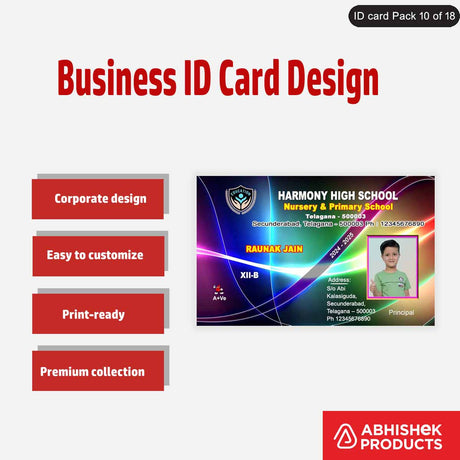
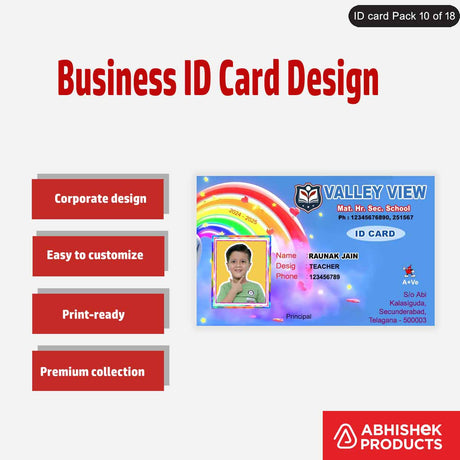
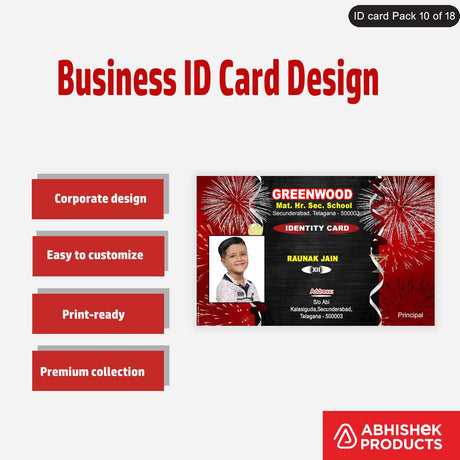
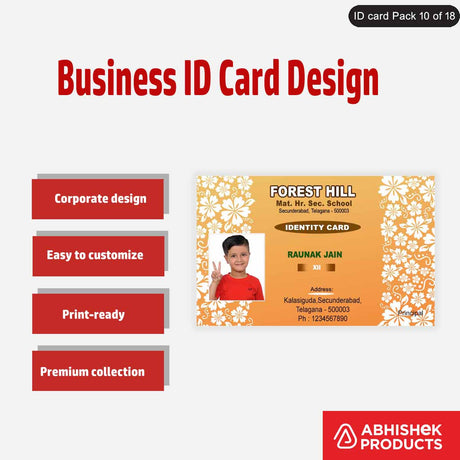
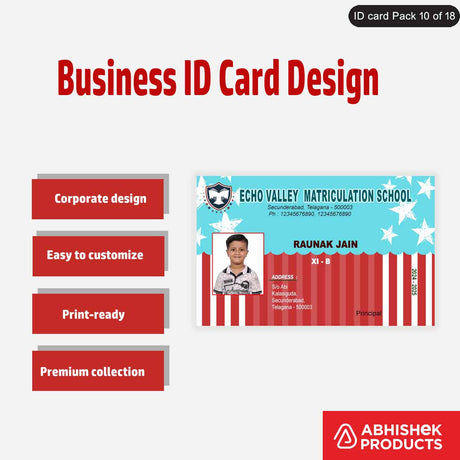
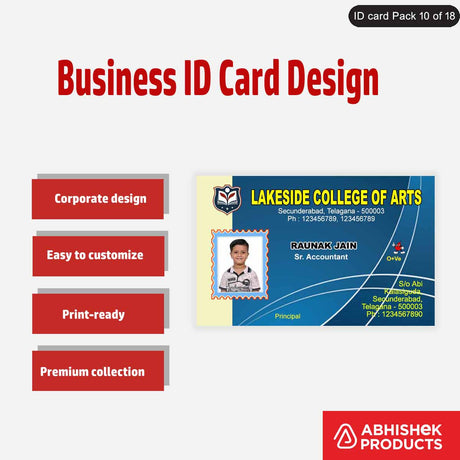
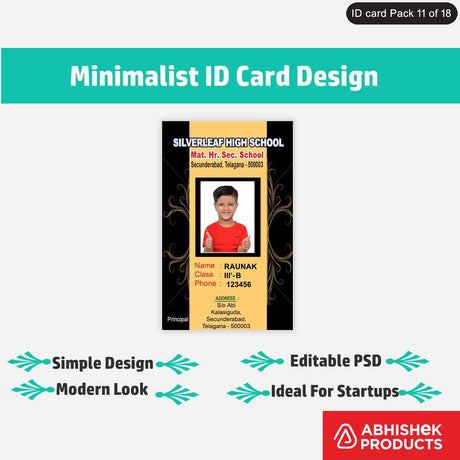
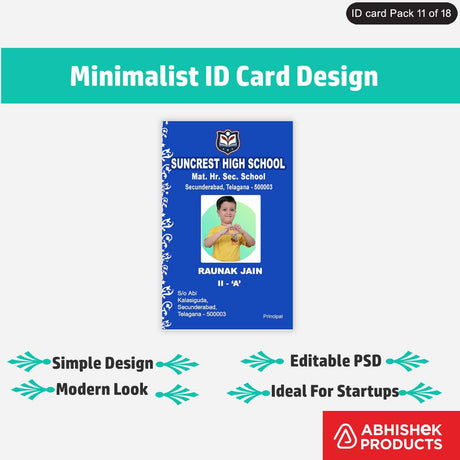
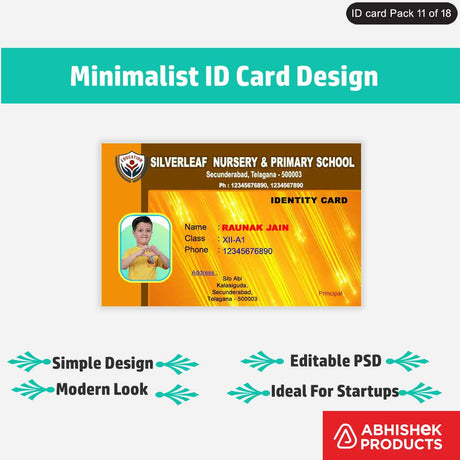
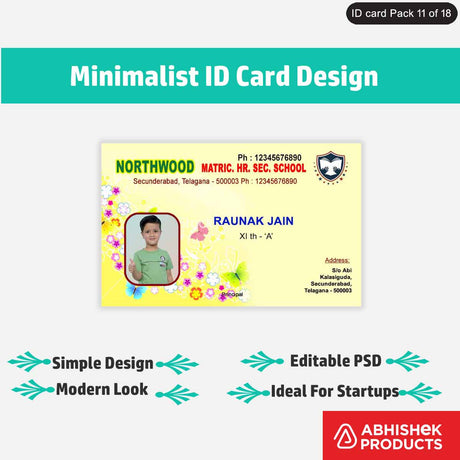
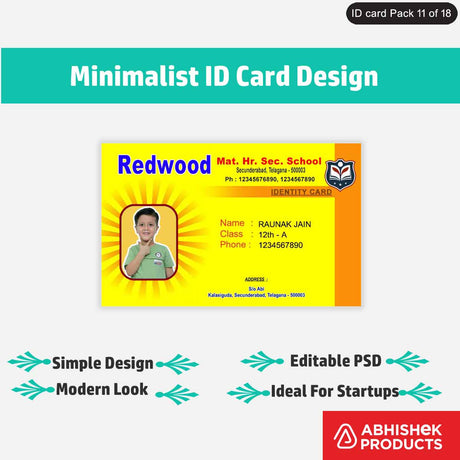
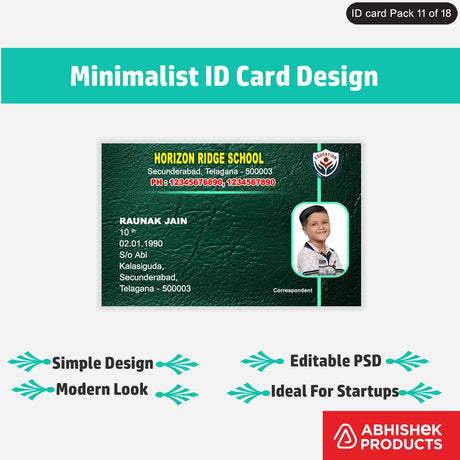
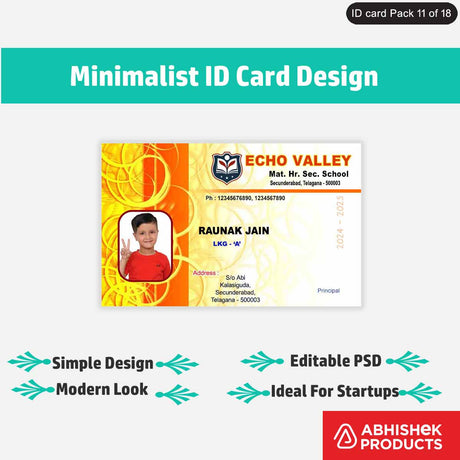
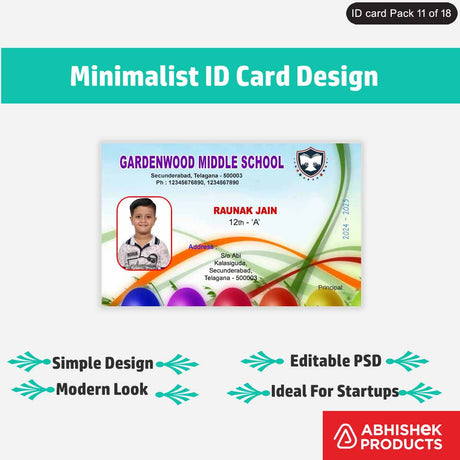
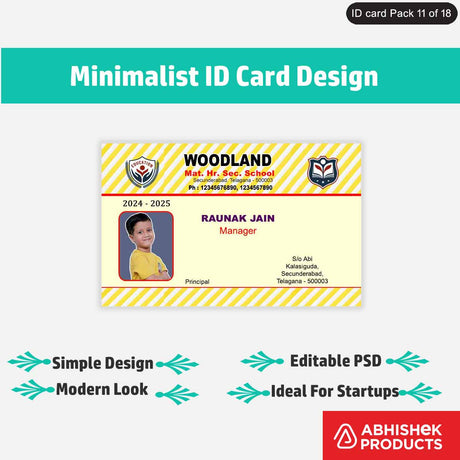
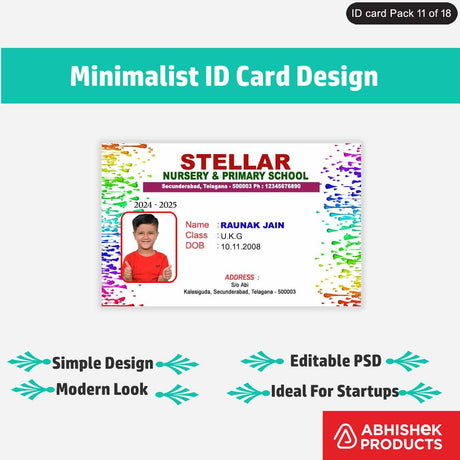
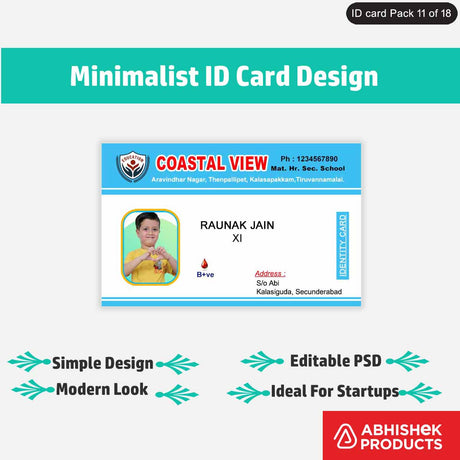
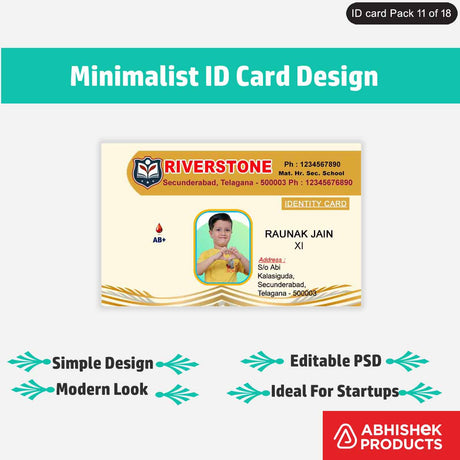
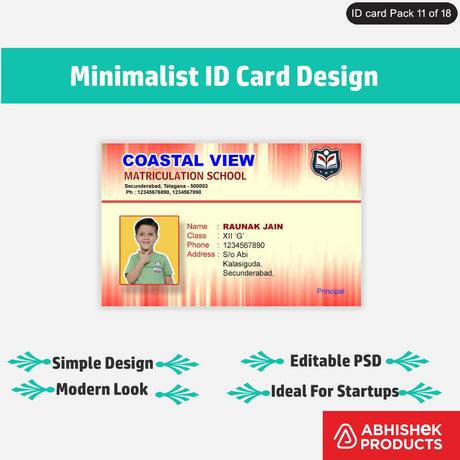
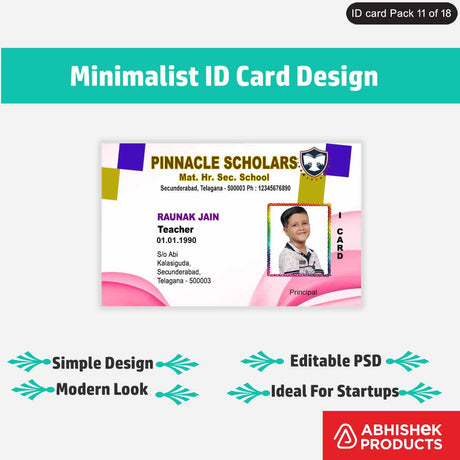
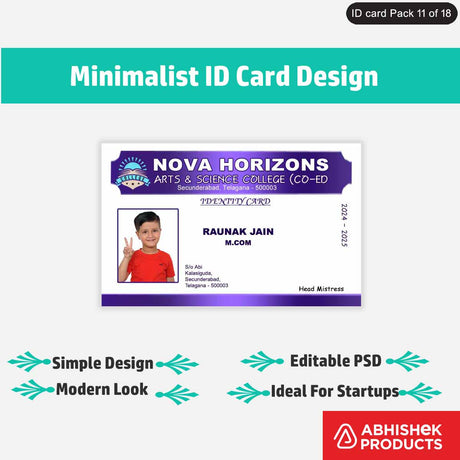
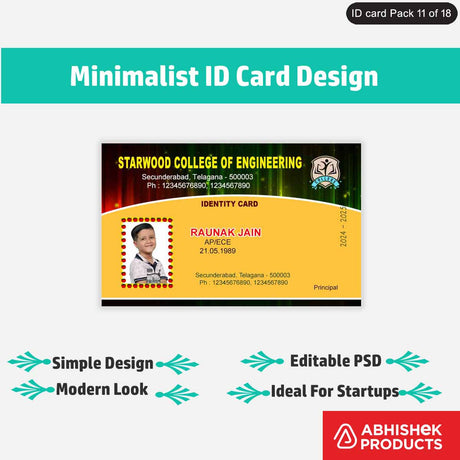
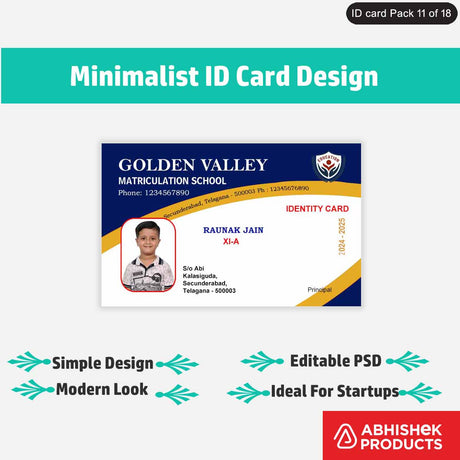
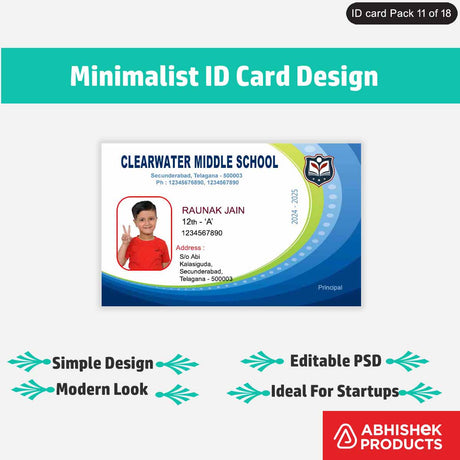
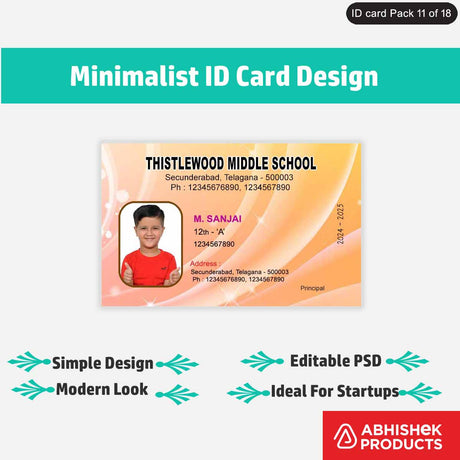
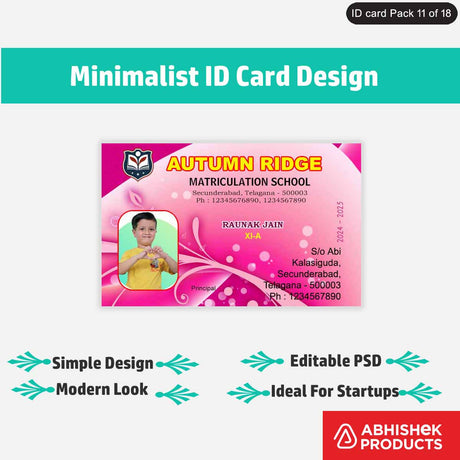
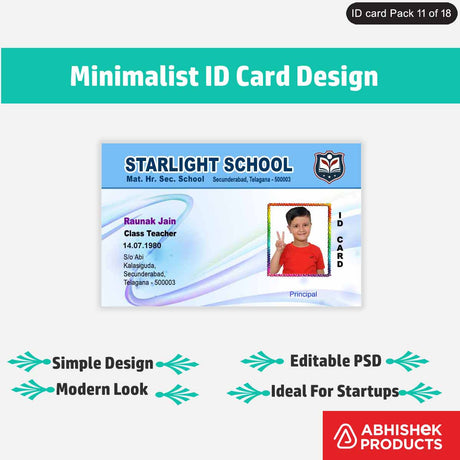
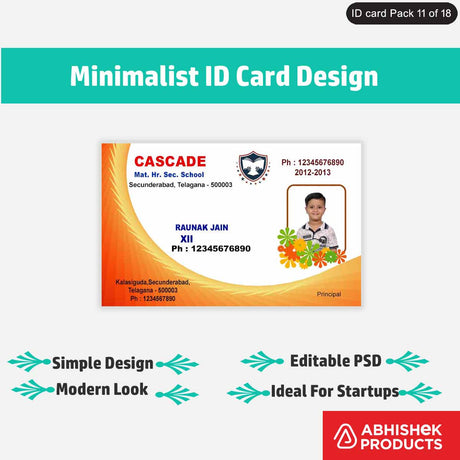
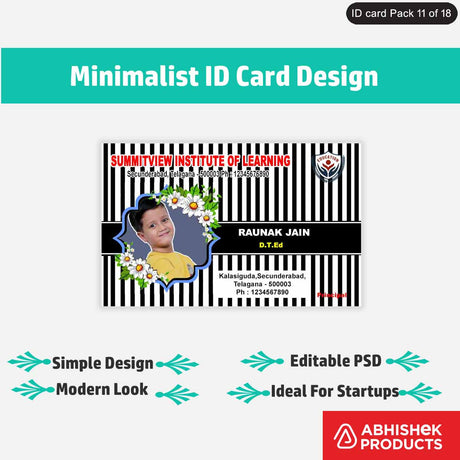
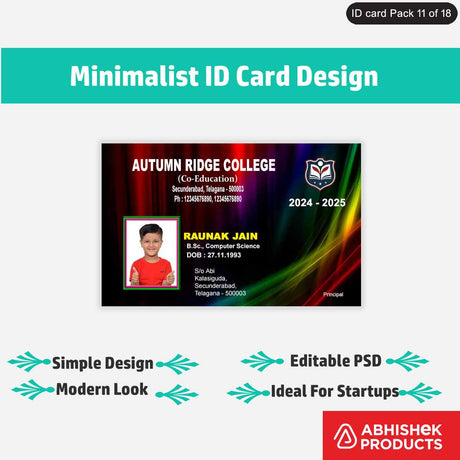
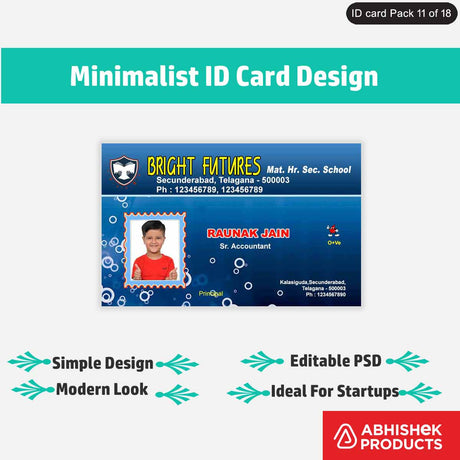
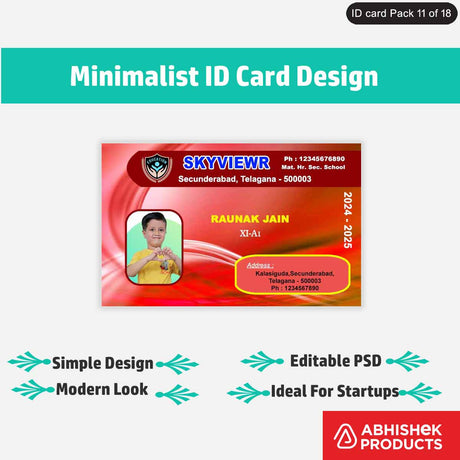
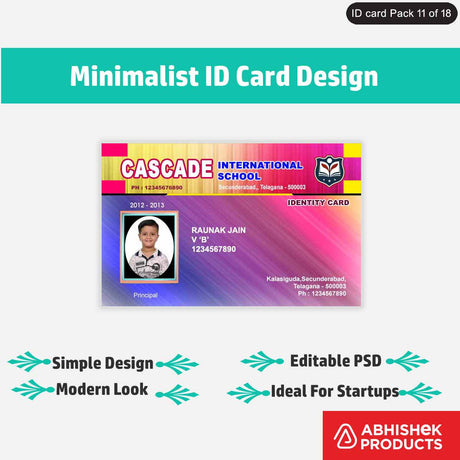
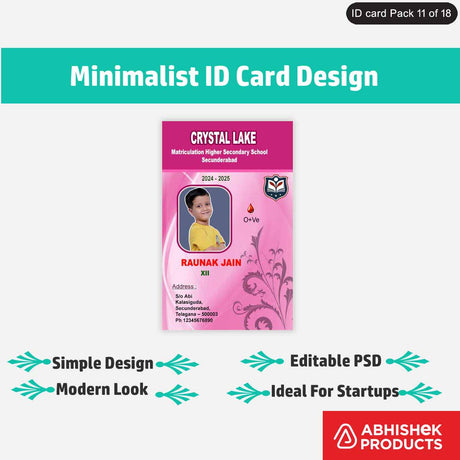
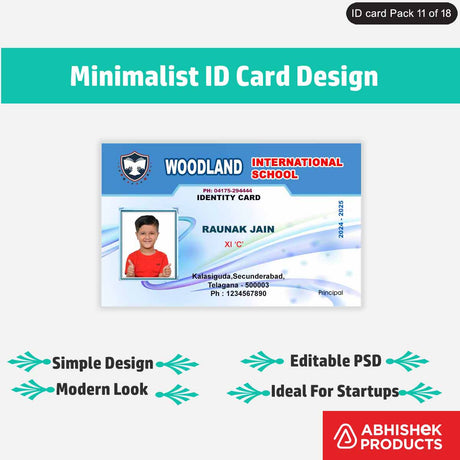
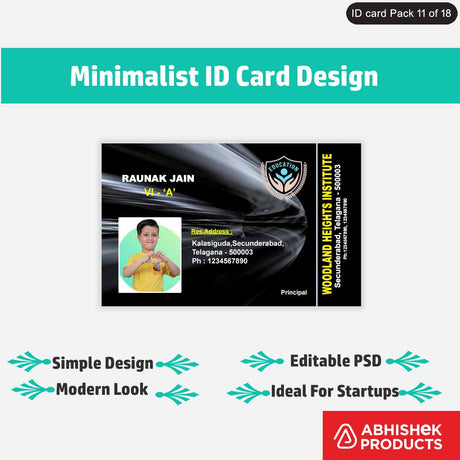
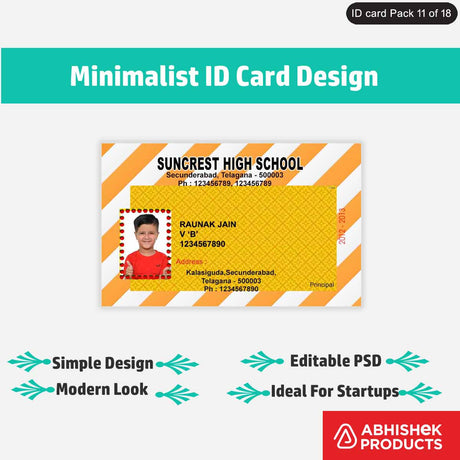
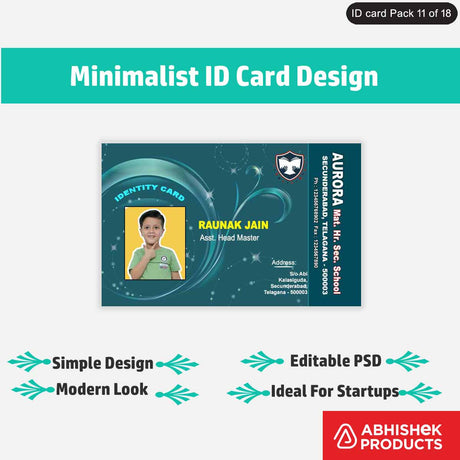
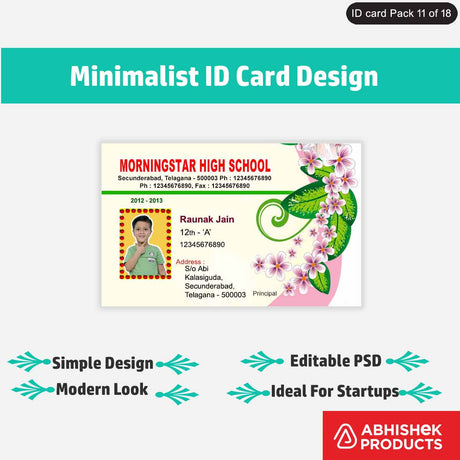
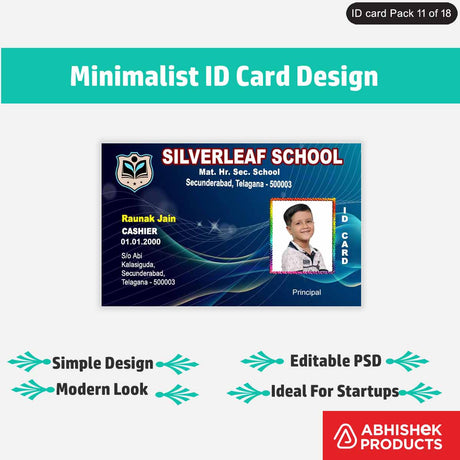
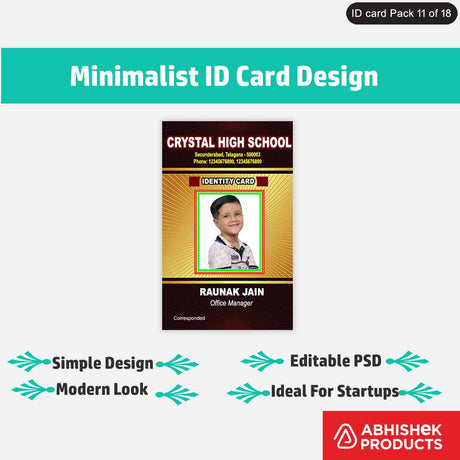
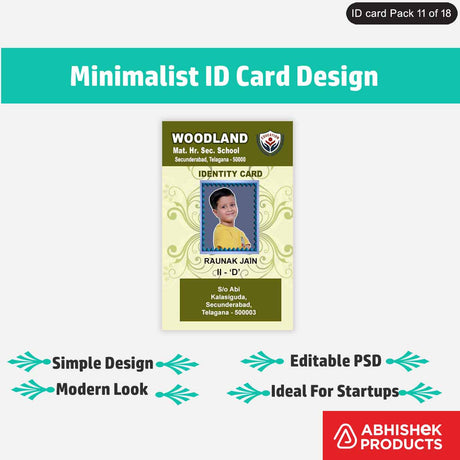
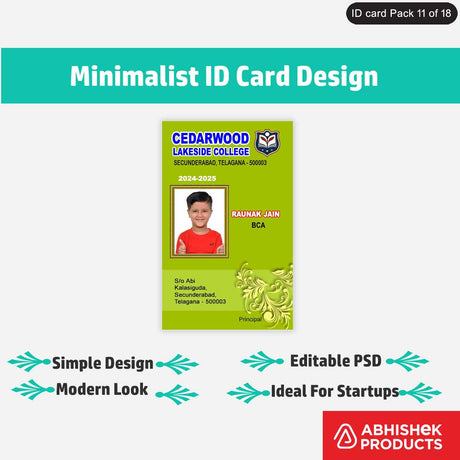
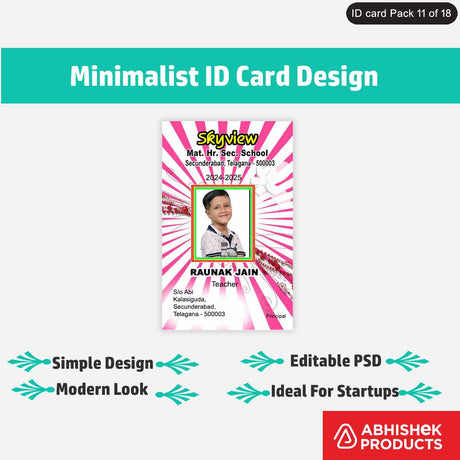
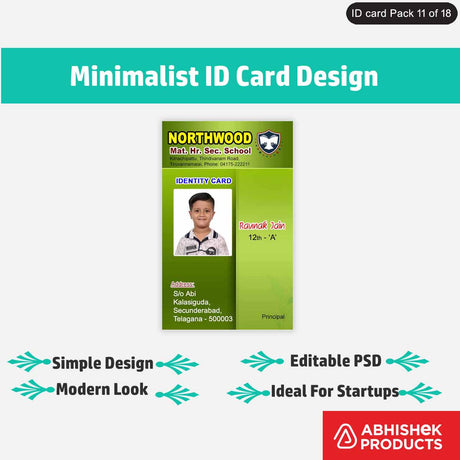
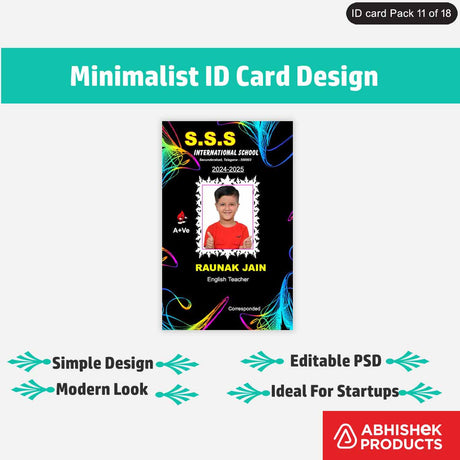
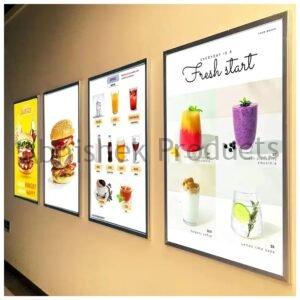
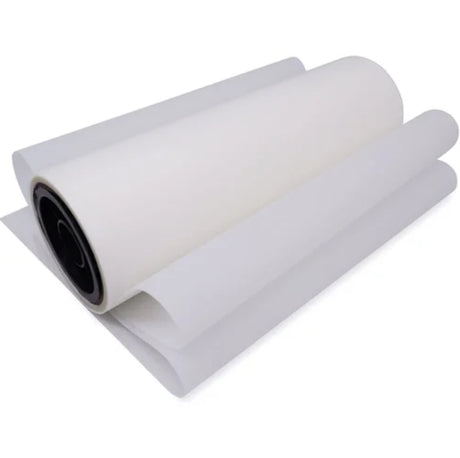
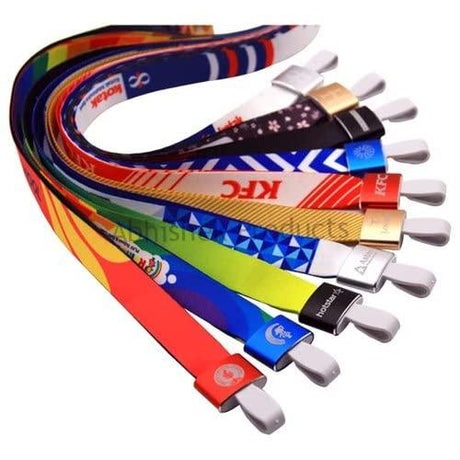
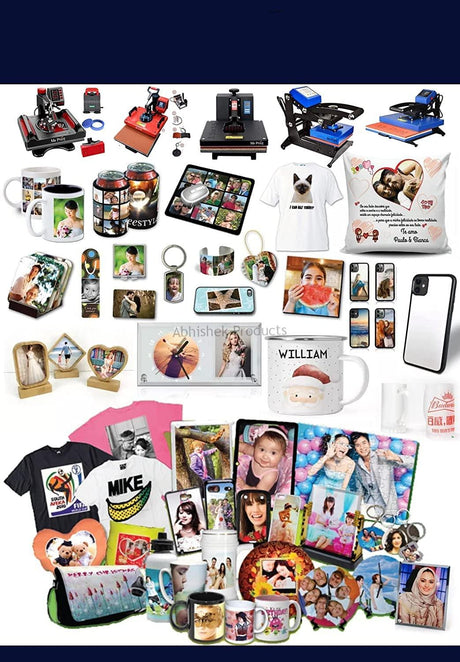
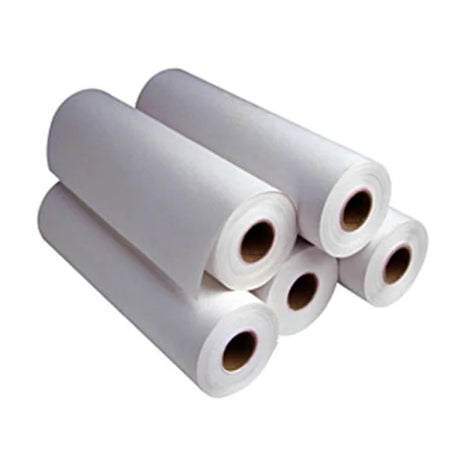
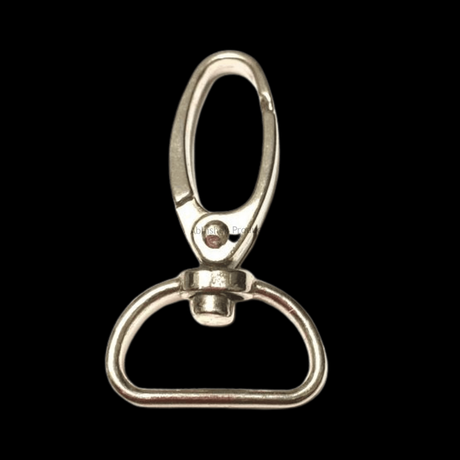
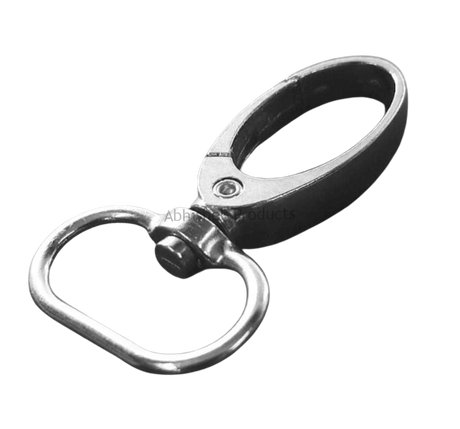
Make id cards, badges, yo yo stickers, badges, name plates using photo sticker(adhesive photo paper) and any inkjet based printer along with rotary cutter, cold lamination machine and respective die cutters.
Hello! everyone. Welcome to another video
Abhishek Products by S.K.Graphics
In this video, we are going to show how to make
ID cards, key chains, badges
retractor yo-yo, and many types of stickers
using our machines
In this video, we show you how to
make stickers for the ID card holder
stickers for badges
stickers for keychains
making sticker for ID card retractor yoyo and
make different types of stickers
In this full video, we are going to
use may type of machines
normal inkjet printer
one cold lamination machine
one rotary cutter
and different types of die cutters
we do all this work in one paper called
photo sticker
I have made already a detailed video on the YouTube
about the photo sticker, I think you have watched that video
In case you guys are not comfortable with the Hindi language
then you can log on
Then you can go to YouTube Channel and you can watch
the same video in English and Telugu
the description
you can check the description you will
find the link for both
we continue our video in the Hindi language now
and this full video we show you many types
of machines and many types of materials
If you want to purchase any products or
machines you can log on to www.abhishekID.com
this website detail is given below description
so that you can visit or open easily
so we start the video
This is our setup today
In this setup, we are going to discuss about it
How you can make
different types of ID cards
different types of key chains
different types of badges
stickers of retractor yoyo
for this full setup
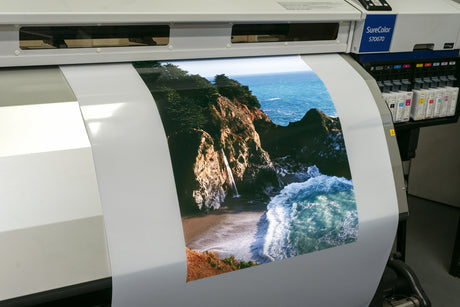
Epson inkjet printer,
You can use any type of printer like canon, HP
but for this demonstration, we are using the Epson
3150 printer
This is 4 colour printer
here we use 14-inch cold lamination which is
made in India
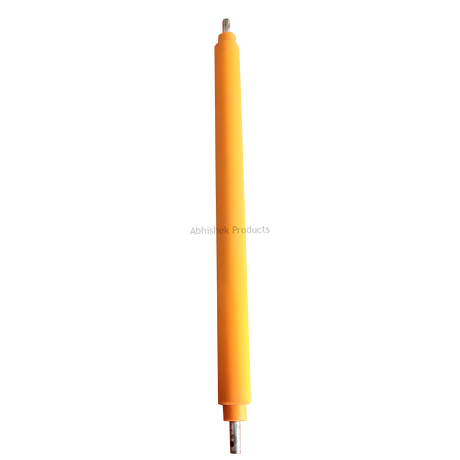
and after this, we use a rotary cutter which
are 14 inches in size
and in this stage and the last stage of
sticker cutting
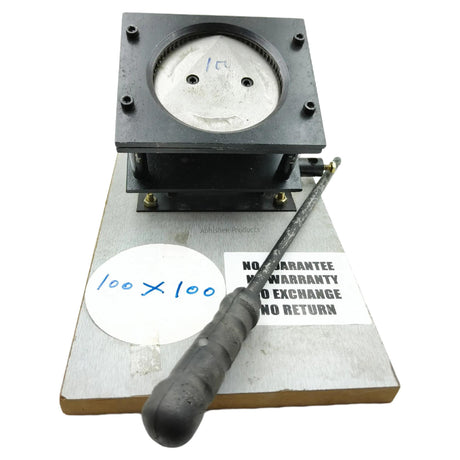
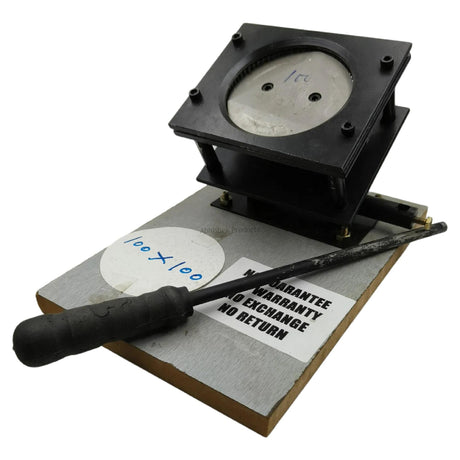
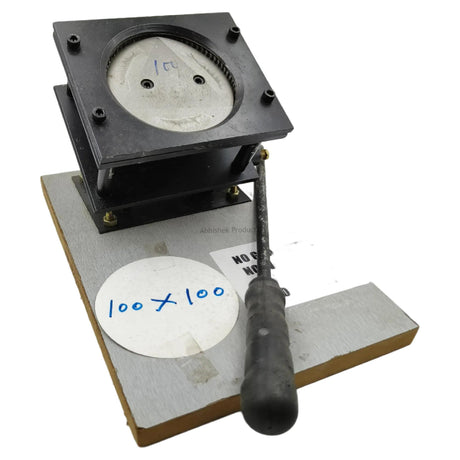
In this, we show you the different types of die cutting
each die
has its own size
you can't change the die's size
the die's size is fixed
In the ID card die cutter only ID card is made
and if you are making the key chains,
the key chains have different types of die
if you are making yoyo, it has a different type of
die and if you are making badges it has a separate die
so in this video, I will tell you end to end process
about how to make photo sticker
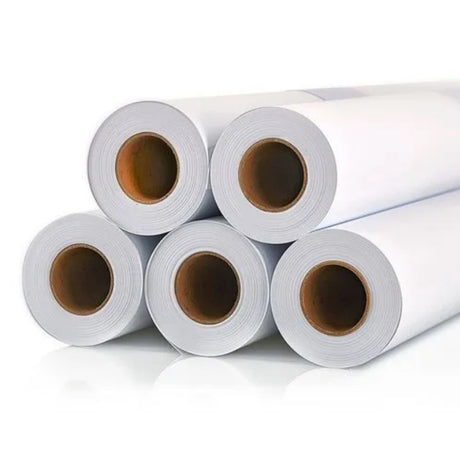
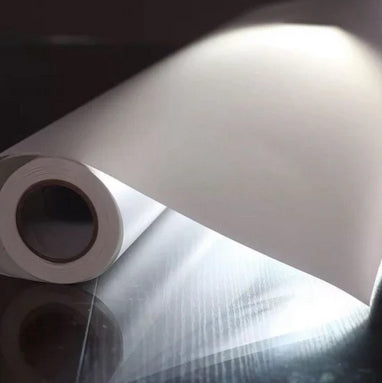
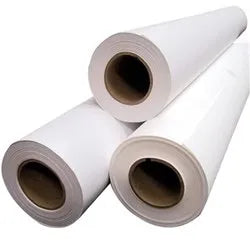
This is a photo paper with sticker, we
call this as photo sticker
using this photo sticker
for this all items
make stickers and branding
you have to paste or stick for ID cards,
key chains, room key chain
how to do that?
we will tell you how to use this product
ID card, key chain, yoyo, for making any product
first, you have to design on the computer
for designs on computers, there is a template
or setting
between two stickers there’s a gap of 5 millimetres
for each machine there is different
setting or layout
we have already designed this layout
setting in CorelDraw
if you want our product or use our product
you can also get this template through WhatsApp
When you print files with this template, it looks
like this
It's one side is glossy paper
This photo sticker paper comes in a glossy finish
when printing we have given a black line
between two cards
so that we know the cutting edges of the cards
we have given a white mask around the card so that it
is easy for die cutting and no other card is wasted
we have given one more line in the centre
we call it the centre line
We cut this sheet after laminating over this
line in a rotary cutter
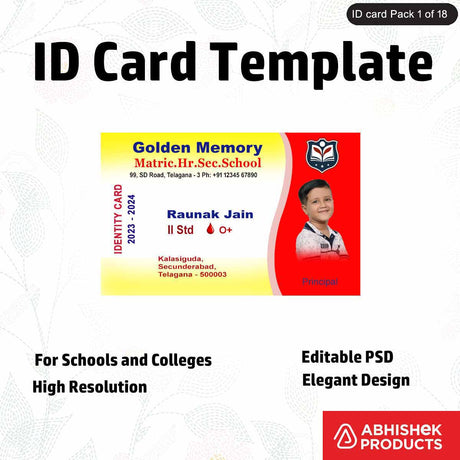
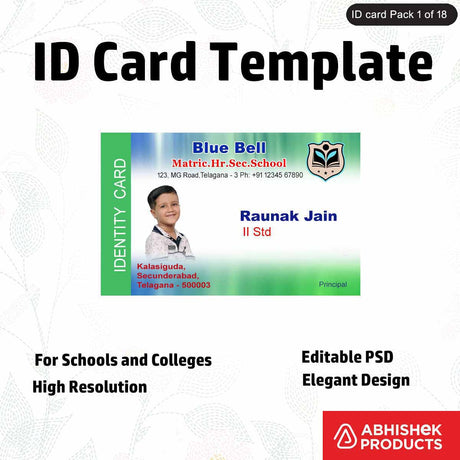
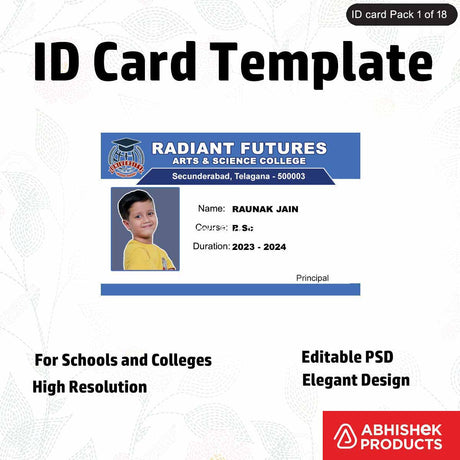
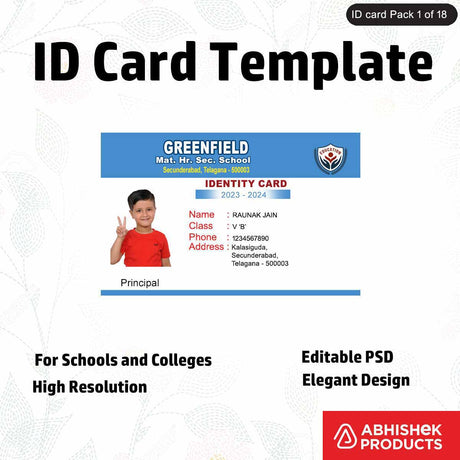
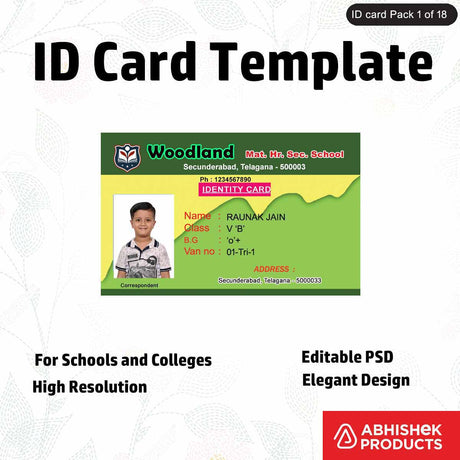
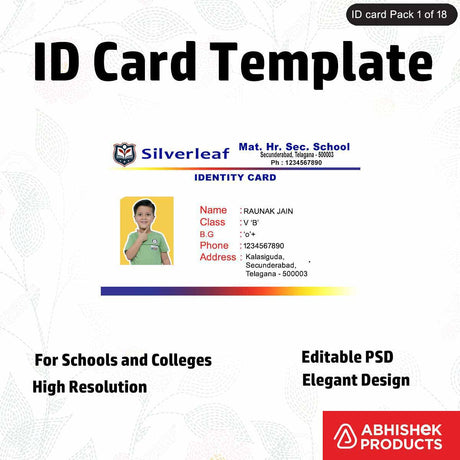
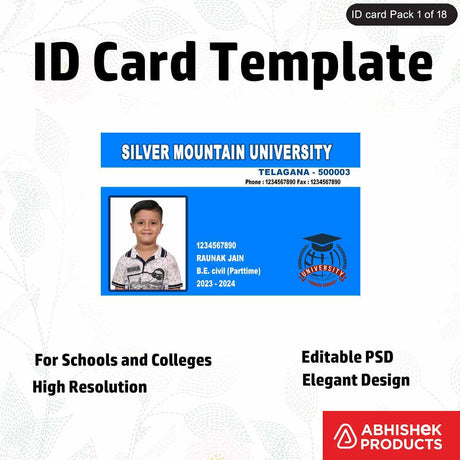
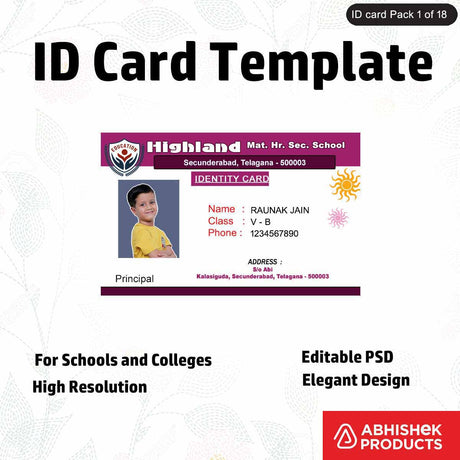
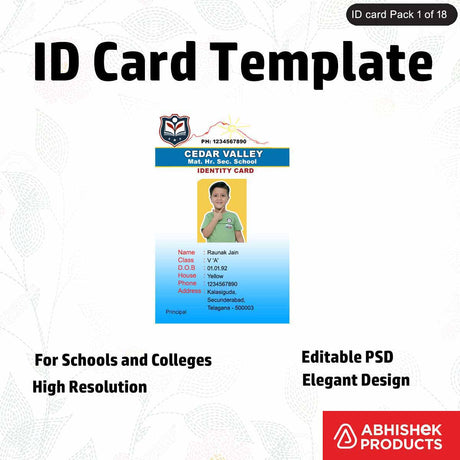
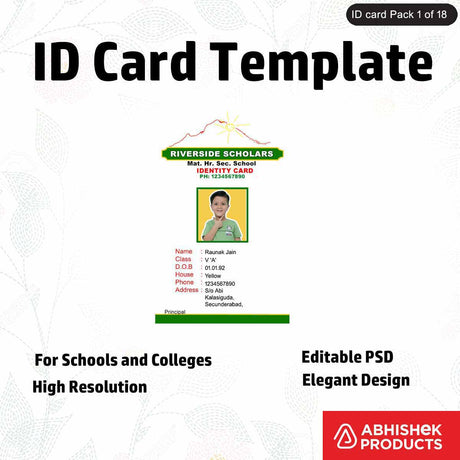
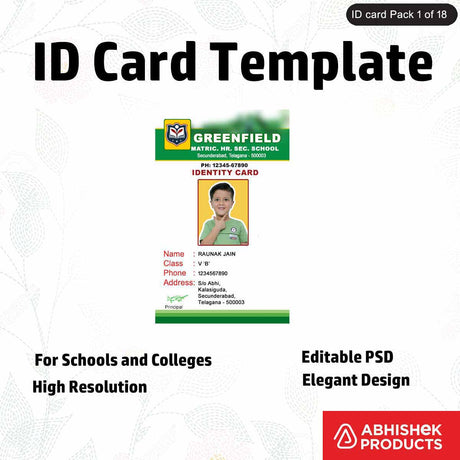
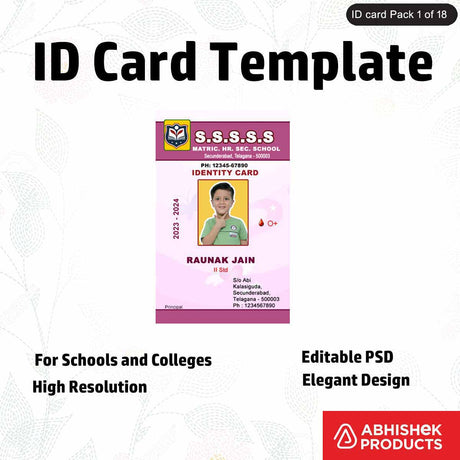
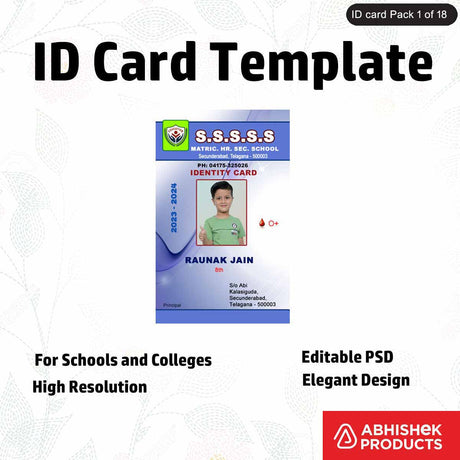
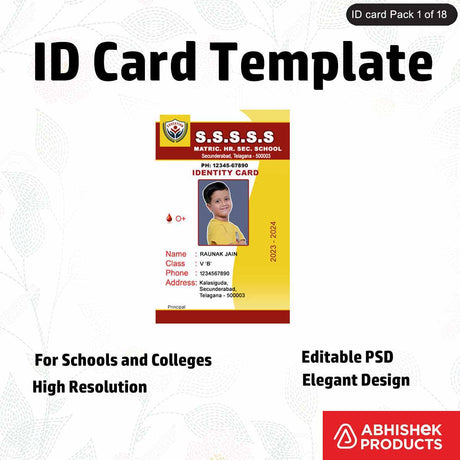
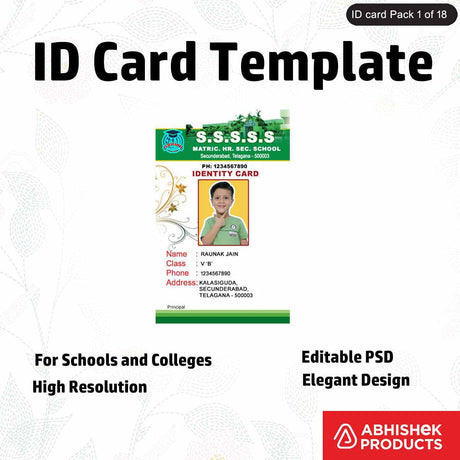
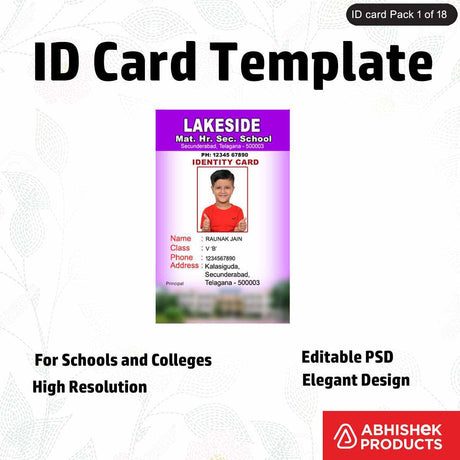
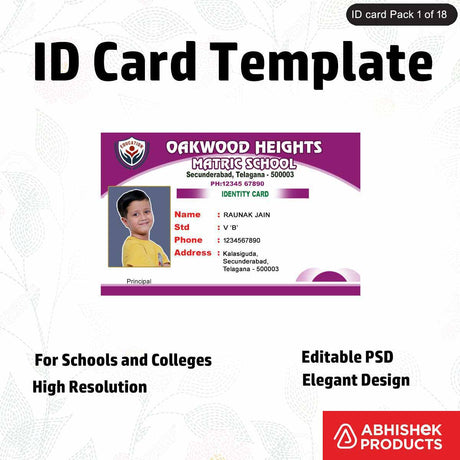
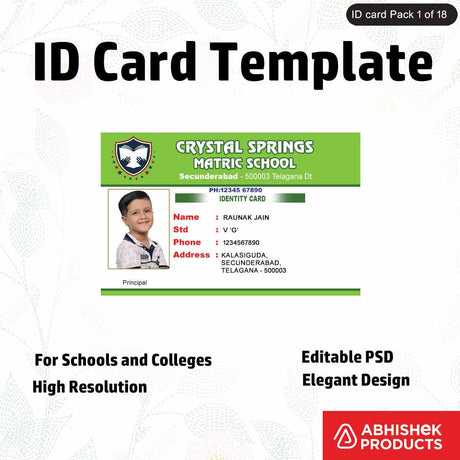
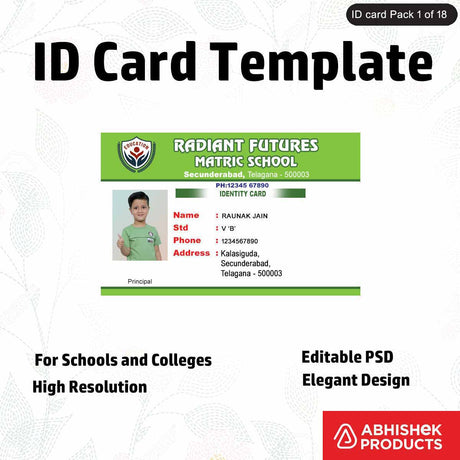
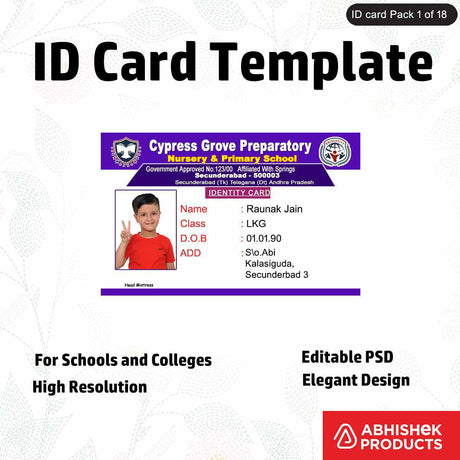
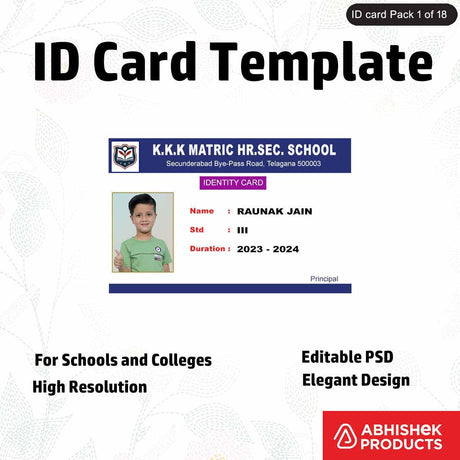
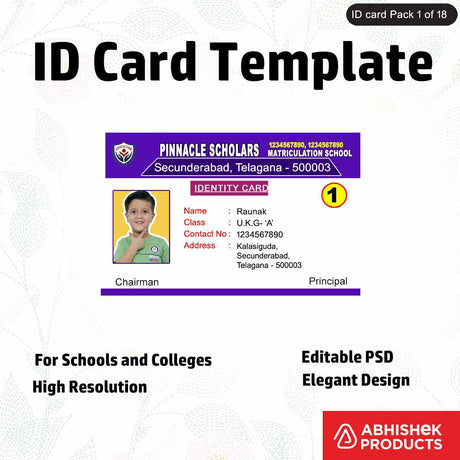
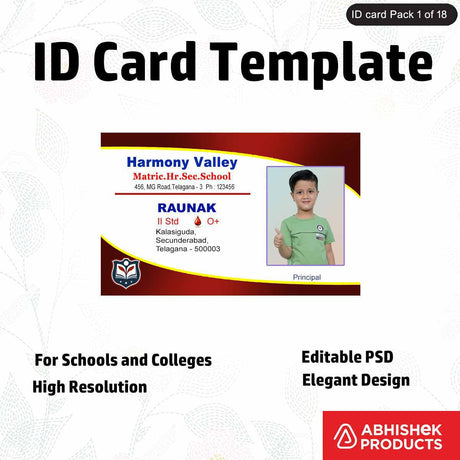
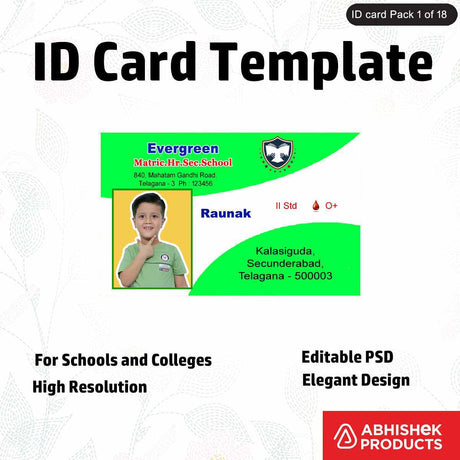
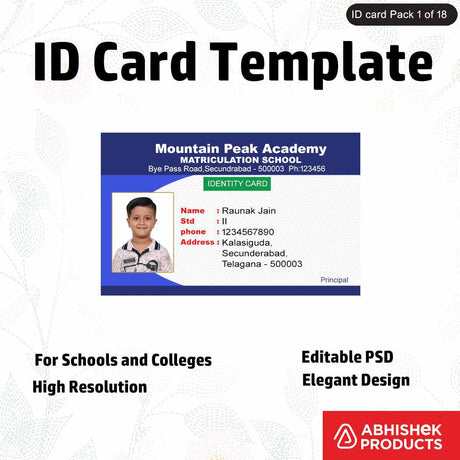
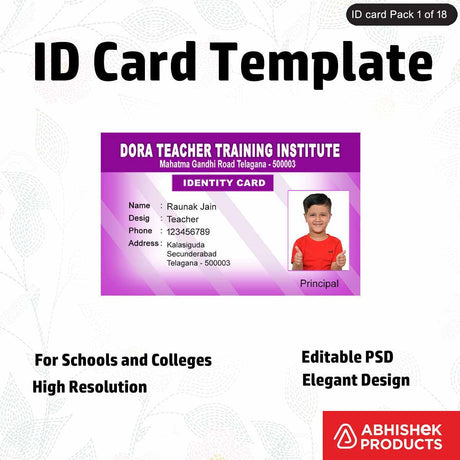
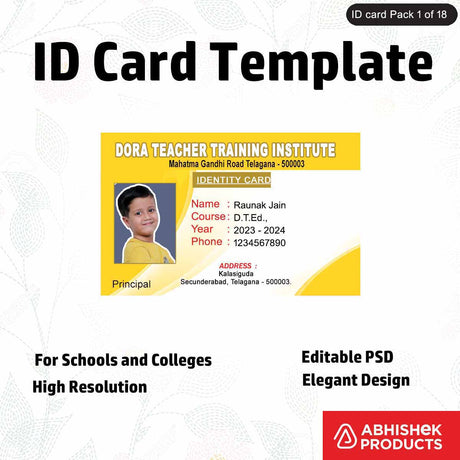
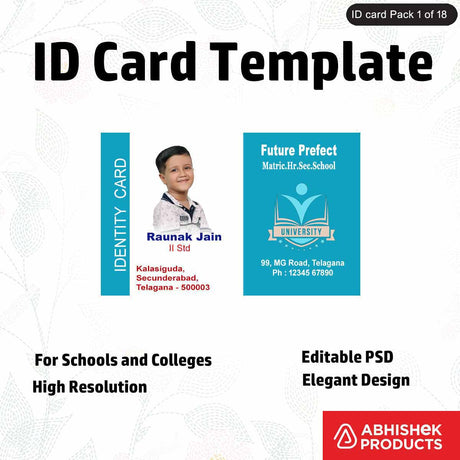
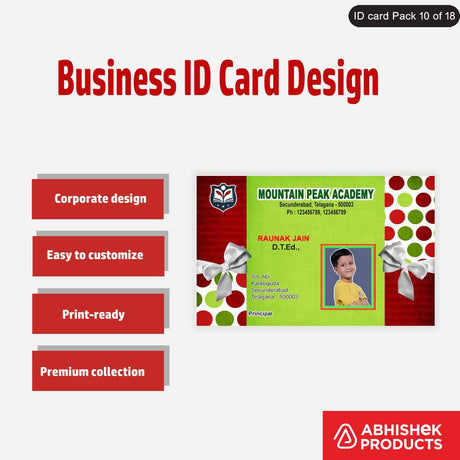
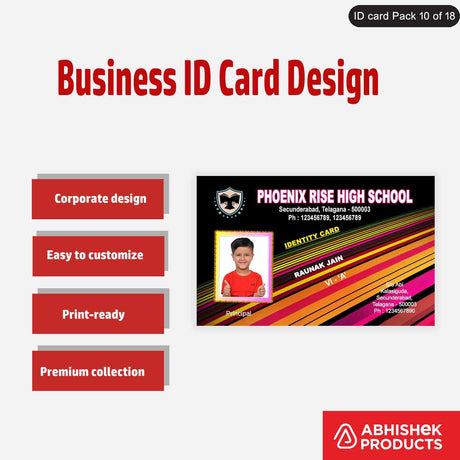
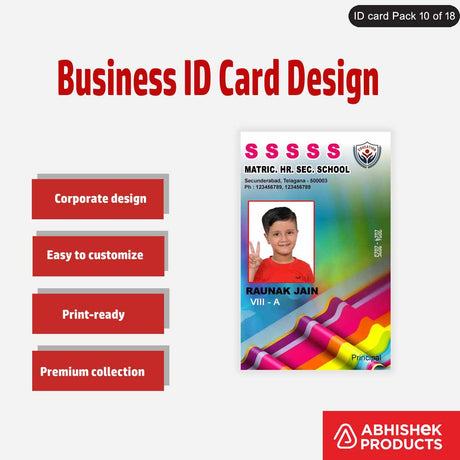
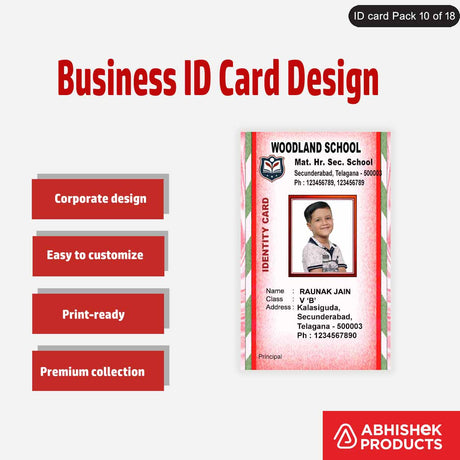
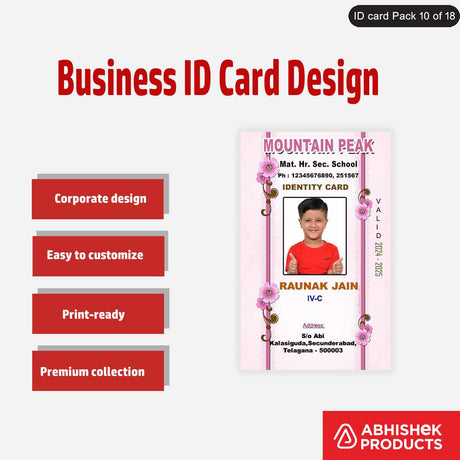
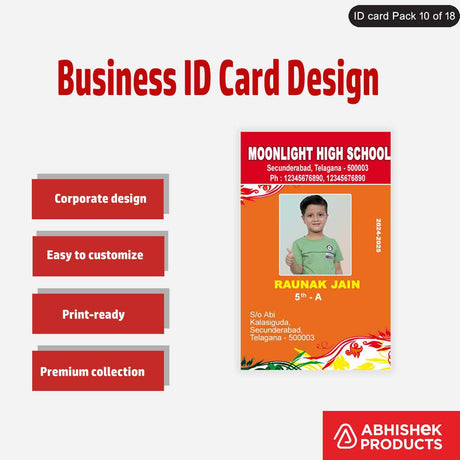
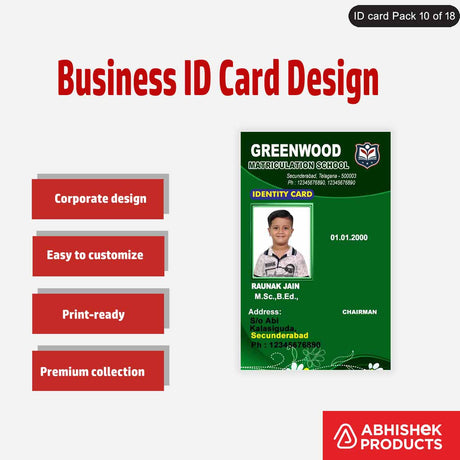
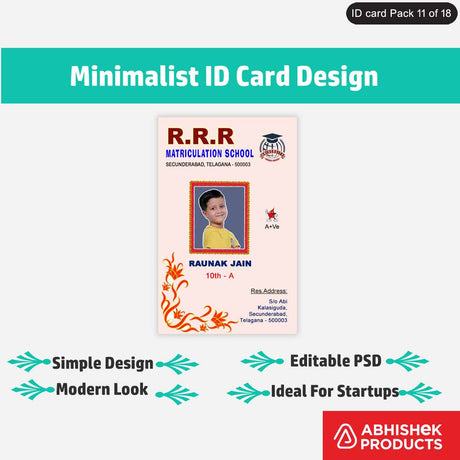
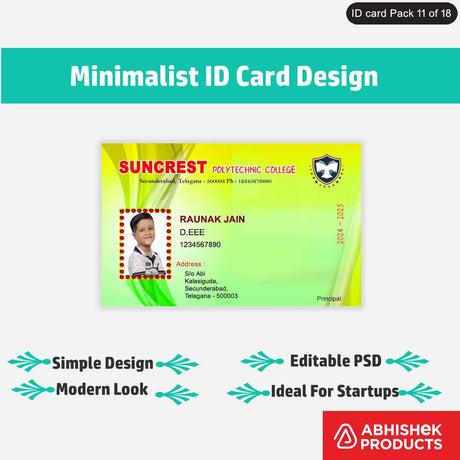
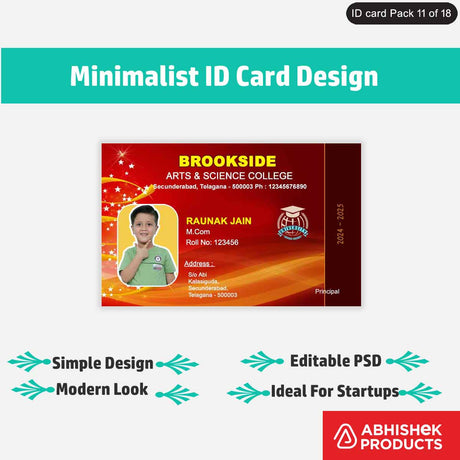
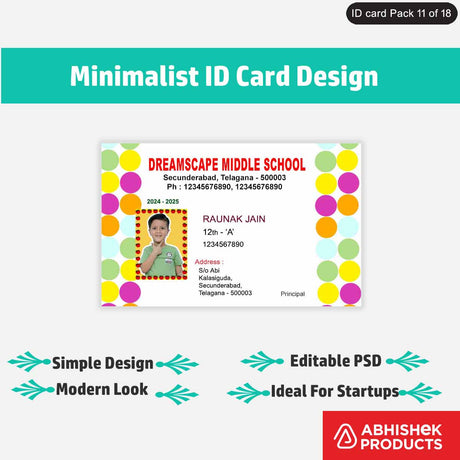
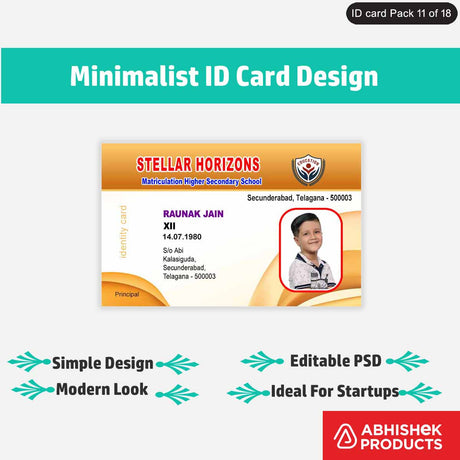
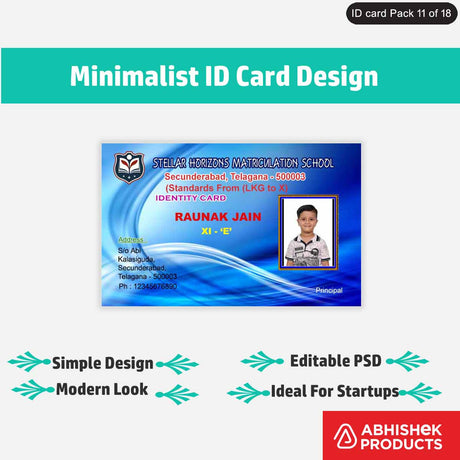
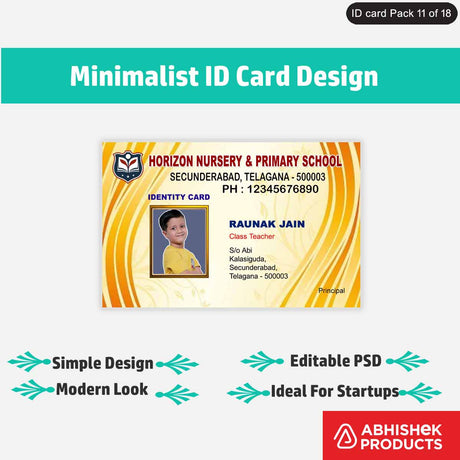
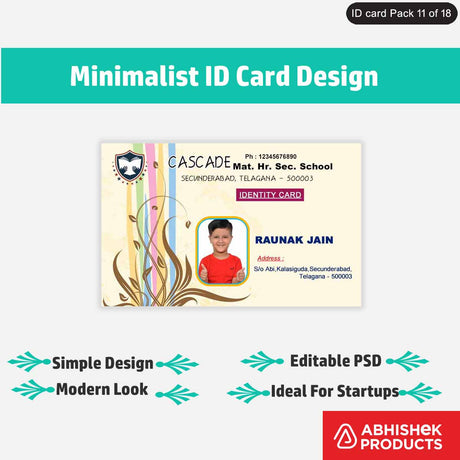
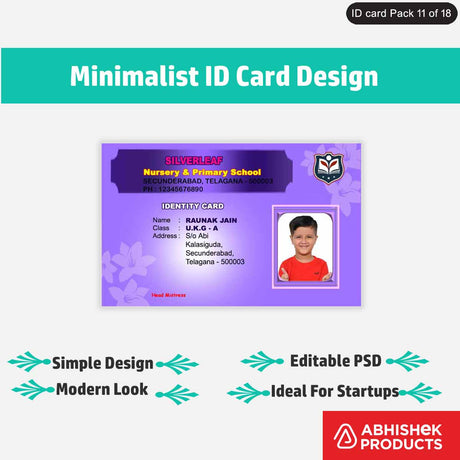
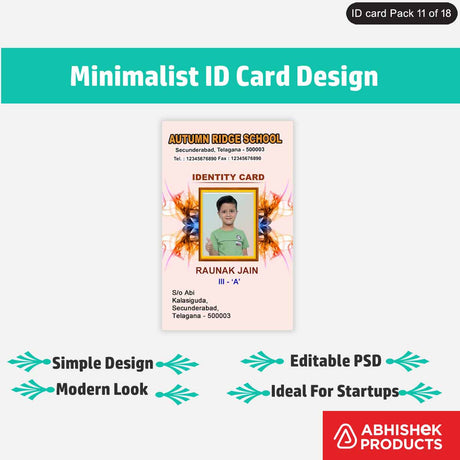
This is the sample template for ID cards
In this state, we are going to do the cold lamination
with this cold lamination machine which has a handle
On one side and the top, there are two screws
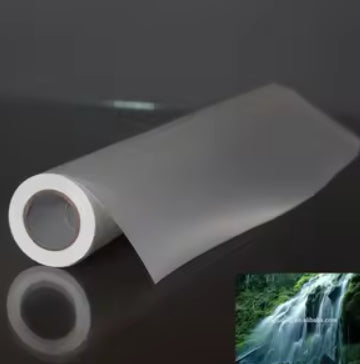
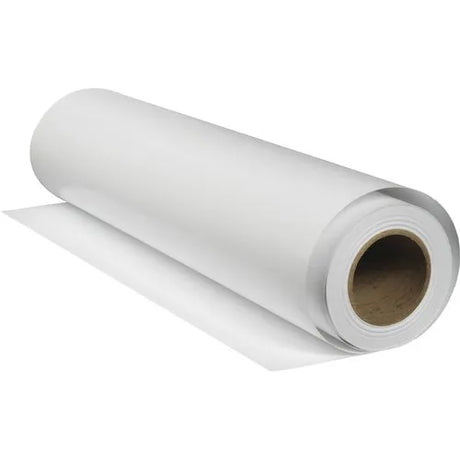
Here we are going to use a cold lamination roll
Its height is 13.5 inches and the length of this roll is 50 meters
This comes in 125 microns thickness
What is a cold lamination roll?
The cold lamination roll is a
plastic sheet of 125 micron
one side of which is a glossy finish
and the other side is a sticker
and on the back side, it has a sticker and
the release paper
This sticker side stick over the paper and
make the photo sticker paper waterproof
This sticks over any surface like matt or glossy
if it has a rough finish also it becomes
waterproof when you stick this
Now I'll show you how to use cold
lamination machine
for this first, we use 4 or 6-millimetre foam board
which we can get in the big stationery shops
we have put the foam board slowly in the machine
giving pressure on the roll we
have inserted the foam board
we have pulled with the handle
we have to adjust these two screws loose to tight
so that foam board fits in the machine
We have already cut a piece from
the roll which is slightly bigger than the A4 size
first, we stick this on the board
crease the release paper like this
after creasing, reverse the paper and stick
it is on the board
now the release paper is at the back
and cold lamination film is at the top
Now we keep the printout,
which is ID cards print out
we pull the release paper upwards slightly,
and insert the printed paper inside
printed paper is facing upwards, now
we pull the release paper towards us
now we roll the roller
because of the roller pressure the cold laminations
plastic has stuck over the printed paper
as we have rolled this machine in well
tight-fitting, there is no bubble in it
now it has become waterproof
This is our output
this has got a glossy finish, plastic coating
and becomes waterproof
We can see no quality is lost, we can
see the barcode, and signature well
Now we are in the rotary cutter stage
now we are going to cut the cold laminated sheet
in the rotary cutter
This is the special rotary cutter
which is a 14-inch length
In which you can cut up to 500 micron
plastic sheet easily
our lamination sheet is 125 micron
so it cuts easily, it's very sharp,
accurate cutting is got with this cutter
this can cut 1-millimetre edges, and you can
see the speed of this machine
you don't need to give extra pressure on your hands,
and work is done with good finishing
this round blade is doing all these works
small edge is also cut well, no other
the cutter can cut like this
now we have put the centre line in the rotary
cutter alignment
and roll the blade
that's it
These are our vertical strips, in which
we will die cut in the next step
we have come to the last state
Now we are going to cut the
laminated and printed sheets
now we are putting the strip that we cut in the
rotary cutter in the die cutter
after putting in the die cutter see the
edge and place it correctly, and cut like this
we have cut the stickers
see the finishing and round corners
we have got the glossy finish
and waterproof quality
Now we take the sticker and remove
the release paper
We have printed the photo sticker
so it has release paper in its back
Now we place the back side of the
ID card like this
Slowly we paste this and pull the release paper
completely
This sticker and the ID card holder are 54x86 millimetres
so that it correctly fits in it
and the ID card is ready now
The same methods are applied to make different
types of products
you just need to take different
types of printouts
If you want small size ID card you
must take the printout in that size
if you want keychains you have to take
the round layout printouts
If you want a tiffin key chain or belt buckles
you have to do it in this square layout which
is more popular in political party elections
similarly, if you are making the 25 x 55 millimetre
lunch bucket key chain
or hotel room key chain you have to
change the layout
its size is 25 x 55 millimetres with
margin and spacing
similarly, with a 22x71 millimetre ordinary die
cutter you can make the badged like this "HEAD PROFESSOR"
"HEAD BOY", "HEAD GIRL"
you can make these badges
If you want to make big-size badges you
have to design in the big template
Its size is 29 x 84 millimetres
like this printout comes in A4 size
and the last is retractor yo yo
Which comes in two sizes
the layout is like this
If you want all layouts you can message
through the WhatsApp number given below
so that we will share all the layouts
and this was our basic demo
This was the full process of how to make labels, stickers
using the photo sticker paper
using the Epson printers
afterwards, the product comes in
cold lamination machine comes
Then it goes to the rotary cutter for cutting
and in the last stage, it comes the die cutter
the process is the same and the method is the same
only the last step changes that are die
cutting method changes
The design printout from the computer changes
and the die size cutter you use
at the last changes
and the process in the middle all are same
The essential product in this all process
is photo sticker paper
and this was our full demo
and don't forget to like, share and
subscribe this video
so that we know that we are doing well
and make many more videos like this
If you want to purchase any product shown here
you can go to the website
www.abhishekID.com
on this website, you can order all the products online
and you also get home delivery also
In case you want any enquiry or have any doubts
put the enquiry in the comment box below
and give your WhatsApp number,
from there we contact you
Thank you

