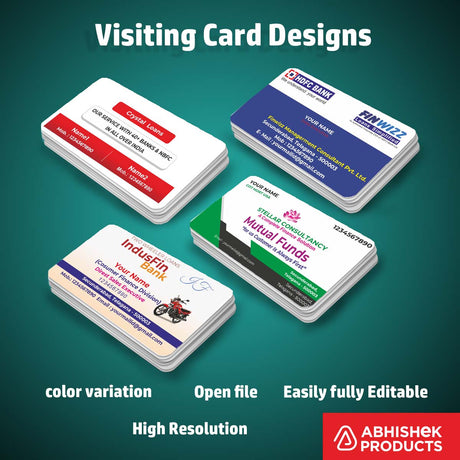
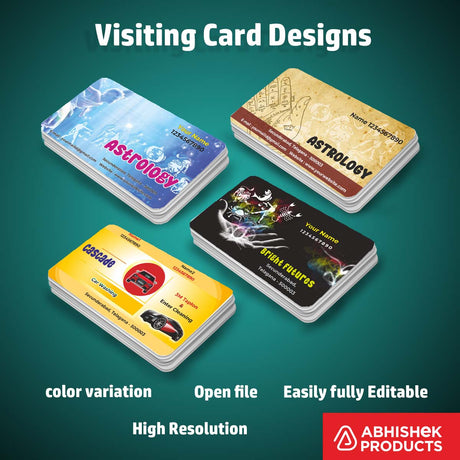
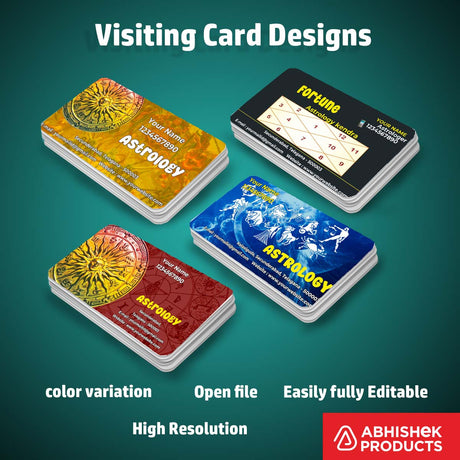
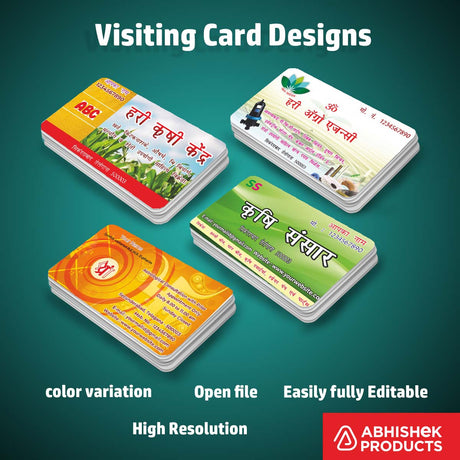
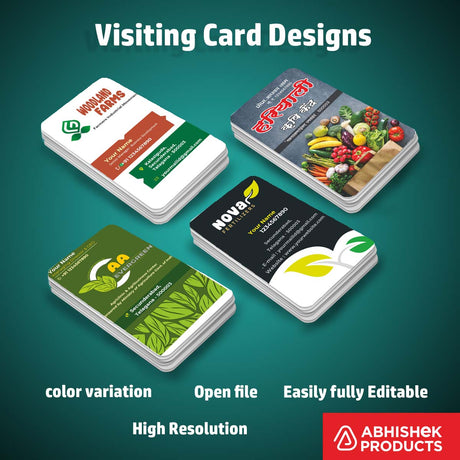
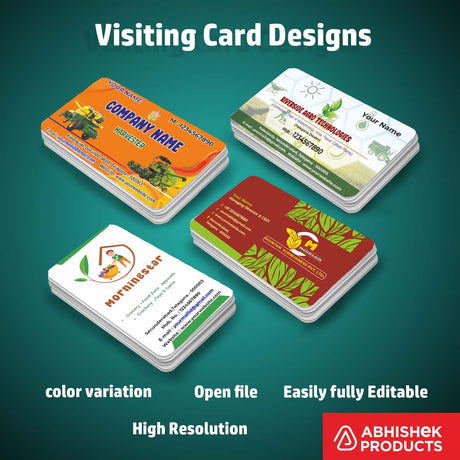
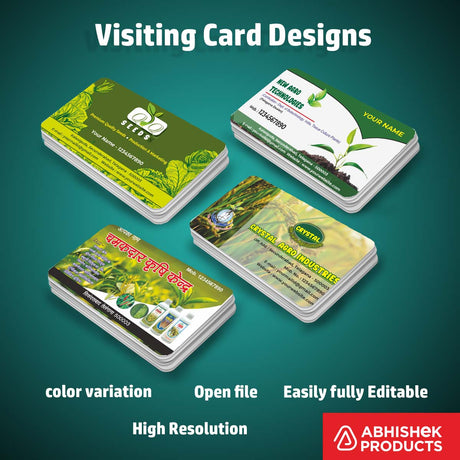
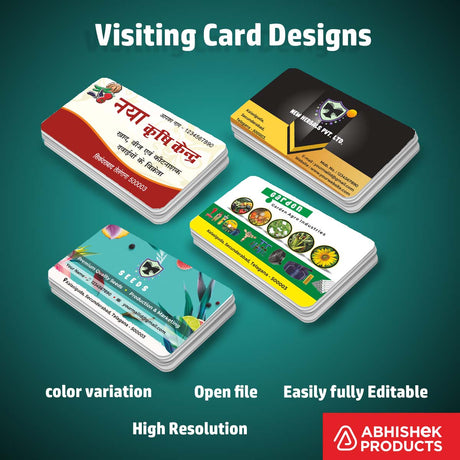
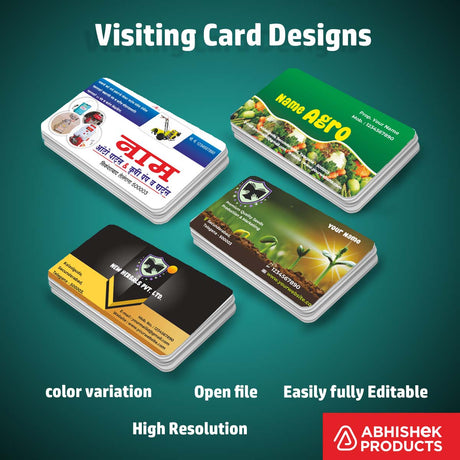
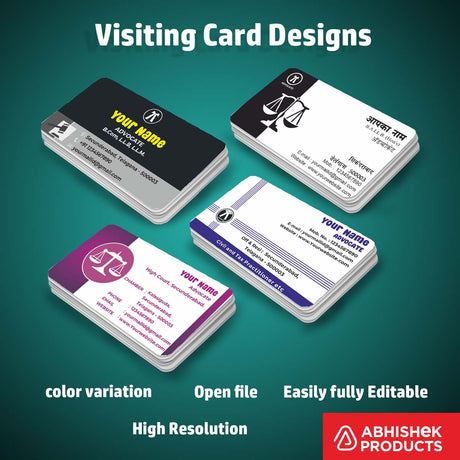
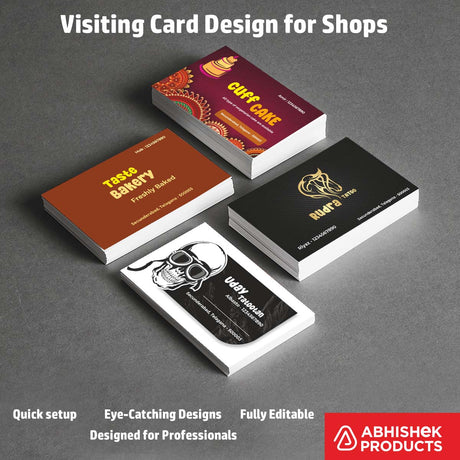
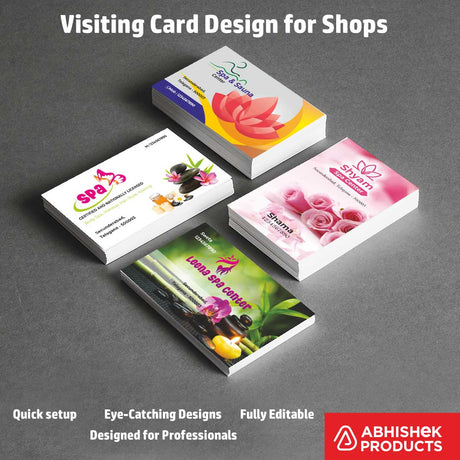
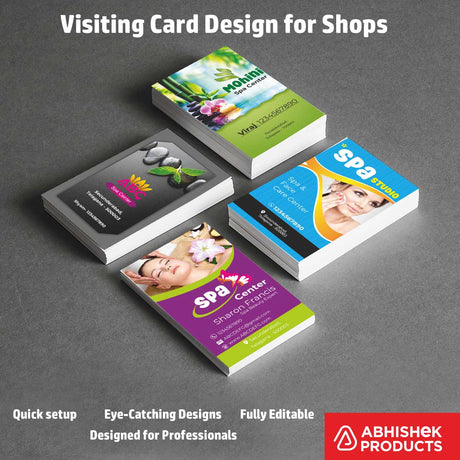
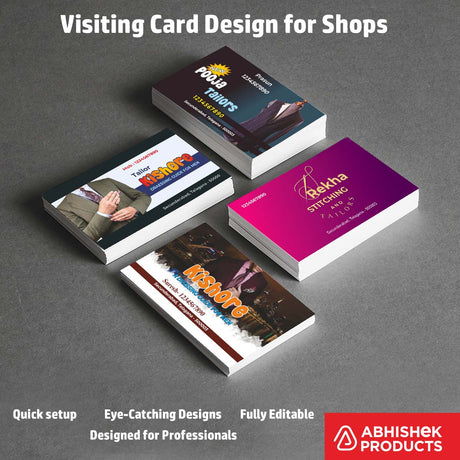
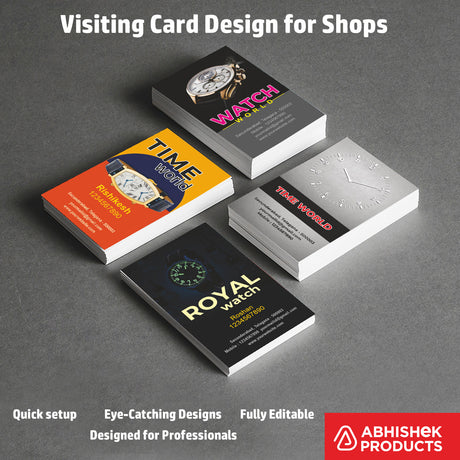
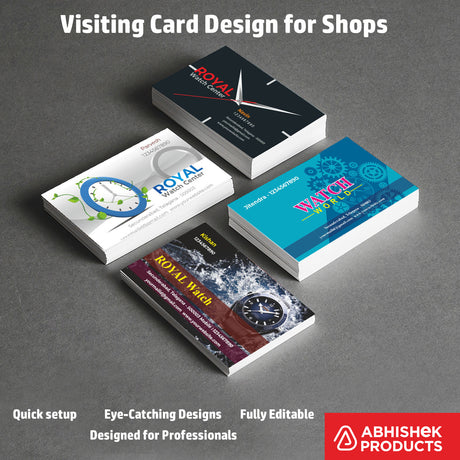
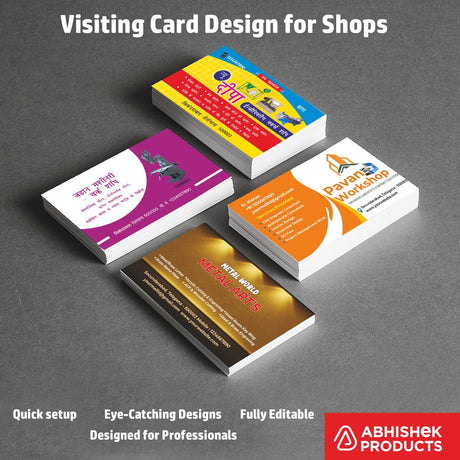
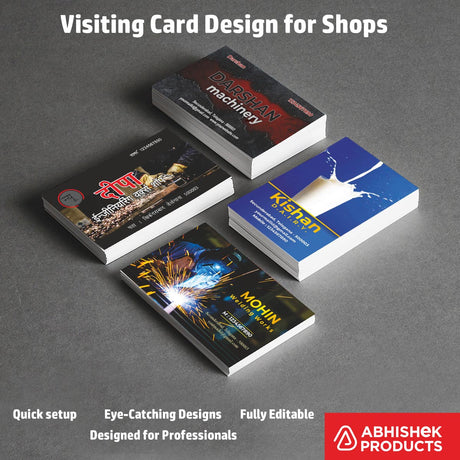
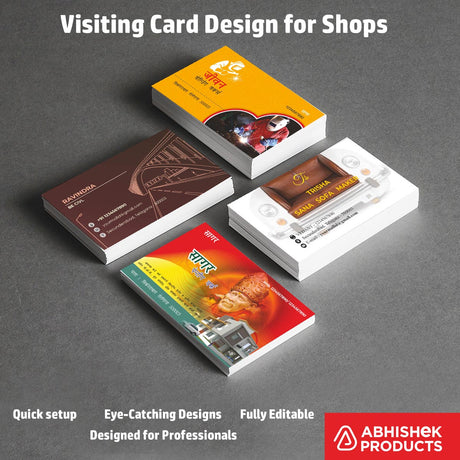
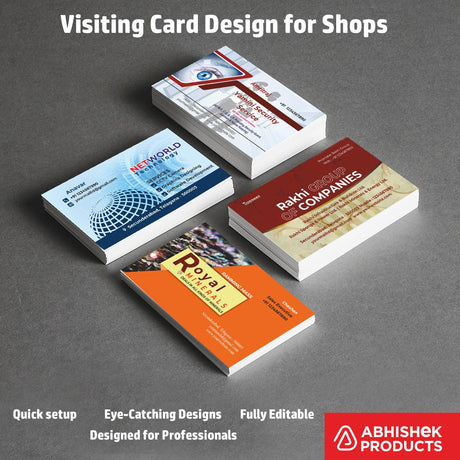
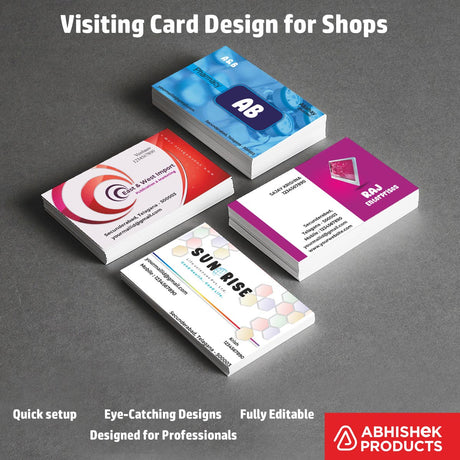
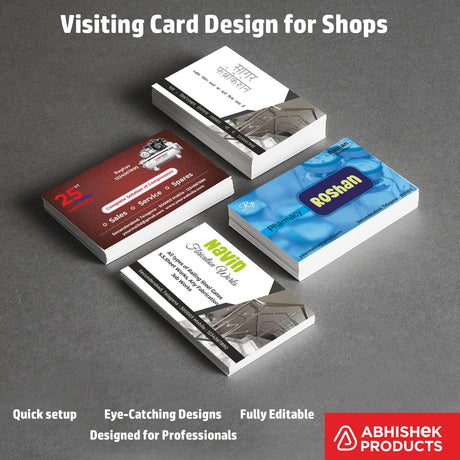
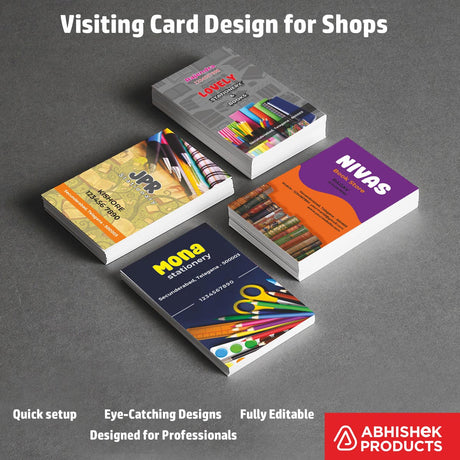
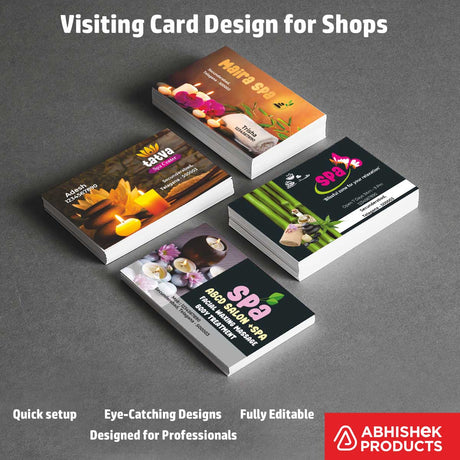
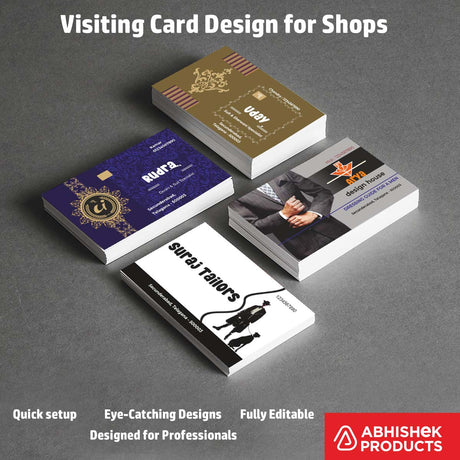
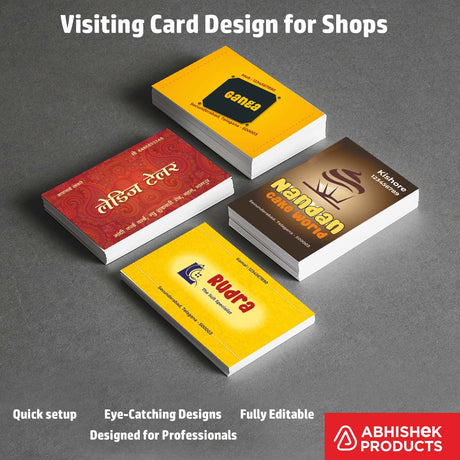
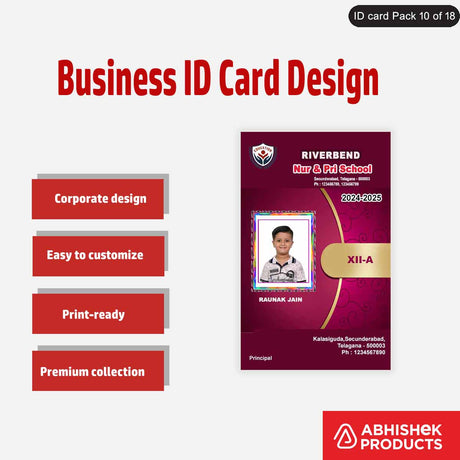
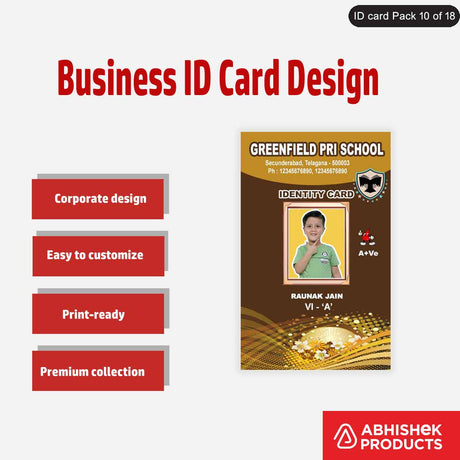
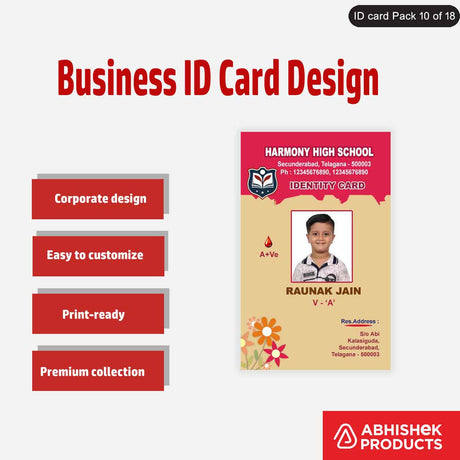
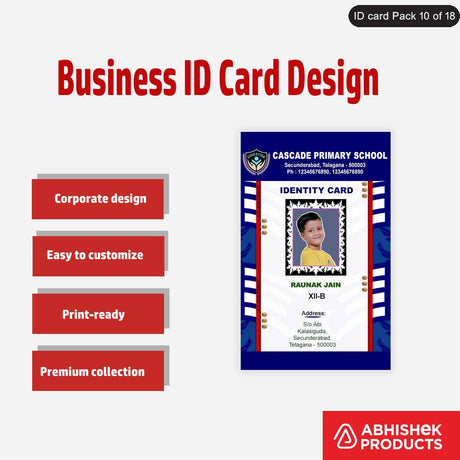
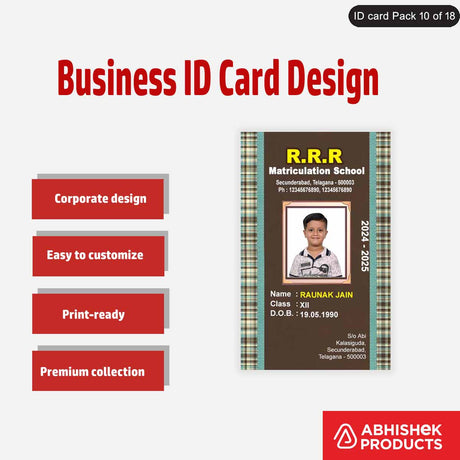
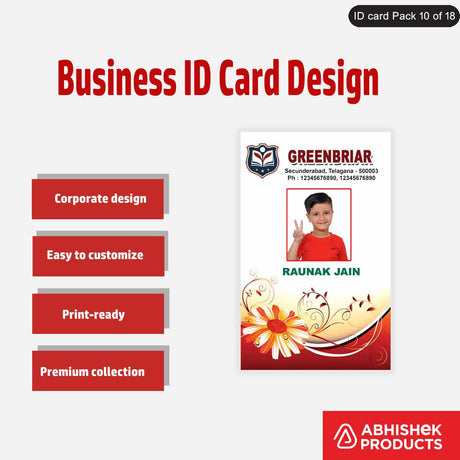
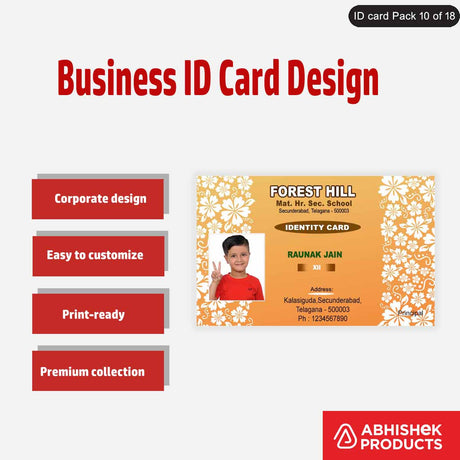
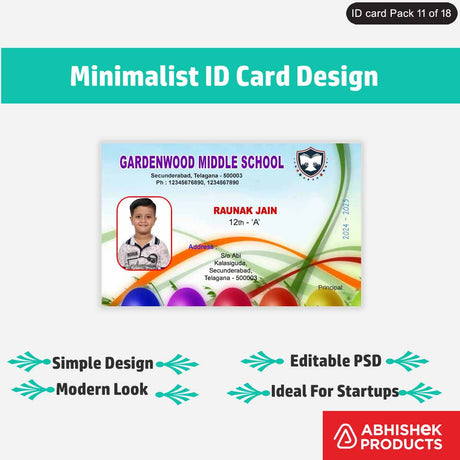
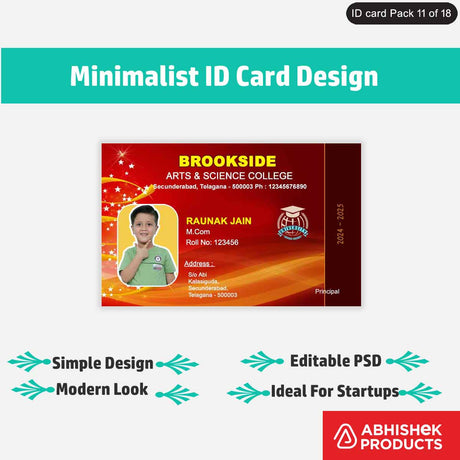
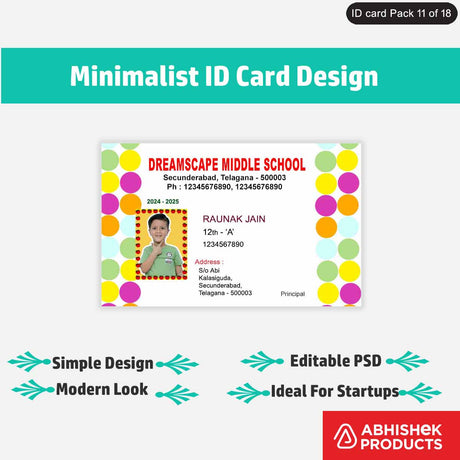
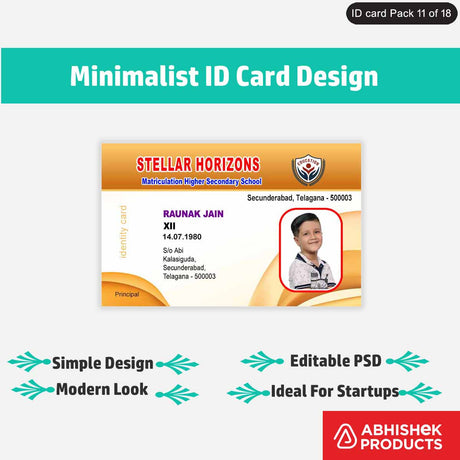
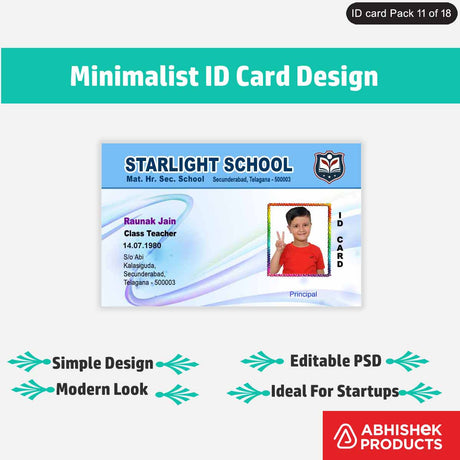
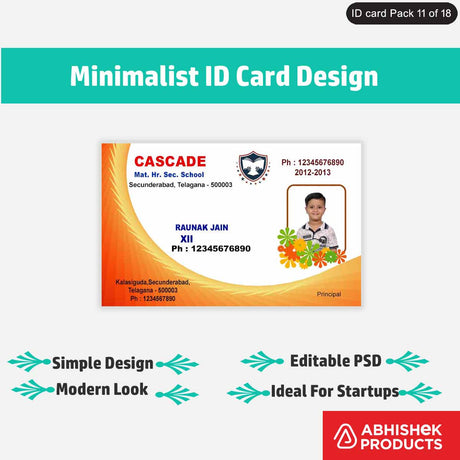
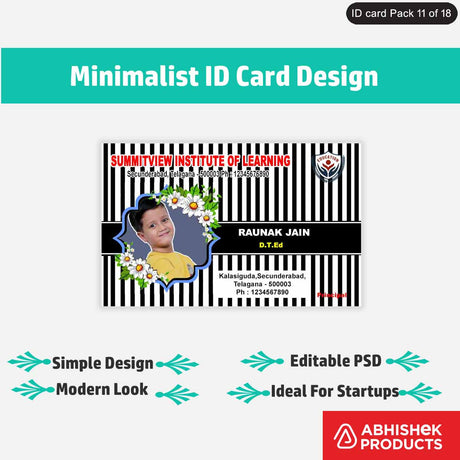
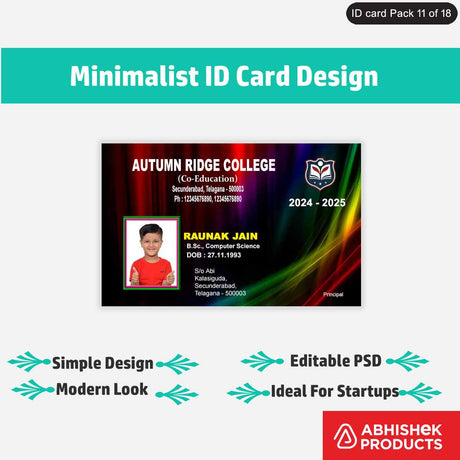
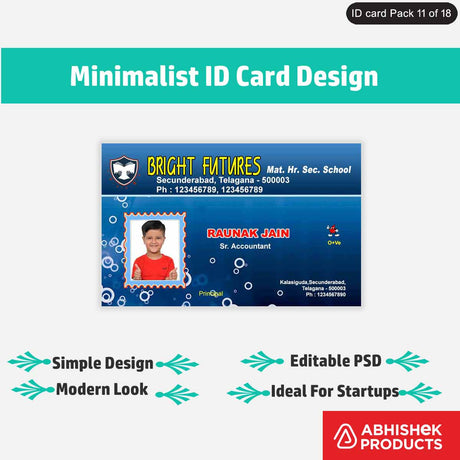
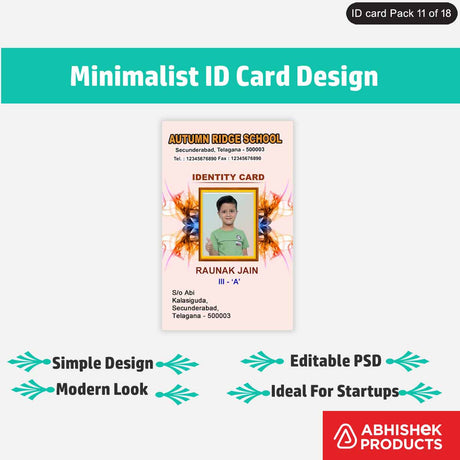
Design and Create your Own Button Badge with a strong pin back .Customize your round pin-back button badge just the way you like it.44mm &58mm pin back button badges.Affordable, Easy, Fast and Cheap Button Badge.
use 4-colors ink and high quality coated art card paper for better printing output
Hello everyone!
I am Abhishek Jain with
Abhishek Products by S.K.Graphics
This is my WhatsApp number
if you want any products shown, or if you
have any interest or if you want to purchase
so contact through the given WhatsApp number below
Today we are going to talk about button badges
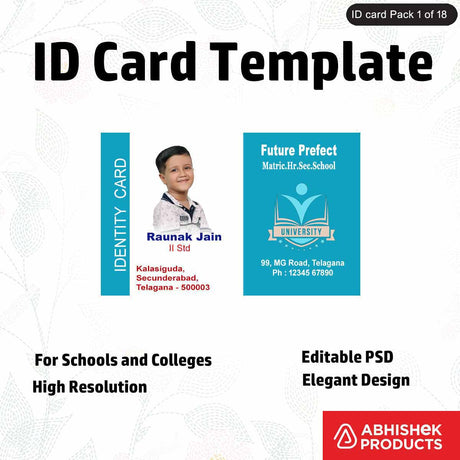
As all of you know that we provide
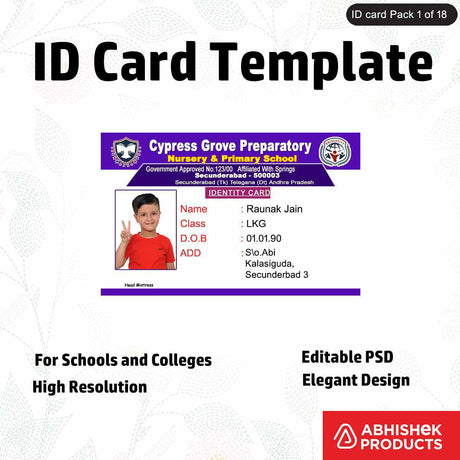
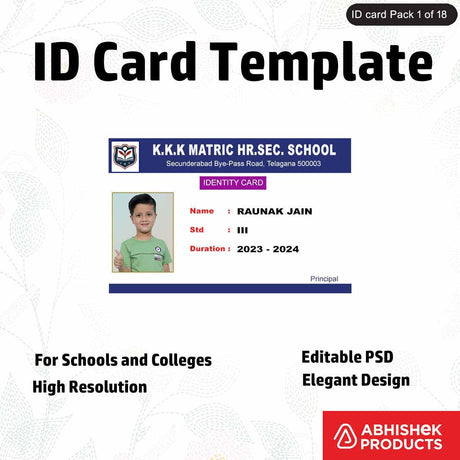
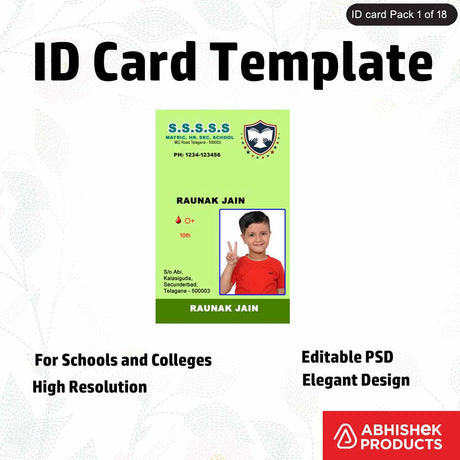
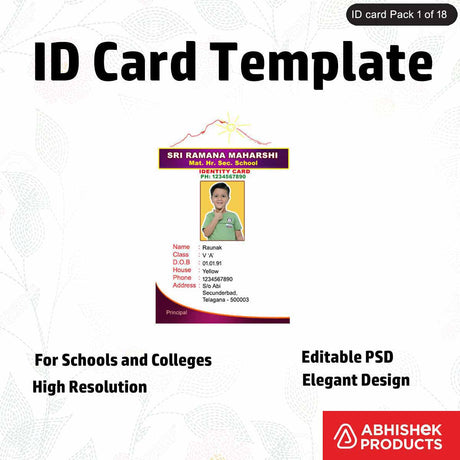
ID card lamination, binding industries
all types of machines and materials
and we keep technical expertise
in this category is the button badge
In this full video, we are
talking about the button badges
we are going to give technical details and ideas
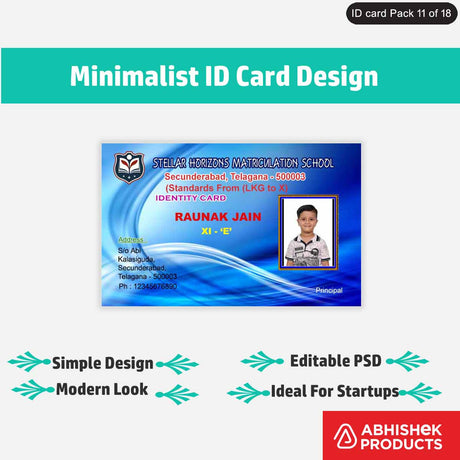
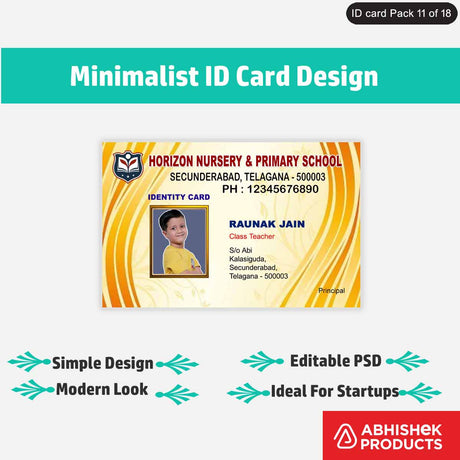
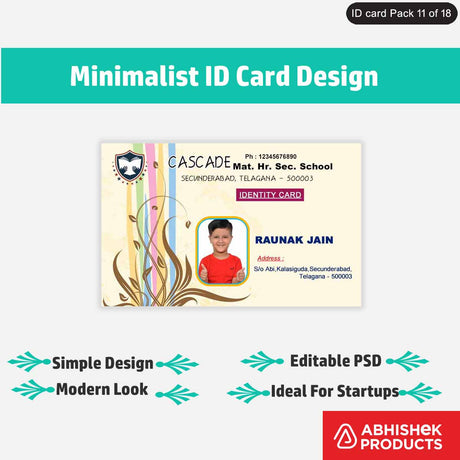
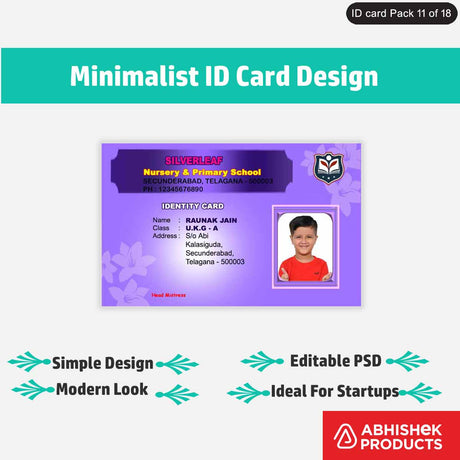
so let us start with our design
This is our CorelDraw software
in which we have set up A4 size
In the A4 we have made
small, small design's ups in it
we have duplicated the design we say it as "up's"
and this the technical details about that up's
if you don't understand this
technical details don't worry about it
we will share the soft copy of this also
so that you can use the same
template and start printing
here we have set up in the A4 size
paper, just give the print option (ctrl+p)
and we have selected the printer L3150
and in the preferences, we have selected plain paper
with standard quality, if you want to
increase the quality you can increase
we have applied the quality changes
and we have printed it
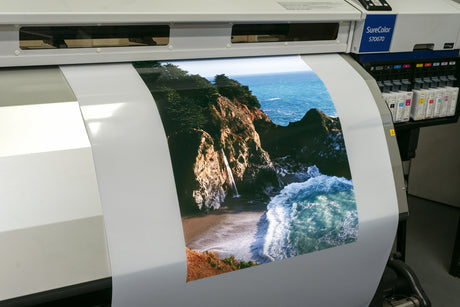
for printing, we have used our Epson L3150 printer
when you are printing
we suggest Epson's inkjet printer
the investment for this printer
is less, not the big investment
you can purchase this printer also
we are an authorized distributor of
Epson in Hyderabad, Telangana region
we will send through parcel or
through transport when ordered
this printer is ideal for low-volume printing
this printer is enough for button
badge because it is a retail business
but when you take a big business like
political badges or wholesale business
for that, we suggest outsourcing printing
in big 13x19 printers in the market
for paper printing only
and the paper printing is done in
this printer with the Epson inkjet printer
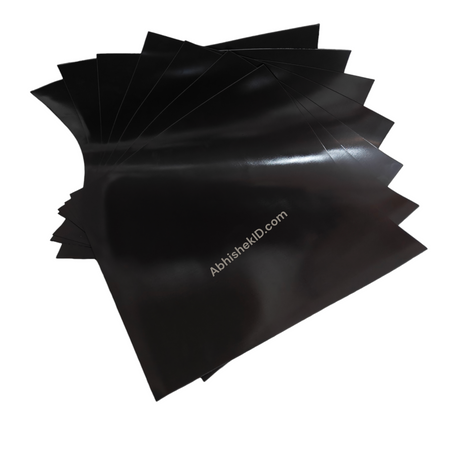
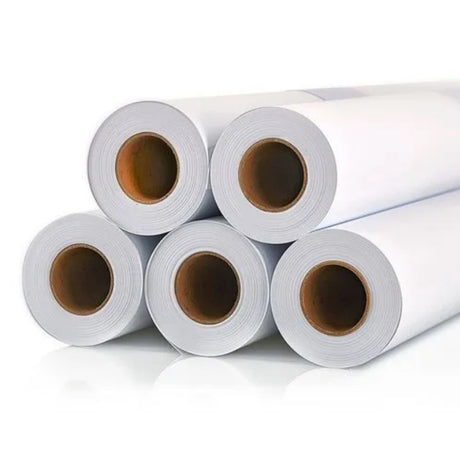
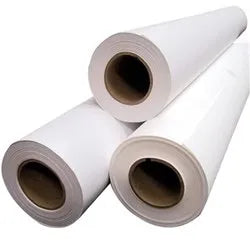
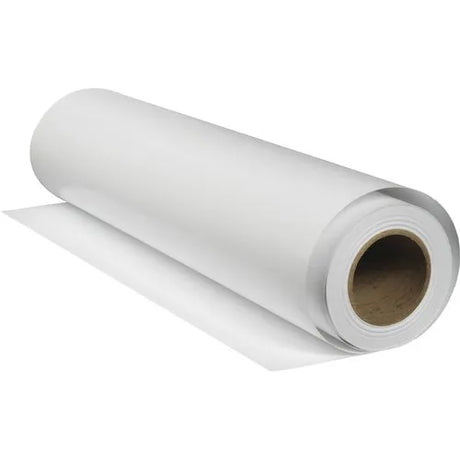
here we have used 130 gsm photo glossy paper
if you want to take some print out in 13x19 printer
for that, you use 130 gsm glossy paper
now we cut the up's
we cut through the black line
length cutting will be like this
we have used full scape size legal cutter
keeping the paper in a
the straight line we cut this paper
we can cut this paper easily like this
now you may think why we
are not cutting with scissors
because we have to do the
work quickly, fastly, and neatly
so we suggest buying the
paper cutter for this kind of works
so use this cutter for cutting
so your work will be fast
if you are one man army, now a day
all over India, this pattern is going on
In many shops the owner
itself does all the work (one man army)
so we suggest buying these machines
so that your work is fast, neat, and correct
and after that, you have to
put in the round cutter like this
we have to adjust the paper like this
and give power using the handle and punch
now we have cut the paper
the width of this paper is 70mm
this is 70mm in width (diameter)
and this is 54mm width
now you think why we are using two-size cutters
because the button badge is
available in two sizes 58mm and 44mm
and for two badges two different cutters are used
you can get this two cutter
from us, we can supply for you
this is 54mm width
and this is a 70mm width round cutter
if you want to make a badge of 58mm badge like this
then you use a 70mm cutter
when you want to make 44mm
badge, you use 54mm size round cutter
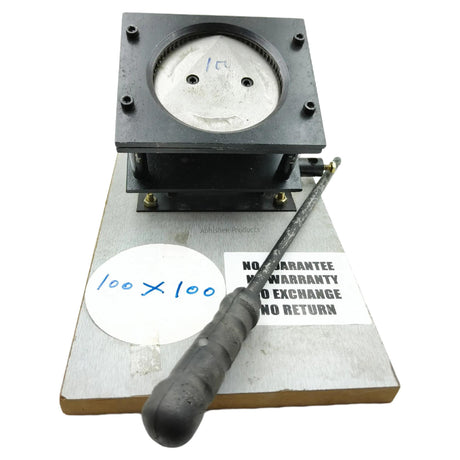
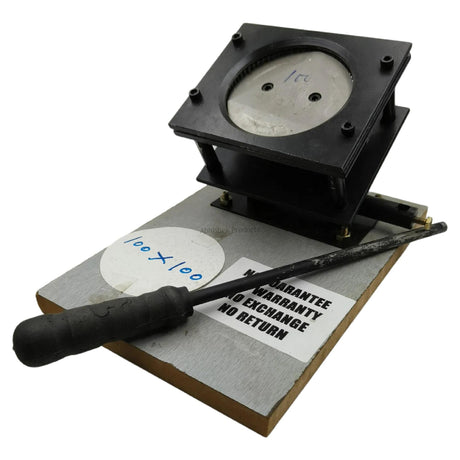
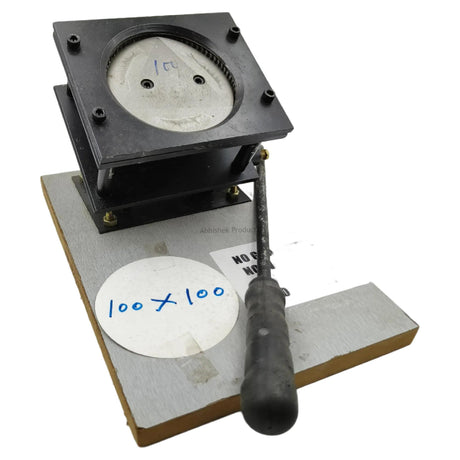
similarly, this is our button badge-making machine
this is the red colour pressing machine
and underneath is the aluminum mold
this is the mold of an 8mm button badge
this is a 44mm button badge mold
These two mould fit in this machine
at a time one mold is fitted and used
we have fitted a 58mm mold
this 70mm will be compatible with the 58mm mold
which will go inside the 58mm badge
for this, we use a 58mm mold
now we tell you how to make a badge
first, we put the round metal sheet
I do one thing, I will tell you what are
raw materials used for making button badge
when you order a button badge, we supply these three items
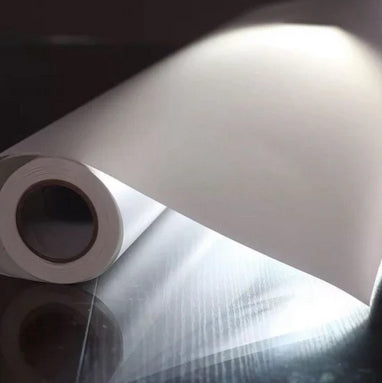
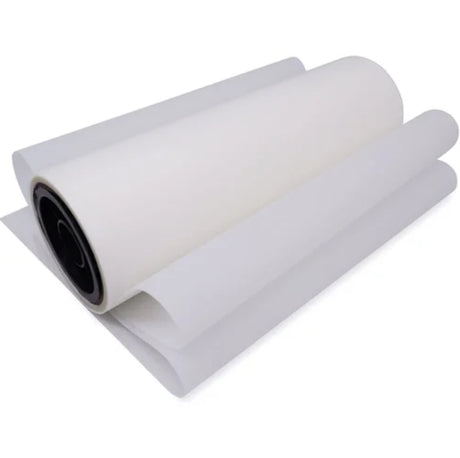
first is round transparent OHP film
and the second is a round metal plate
this is the metal plate, we supply this
and then we supply plastic
badge or plastic base with pin
These three products make one unit
we supply all units in a set
the paper you have to print yourself
with your individual design
if you want to make a button badge with this machine
first, you have to load
metal plate
then you load printed paper
then you load transparent OHP film
then slide this and keep one hand behind
and press the handle hardly
now we see that the badge we put here was
gone, it has gone to the upside aluminum mould
how it will come down
how it will fit in this plastic base
you have to put this plastic base upside down
upside down, the pin must face toward you
this pin will be like this
the badge will be like this
you have to slide this mold
keep one hand behind
and press it
and your badge will be ready
your badge is ready
it has become a glossy badge
with high definition printout
and at the backside, the pin will be like this
and like this, the badge will be ready
this was to give a basic idea about
how does the button badge machine look like
for making this badge we have used 58mm
mold, we have used a red colour pressing machine
we have used 70mm and 54mm round cutter
depending upon the size you are going to make
after that, we set up a paper
cutter, we have used full scape size paper cutter,
this is a normal paper cutter
this is for cutting paper
only not for laminated papers
you can cut other items but this
is specially made to cut papers
then we used the Epson inkjet printer L3150
if you want printers you can contact
through the below WhatsApp number
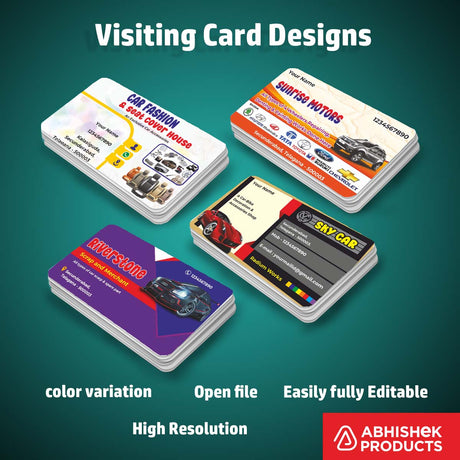
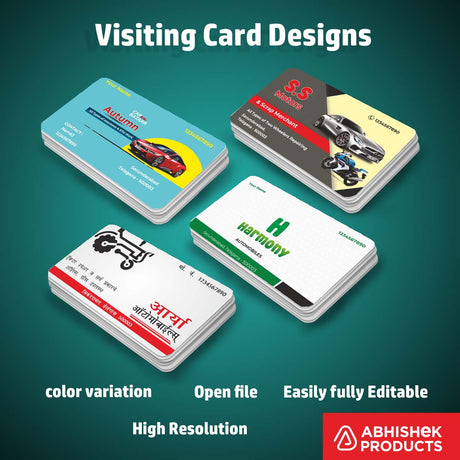
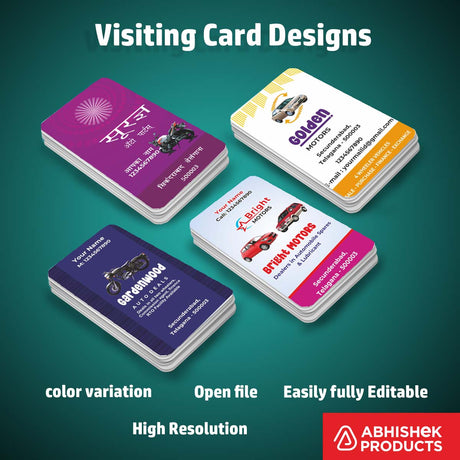
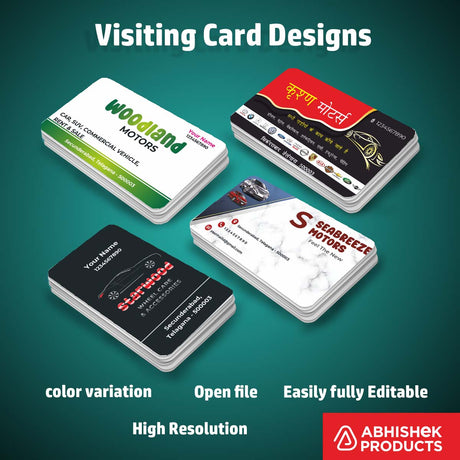
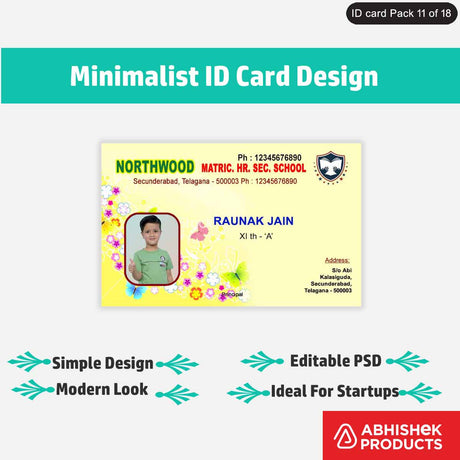
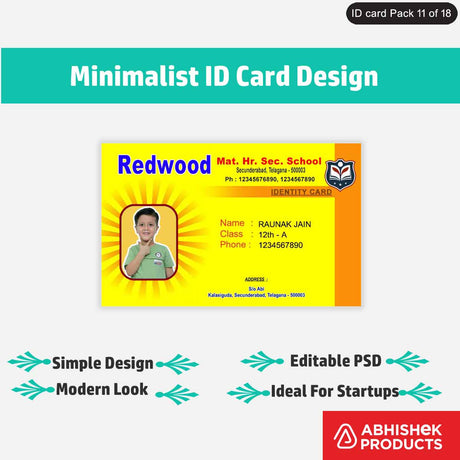
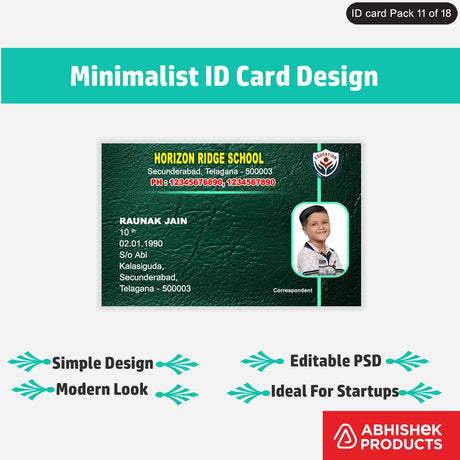
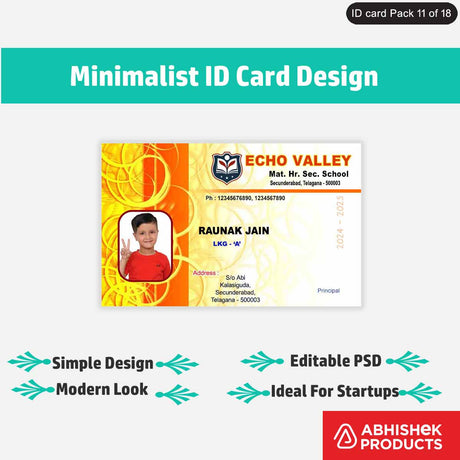
in the software, we have used a template,
in the template, we have used our designs
we will send this template with
the product through WhatsApp
if you want to test this, contact me on WhatsApp
we will give this design template
so this full setup is used to make button badge
before going I want to tell you one thing
how to change 58mm mold with 44mm mold
here you can see a pin, which
can be removed by fingers
the pin will be fitted like this
put the finger under the pin
and press it, it will be released
now the mold is free, you
can remove it in any direction
look carefully we have
twisted the mould and moved up
and push a little bit
and the mould is removed completely
we have to hold this mould with two hands
keep the two thumbs like this
put two thumbs and press down
and this mould is also removed
we have done the same work in the reverse direction
we have taken the 44mm mould
you see an arrow and a small
rod this will goes inside the machine
we have matched hole to hole
down here
down here
there is a hole inside, we
have fitted inside the hole
we have kept the hand like this
and insert the second mould
here is also a pin, you have to remove that also
we have removed the pin like this
we have pushed up like this
the slide the mould like this and leave it
and put the pin back
and it's fitted here
the bottom mould will be locked with the pins
when pushed with the fingers
it will come to the side you wanted
so this machine is ready to make a 44mm button badge
and the 58mm size badge is off this size
and you can make it easily
in this small machine, you can put
thank you,
and if you like our video and concept
do LIKE, SHARE & SUBSCRIBE to our YouTube channel
and write in the comment box about what are
the other products you want so that we can supply it
Thank you!