How To Make Square Button Badges? Easy DIY Guide
How To Make Square Button Badges? Easy DIY Guide
TL;DR: Square button badges are manufactured using a three-step mechanical process involving a rotary cutter for strips, a square die cutter for precision shapes, and a heavy-duty press for assembly. The process requires a specific sequence of raw materials and two distinct presses to lock the badge components together. This equipment is available at AbhishekID.com in Secunderabad for entrepreneurs looking to enter the personalized gifting market.
To make a square button badge, you must first print your design on high-quality paper using an inkjet printer. The process involves cutting the paper into long strips with a rotary cutter, then using a square die cutter to punch out the exact dimensions. Finally, the raw materials are placed into a heavy press in a specific sequence and pressed twice to create the finished product.
The square format provides a modern aesthetic compared to traditional round badges. In the Indian market, these are increasingly popular for corporate identity, event branding, and school merit awards. Using a heavy-duty press ensures that the edges are crimped tightly, providing a professional finish that is ready for immediate retail sale.
Before you start
Beginners starting a badge-making business need four essential tools:
- An inkjet printer
- A rotary cutter
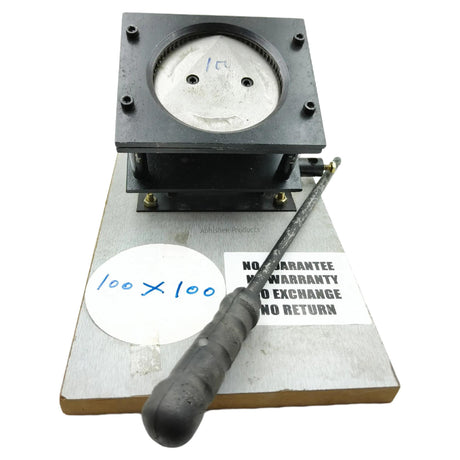
- A square die cutter
- A heavy press
The rotary cutter is used to slice the printed sheets into long, uniform strips. This makes it easier to feed the paper into the die cutter, which punches out the final square shape needed for the machine.
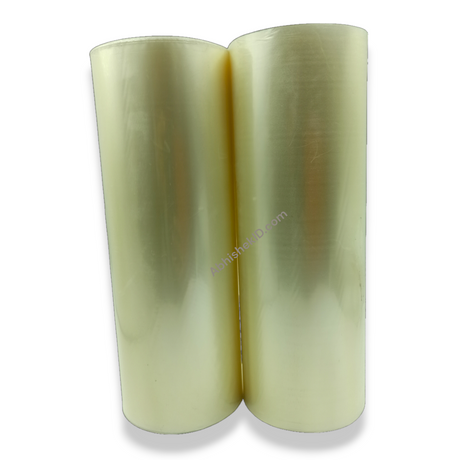
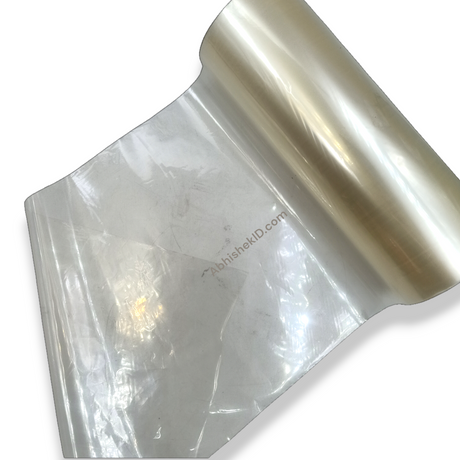
Success for beginners depends on mastering the "sequence" of materials. You must ensure the Mylar film is placed correctly over the paper to provide a glossy, protective finish. AbhishekID.com provides the necessary "knowledge" and training along with the machinery to ensure beginners can produce market-ready badges from their first attempt.
Setup steps
Preparing the artwork
The primary method for creating a square button badge involves manual mechanical pressure. You start by preparing your artwork, ensuring the design fits within the square boundaries of the die. Once printed, the paper is processed through a rotary cutter to create manageable strips, which are then fed into a square-shaped die cutter for precision.
Assembly process
The square button badge process follows a logical flow to ensure zero wastage of raw materials:
- Use the rotary cutter to cut your printed paper into long strips.
- Take these strips and use the square die cutter to punch out the individual designs. This ensures every square is identical in size and perfectly aligned for the press.
- Load the heavy press. Place the metal front, the cut paper, and the Mylar film into the first die. Rotate the machine and press down firmly.
- Place the pin-back or plastic back into the second die, rotate again, and press a second time. This two-step pressing action is what seals the badge together permanently.
How to use the printer
Square button badge machines work on the principle of mechanical leverage and die-casting. The heavy press uses a handle to apply uniform pressure across the square surface. Unlike round badges, square badges require specific pressure points at the corners to ensure the Mylar film tucks neatly under the metal shell without wrinkling.
The machine uses a sliding or rotating base with two dies. The first die picks up the top components (shell, paper, Mylar) using internal springs and suction-like pressure. The second die then brings the back component into contact with the top assembly. When the handle is pressed the second time, the edges of the metal shell are crimped over the back plate, locking everything in place.
The best way to use square button badges is for branding projects that require more surface area than a circle allows. Square badges are ideal for displaying QR codes, rectangular corporate logos, and social media handles. Because the square shape is unique in the Indian promotional market, it stands out more effectively on lanyards, bags, and uniforms.
For small business owners in India, these badges serve as high-margin promotional items. They are best used at trade shows, political rallies, and educational seminars. The flat edges of the square badge allow for better alignment when pinning them to fabric, ensuring the logo remains upright and readable throughout the day.
Related products
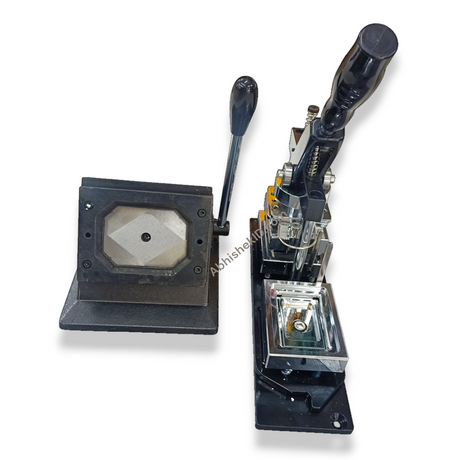
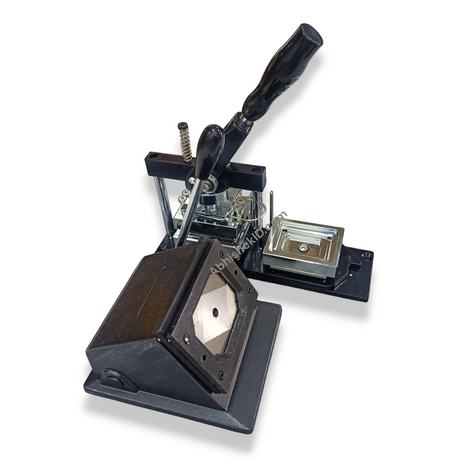
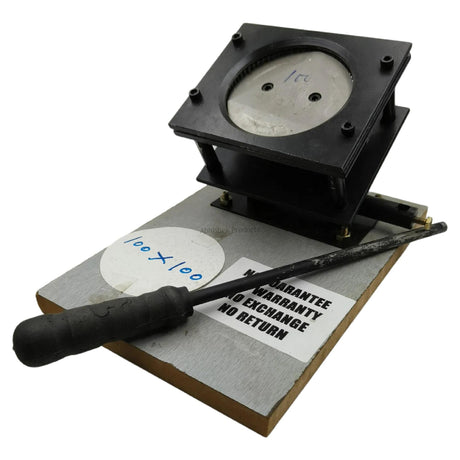
- Square Badge Machine: The core piece of equipment for this business. It is a heavy-duty manual press designed to handle the high-pressure requirements of square-corner crimping. This machine is built for durability and is suitable for high-volume production in a commercial environment.
- Square Die Cutter: Essential for achieving the exact dimensions required for the badge components. Using a manual punch system, it allows the operator to see the design through the top of the cutter, ensuring perfect centering every time. This tool is significantly faster and more accurate than using scissors or a standard paper trimmer.
- Rotary Cutter: The first tool used in the production line. It is designed to cut paper into long, straight strips that match the width of the die cutter. This tool is vital for maintaining speed in the workflow, allowing the operator to prepare dozens of designs for punching in just a few minutes.
Frequently Asked Questions
⚡ Fast Answers Summary
- To start, you need an inkjet printer for the designs, a rotary cutter to cut paper strips, a square die cutter for the final shape, and a heavy press machine for assembly.
- The first press picks up the metal shell, the printed paper, and the Mylar film into the upper part of the machine.
- While possible, it is not recommended for professional use.
To start, you need an inkjet printer for the designs, a rotary cutter to cut paper strips, a square die cutter for the final shape, and a heavy press machine for assembly. You also need raw materials including metal shells, Mylar covers, and badge backs. All these are available at AbhishekID.com.
The first press picks up the metal shell, the printed paper, and the Mylar film into the upper part of the machine. The second press joins these components with the badge back. This two-step sequence is necessary to ensure the edges are crimped tightly and the badge does not fall apart.
While possible, it is not recommended for professional use. A square die cutter ensures that every piece of paper is the exact size required for the machine. If the paper is even slightly off-size, the heavy press may fail to crimp the edges, leading to wasted raw materials and a poor finish.
You should use standard inkjet paper that is not too thick. If the paper is too heavy (like thick cardstock), the machine may struggle to crimp the metal shell over the back. A weight of 100 GSM to 120 GSM is generally ideal for achieving a smooth, professional look under the Mylar film.
Yes, the machine is designed for manual operation and does not require electricity. Once you understand the sequence of placing the raw materials, the process is very repetitive and easy to master. AbhishekID.com provides the necessary guidance to help you understand the machine's mechanics quickly.
You can purchase the complete square badge making setup, including the rotary cutter, die cutter, and heavy press, from AbhishekID.com. They are located in Secunderabad and supply a wide range of badge-making materials and equipment to businesses across India.