T-Shirt Business: How to Unbox Your New Machine?
T-Shirt Business: How to Unbox Your New Machine?
Unboxing a T-shirt business machine and printer involves carefully removing the heat press and sublimation unit from their protective packaging to begin custom apparel production. This process is the critical first step for Indian entrepreneurs starting a printing venture from home or a small retail shop. Key takeaways include:
- Inspect the wooden crate or heavy-duty cardboard for transit damage before opening.
- Ensure a dedicated 15-amp power socket is available to handle the heat press load.
- Level the machine on a sturdy, heat-resistant worktable to ensure even pressure distribution during printing.
How to Shirt Business Unboxing starts with the physical inspection of the delivery crates to ensure no damage occurred during transit to your location in India. Once the outer packaging is removed, you must identify the core components: the heat press machine, the sublimation printer, and the necessary power cables. This process is essential for verifying that all accessories, such as the Teflon sheet and instruction manual, are included in your shipment from AbhishekID.com.
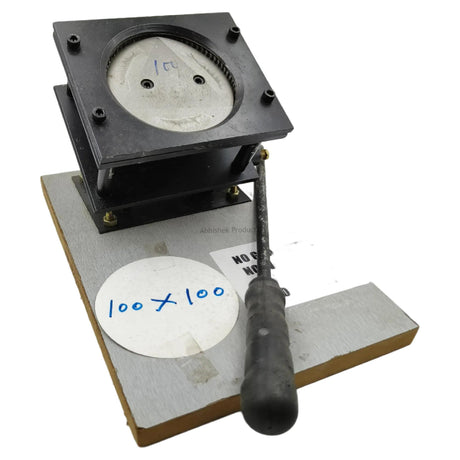
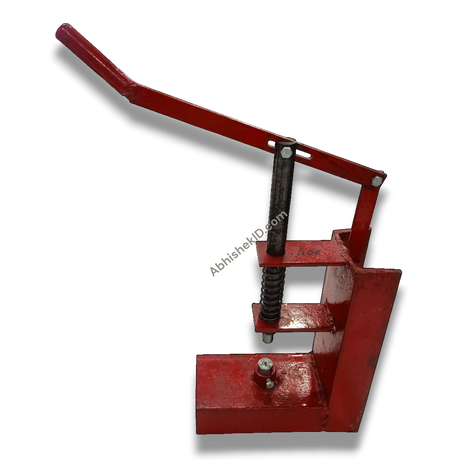
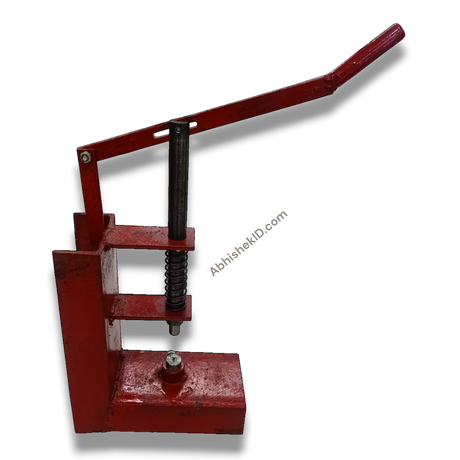
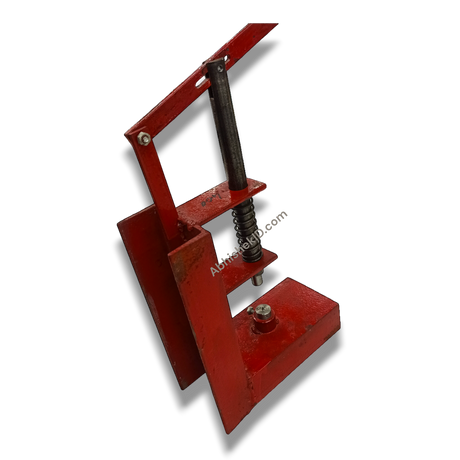
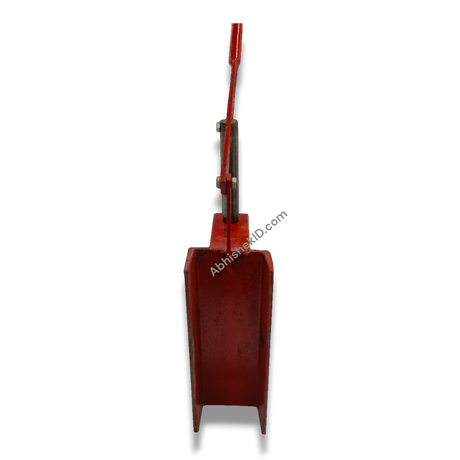
In the Indian market, these machines often arrive in reinforced wooden crates to protect the heavy heating elements. Using a crowbar or a heavy-duty screwdriver is often necessary for the initial unboxing phase. After removing the wooden slats, the machine should be lifted by at least two people to avoid injury, as industrial heat presses can weigh between 20kg and 40kg. Proper unboxing ensures that the sensitive digital controllers and heating platens remain calibrated for high-quality T-shirt printing.
Before you start
A Shirt Business Unboxing guide for beginners focuses on the safety and verification steps required to protect your investment. Beginners should start by photographing the unopened package for insurance purposes before carefully cutting the straps and plastic wrap. It is vital to check the voltage requirements on the machine labels to ensure they match the standard Indian electrical grid before plugging anything in.
Many beginners overlook the importance of the "burn-off" period. After unboxing the heat press, it is common to notice a slight smell or light smoke during the first heating cycle; this is simply the protective coatings on the heating element curing. This guide recommends performing the first unboxing in a room with open windows. Additionally, beginners should verify that the printer's ink tanks are empty and ready for the initial priming process, which is a standard part of the unboxing routine for sublimation setups.
Setup steps
Initial unboxing and placement
Shirt Business Unboxing step by step begins with clearing a 5x5 foot area in your shop or home office to accommodate the machinery. The first step is to remove the outer shipping labels and inspect the box for punctures. Second, carefully open the top of the box and remove any loose accessories like the power cord, software CDs, or sample transfer papers. Third, with assistance, lift the main heat press unit and place it on your permanent workstation.
Printer initialization and power
The fourth step involves unboxing the sublimation printer, ensuring all orange shipping tape is removed from the print head and paper trays. Fifth, connect the power cables to a surge protector to safeguard the digital components against Indian power fluctuations. Sixth, perform a dry run of the heat press by setting it to 180°C for 60 seconds to ensure the heating element and timer are functioning correctly. Finally, load the sublimation ink into the printer according to the manufacturer's instructions to complete the physical setup.
Unboxing checklist
- Inspect the Shipping Container: Check the wooden crate or cardboard box for any signs of impact or moisture before signing the delivery receipt.
- Remove Protective Packaging: Carefully cut away plastic straps and foam inserts, ensuring you do not scratch the machine's surface with utility knives.
- Position the Equipment: Place the heat press on a stable, waist-high table and the printer on a separate level surface to avoid vibrations.
- Verify Component Inventory: Cross-reference the included items with the packing list, looking for the power cable, fuse, and Teflon sheet.
- Initial Power Test: Plug the heat press into a 15A socket and turn it on to verify the digital display lights up and begins to heat.
How to use the printer
The best way to use Shirt Business Unboxing is to treat the process as a formal setup of your production line rather than just opening a box. You should place the unboxed printer and heat press in a dust-free, well-ventilated environment to prevent ink clogging and ensure operator safety. Setting up a dedicated workstation with a stable 220V power supply is the most effective way to utilize your new equipment immediately after unboxing.
For Indian small business owners, managing the workspace is crucial. The printer should be placed on a level surface away from direct sunlight to maintain ink consistency. The heat press requires a heat-resistant table, such as one made of reinforced metal or thick wood, to handle the high temperatures (often up to 200°C) used during the sublimation process. By organizing your unboxed items logically—printer on the left, prep area in the middle, and heat press on the right—you create an efficient workflow for bulk orders.
How does Shirt Business Unboxing work? It works by transitioning your business from a conceptual stage to a functional production unit through the systematic assembly of hardware. The unboxing process bridges the gap between receiving your equipment and pressing your first T-shirt by ensuring all mechanical and electrical connections are secure. It is a technical preparation phase where the printer is initialized and the heat press is calibrated for pressure and temperature.
In a practical sense, the unboxing works by allowing the business owner to inspect the platen's flatness and the printer's nozzle health. In the Indian context, where shipping can be rigorous, this phase is the only time to identify factory defects or shipping damage before production begins. Once the unboxing is complete, the hardware works in tandem: the printer produces the design on transfer paper, and the heat press uses heat and pressure to sublimate that design into the fabric of the T-shirt.
Related products
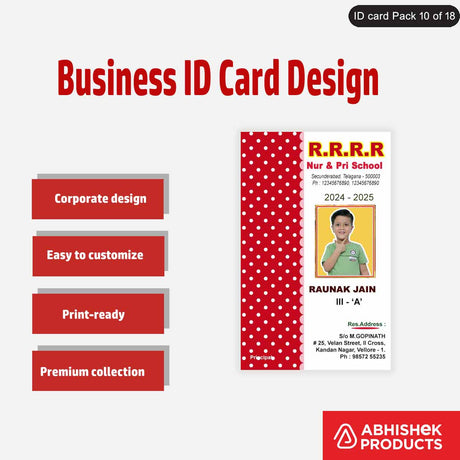
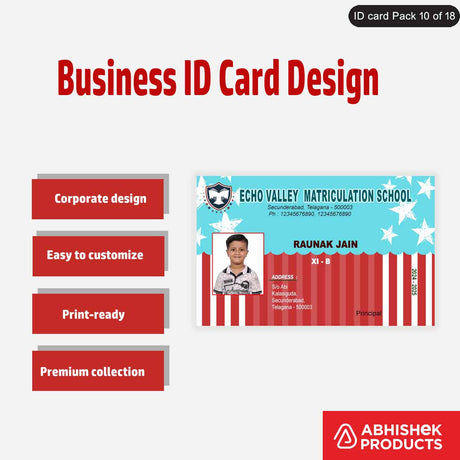
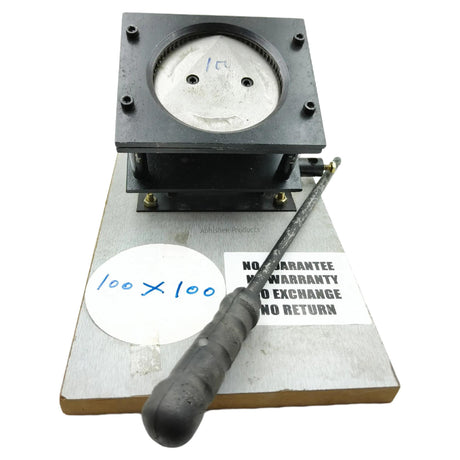
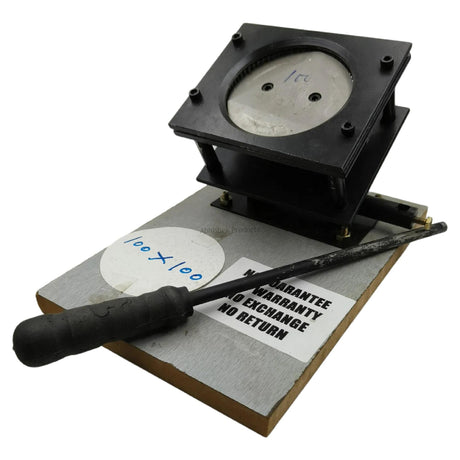
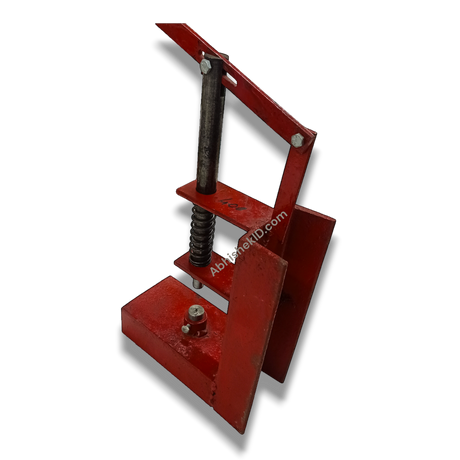
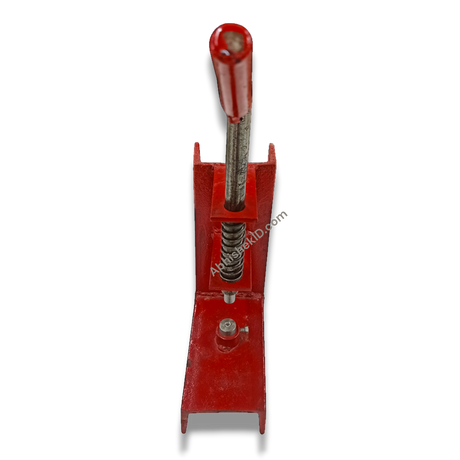
The T-Shirt Heat Press Machine is ideal for small business startups because it provides a heavy-duty heating platen and digital controls for precise temperature management. This machine is the workhorse of any apparel shop, allowing for the transfer of designs onto cotton, polyester, and blended fabrics.
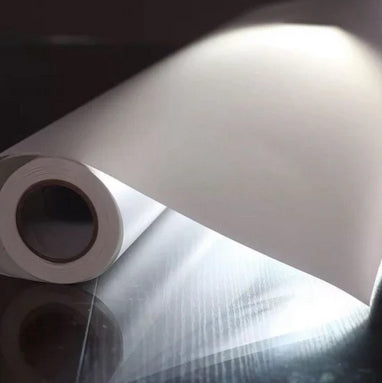
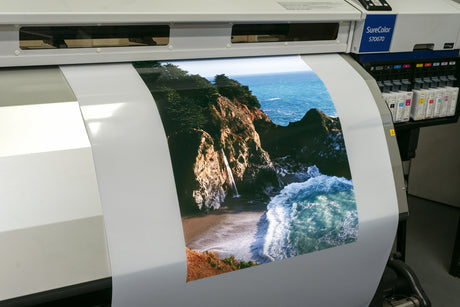
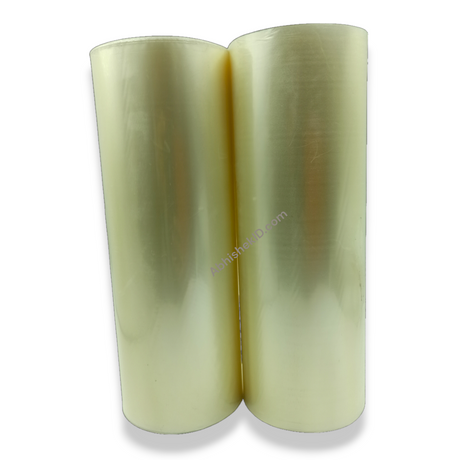
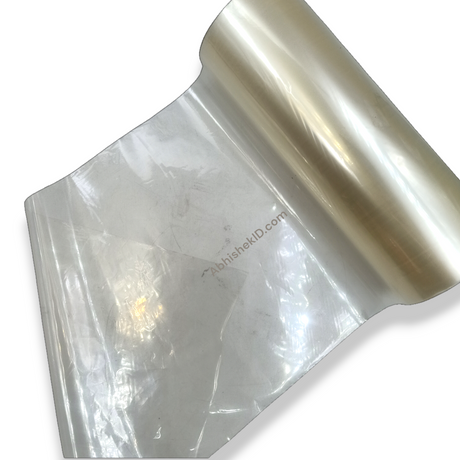
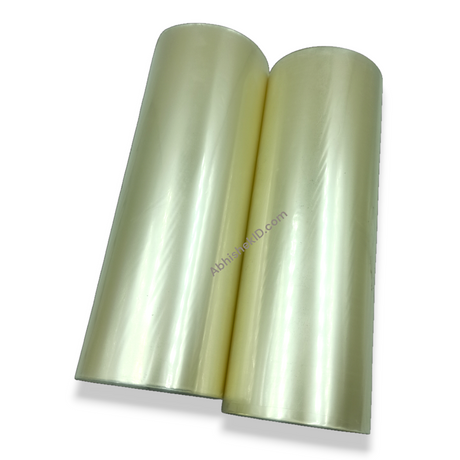
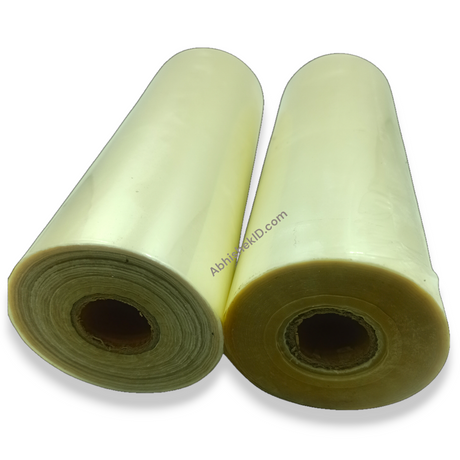
The Sublimation Printer is ideal for high-resolution T-shirt designs because it uses specialized ink technology that bonds with the fabric at a molecular level. This ensures that the prints do not fade, crack, or peel, even after multiple washes in Indian laundry conditions.
Frequently Asked Questions
⚡ Fast Answers Summary
- If you discover physical damage during the unboxing process, you should immediately take clear photographs and contact AbhishekID.
- Yes, most industrial heat presses used in India require a 15-amp power socket, similar to what is used for an air conditioner or a heavy-duty microwave.
- You can verify the calibration by using a digital infrared thermometer to check the temperature across different points of the heating platen.
If you discover physical damage during the unboxing process, you should immediately take clear photographs and contact AbhishekID.com support. Do not attempt to plug in or use a damaged machine, as this could void your warranty or cause an electrical hazard. Keep all original packaging materials, as they are often required for return shipping or insurance claims in India.
Yes, most industrial heat presses used in India require a 15-amp power socket, similar to what is used for an air conditioner or a heavy-duty microwave. Using a standard 5-amp socket can lead to tripped circuit breakers or overheating of the plug. Always ensure your wiring can handle the wattage specified on the machine's technical sticker to prevent fire risks.
You can verify the calibration by using a digital infrared thermometer to check the temperature across different points of the heating platen. After unboxing, set the machine to 180°C and wait for it to reach the target. If the temperature varies by more than 5-10 degrees across the surface, you may need to adjust the pressure or contact technical support for guidance.
Yes, using a Teflon sheet is highly recommended from the very first print. It protects the heating platen from ink stains and prevents the T-shirt fabric from scorching. Most professional setups include a Teflon sheet in the box; if yours did not, it is a critical accessory to purchase before you begin production to ensure the longevity of your machine.
Most sublimation printers can be set up by following the included step-by-step guide. The most critical part is the initial ink charging, which must be done correctly to avoid air bubbles in the lines. If you are in Secunderabad or Hyderabad, you can visit AbhishekID.com for a physical demonstration, but remote video support is also a common way for Indian entrepreneurs to complete their setup.
After unboxing and setup, the best first test is a small 4x4 inch design on a scrap piece of polyester fabric. This allows you to check the color accuracy of the printer and the pressure settings of the heat press without wasting a full T-shirt. Use this test to fine-tune your time and temperature settings based on your local environment's humidity and ambient temperature.