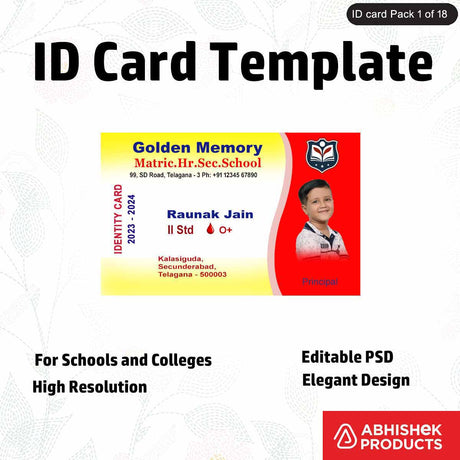
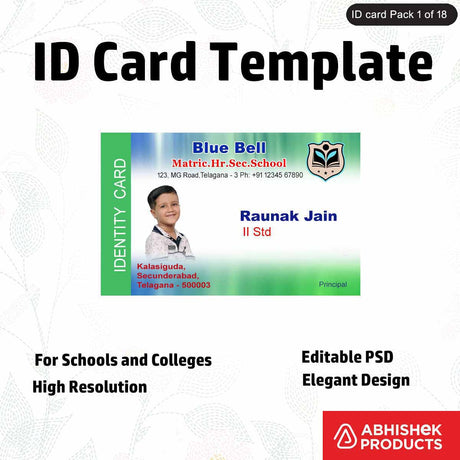
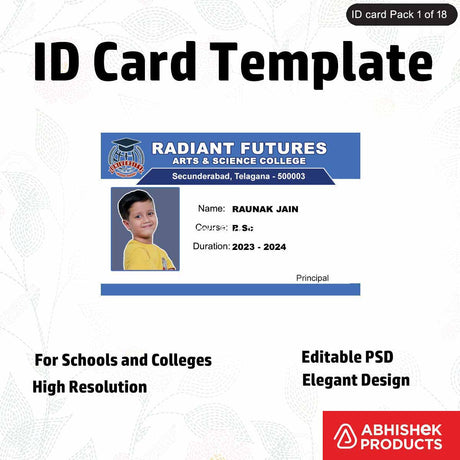
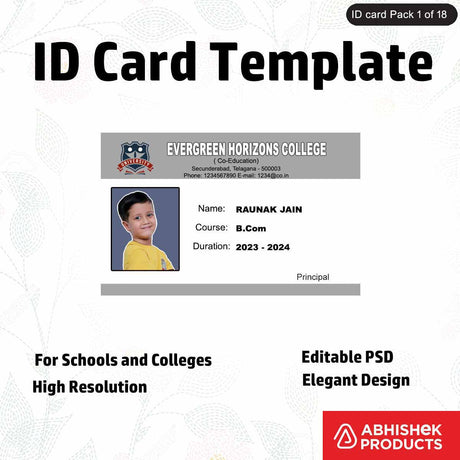
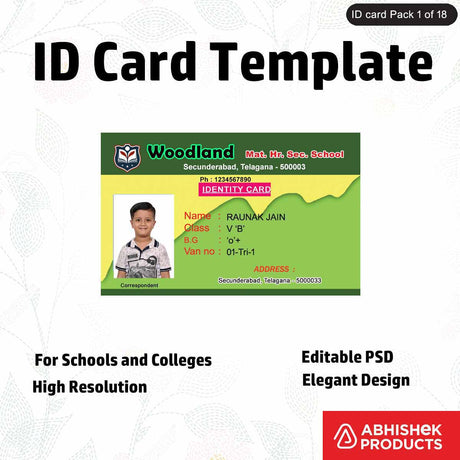
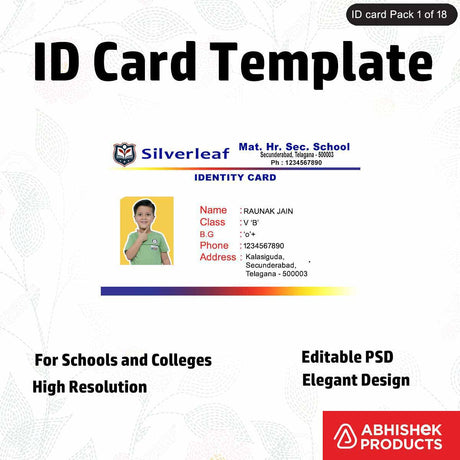
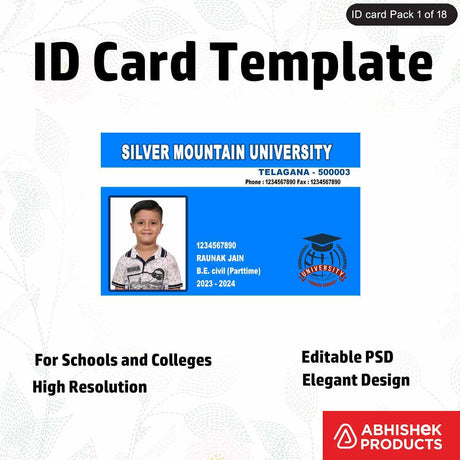
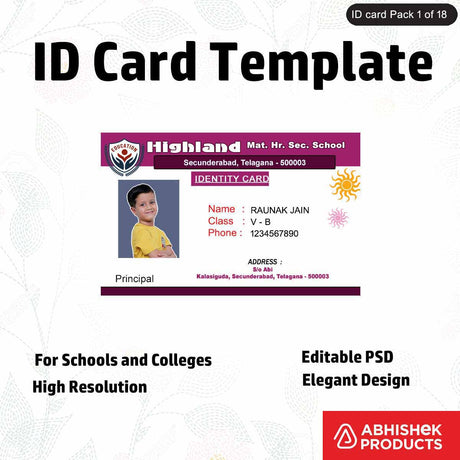
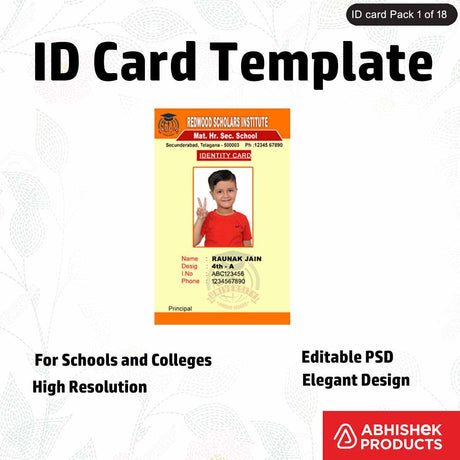
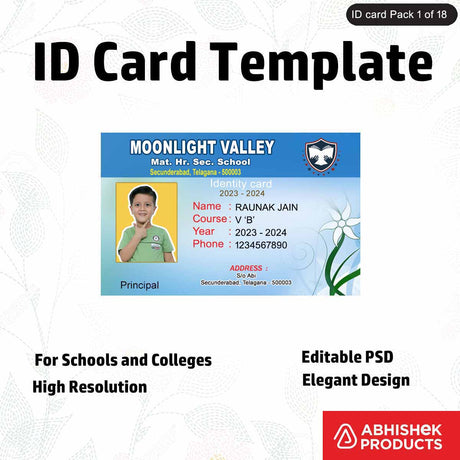
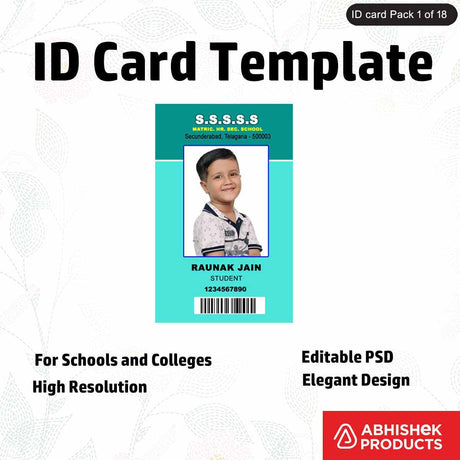
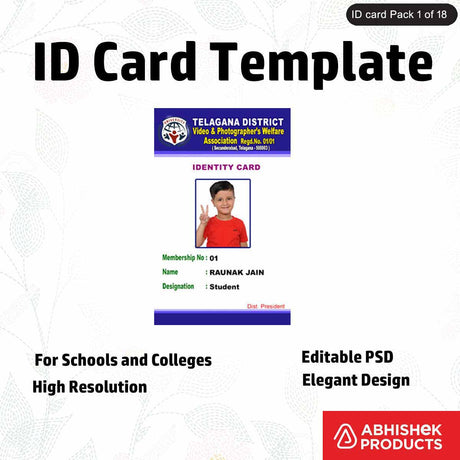
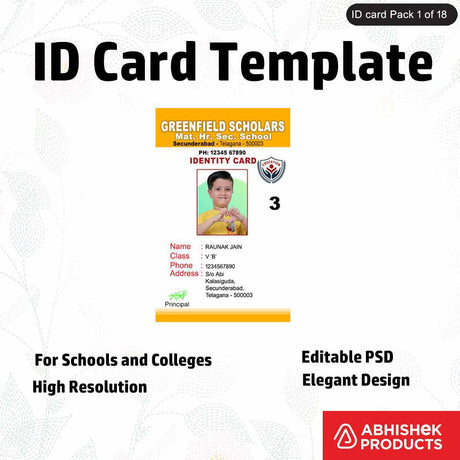
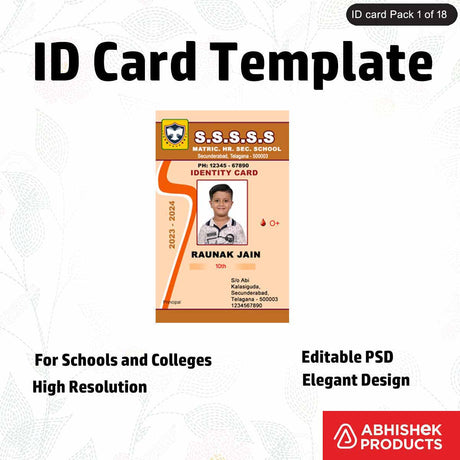
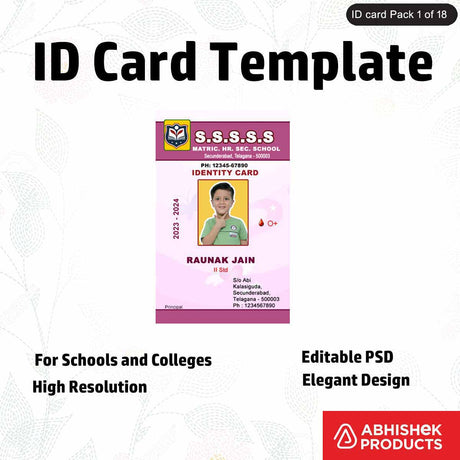
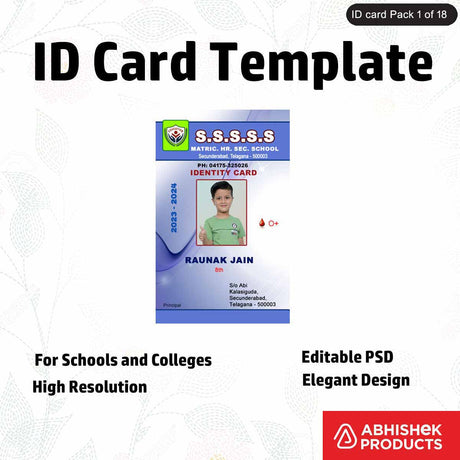
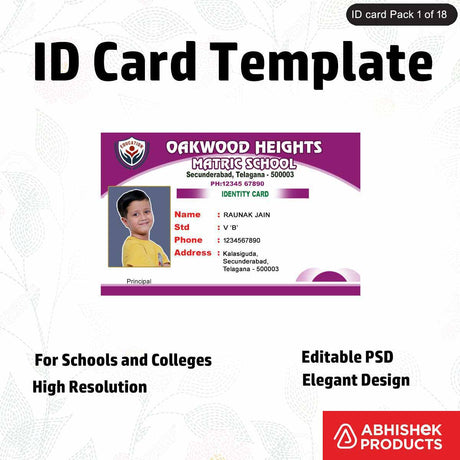
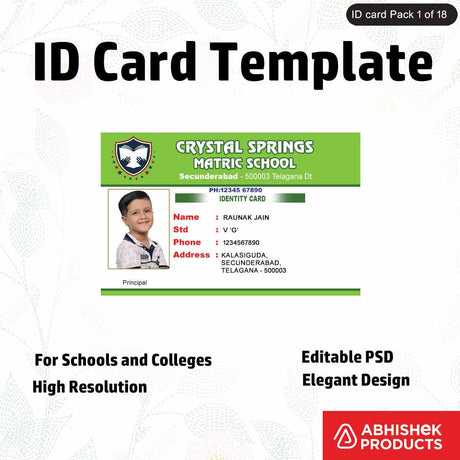
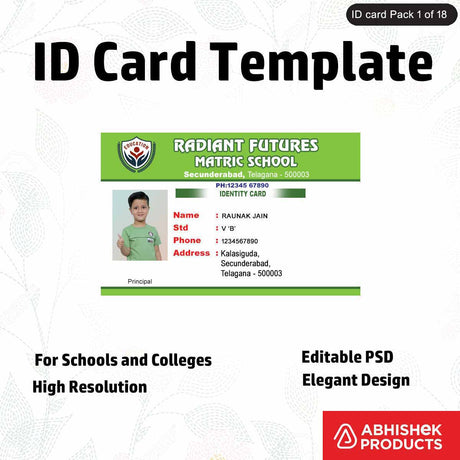
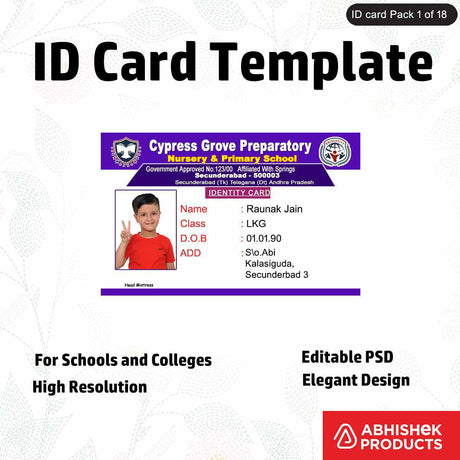
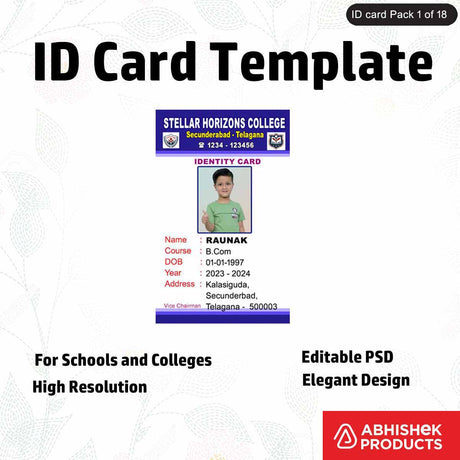
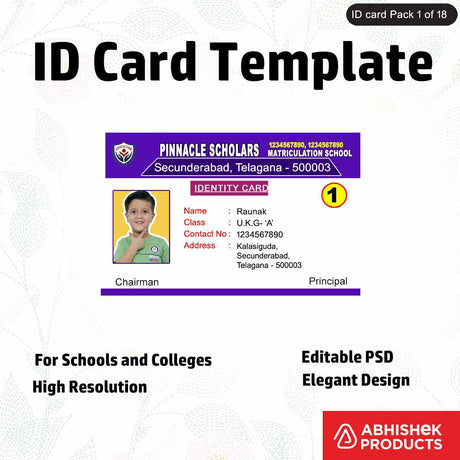
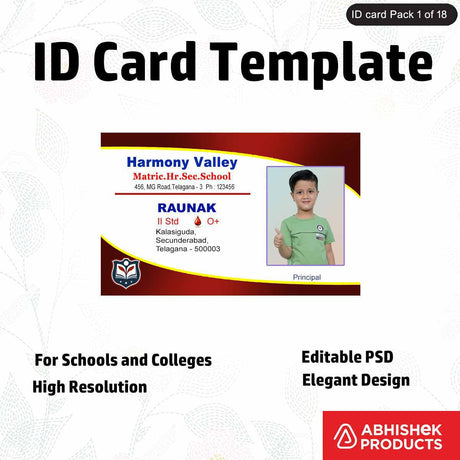
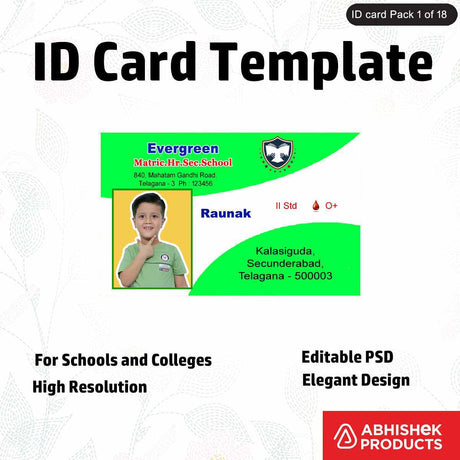
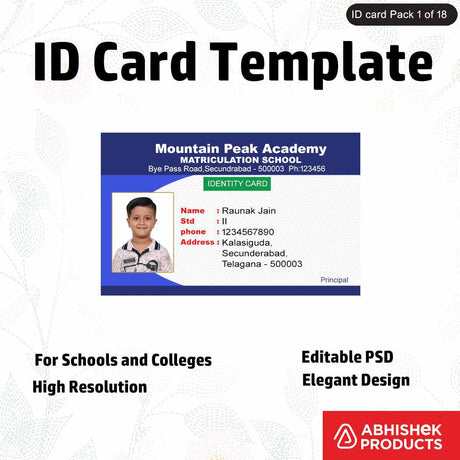
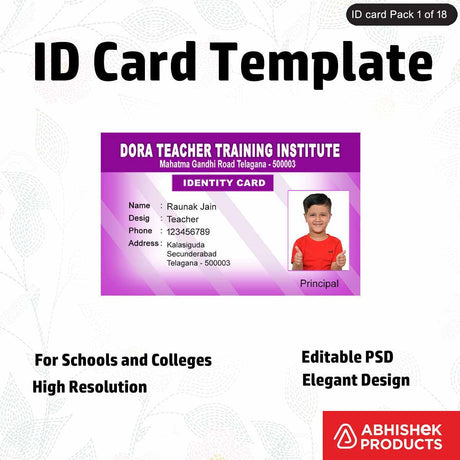
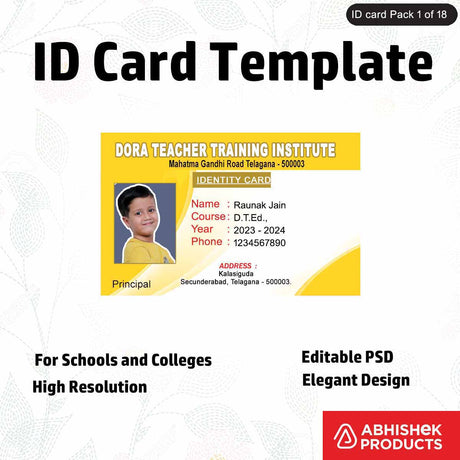
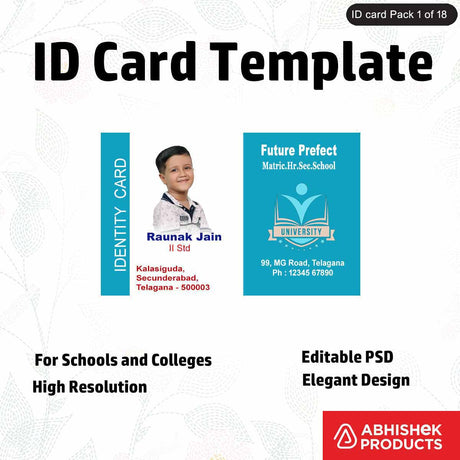
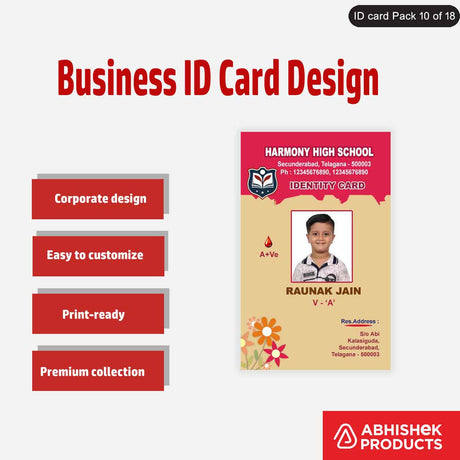
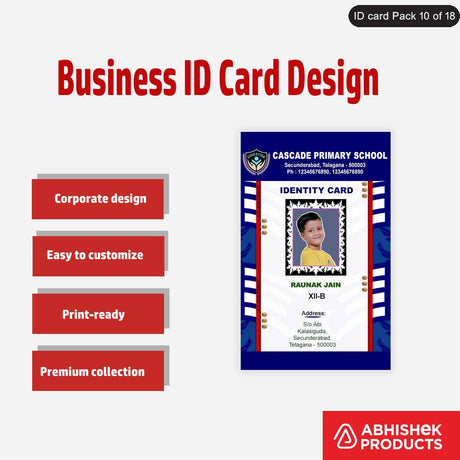
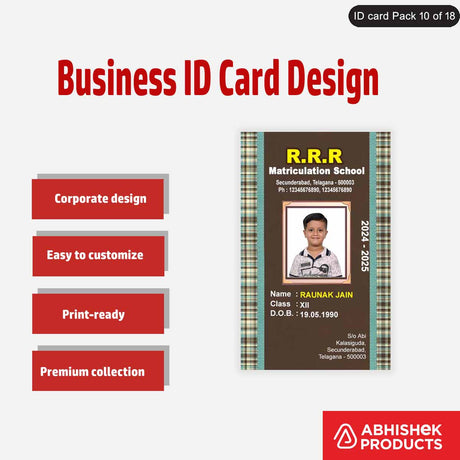
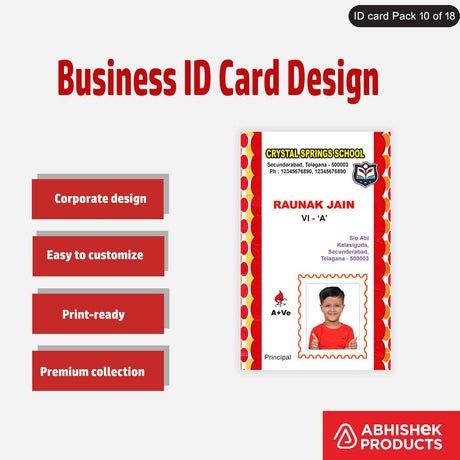
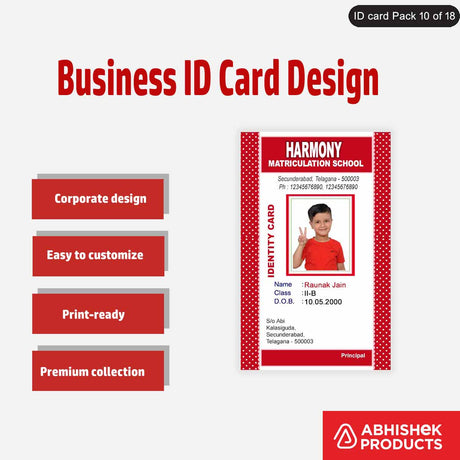
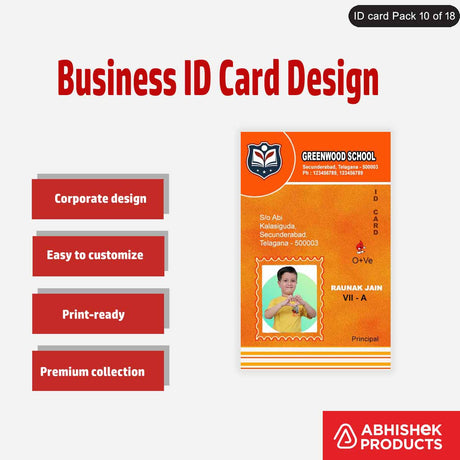
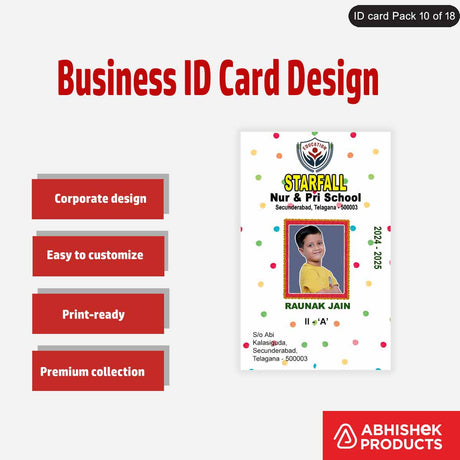
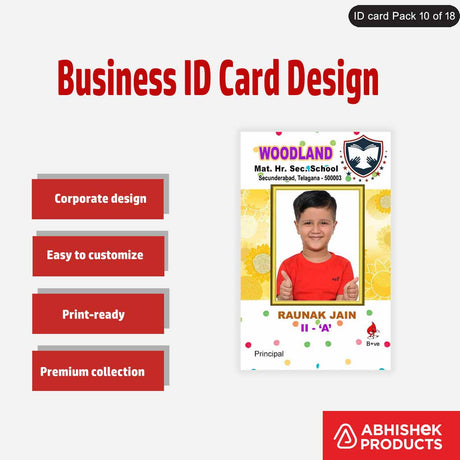
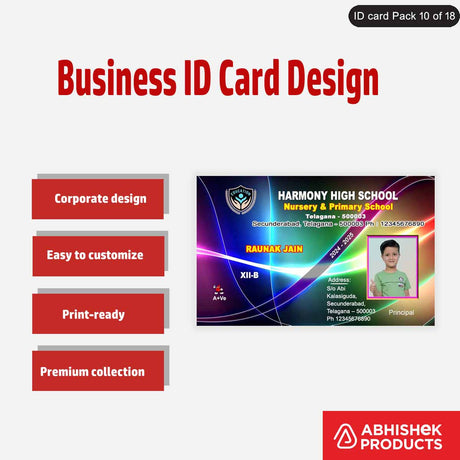
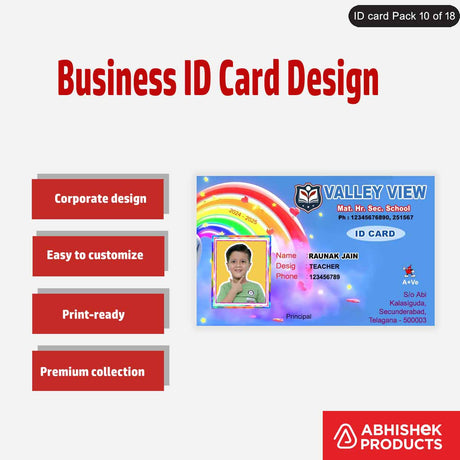
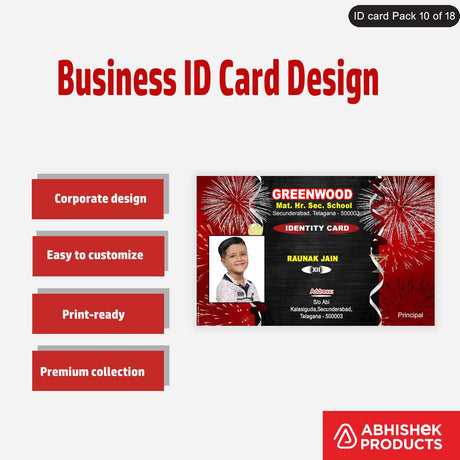
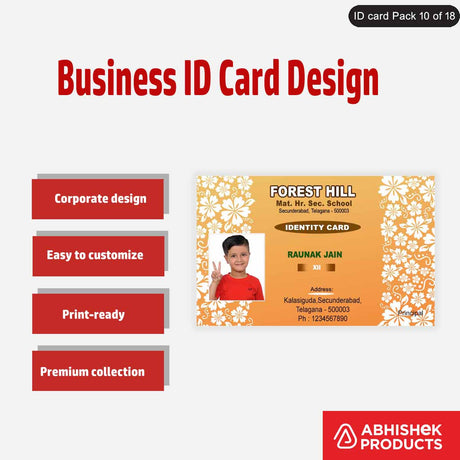
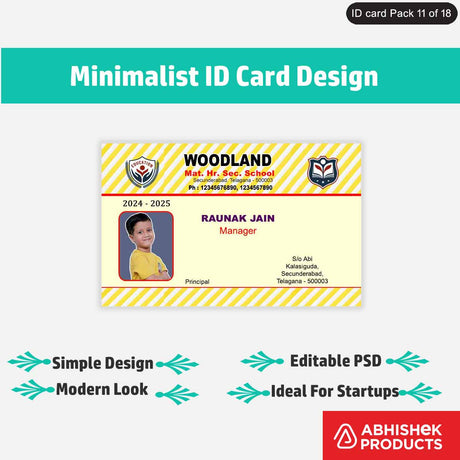
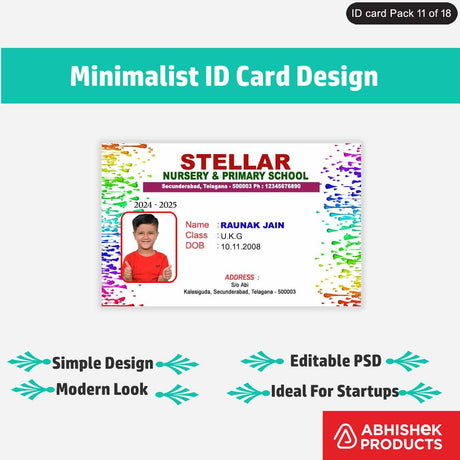
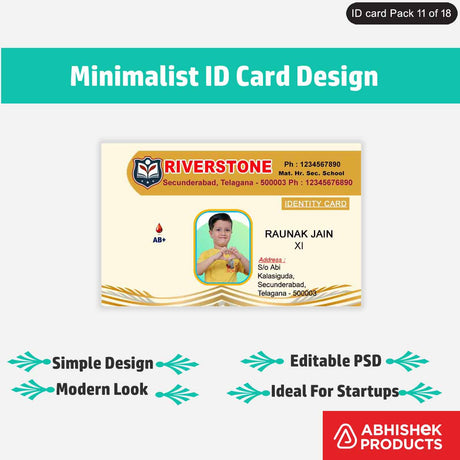
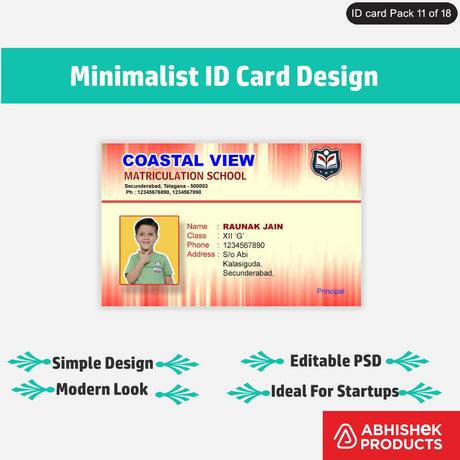
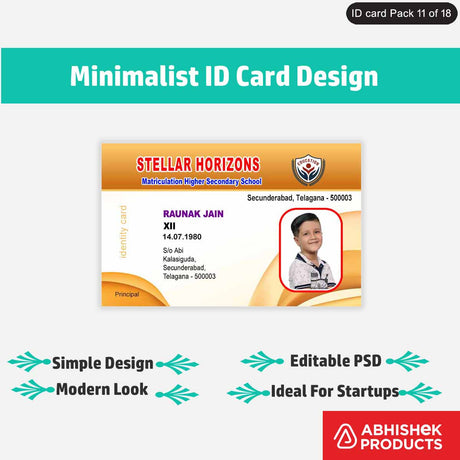
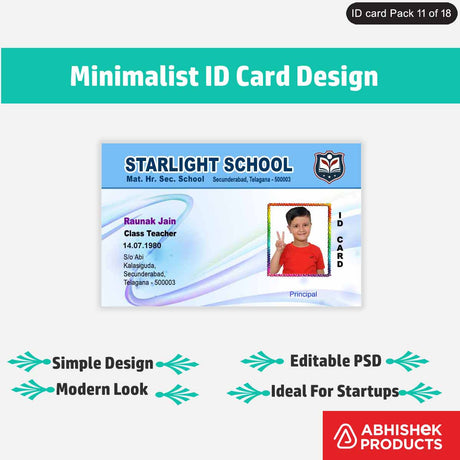
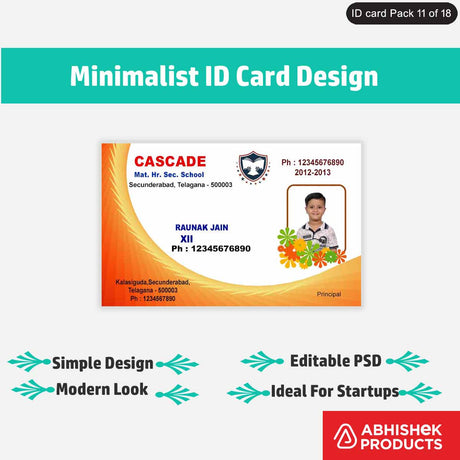
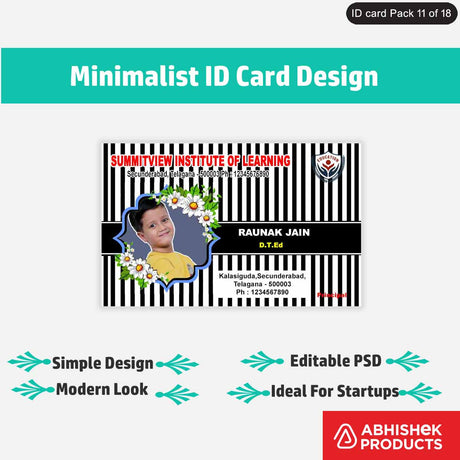
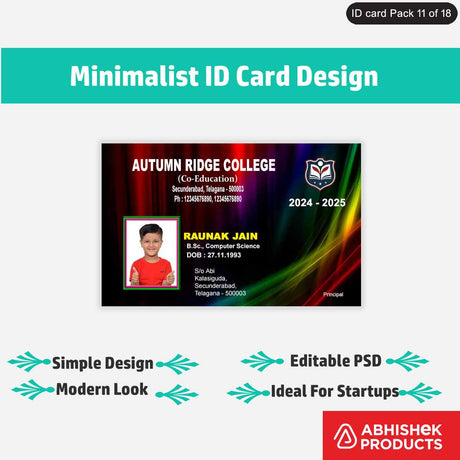
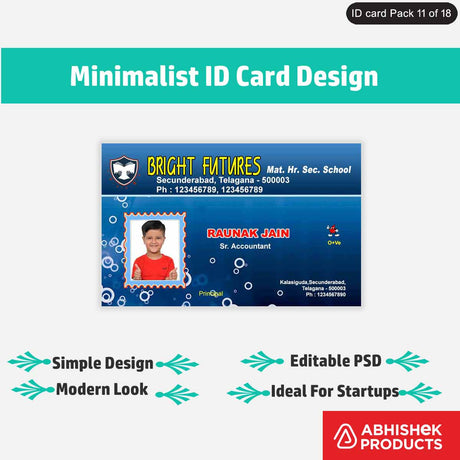
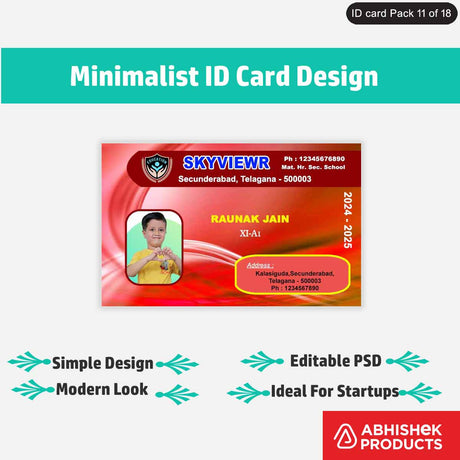
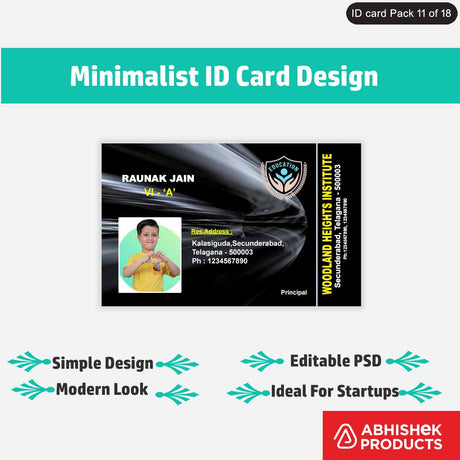
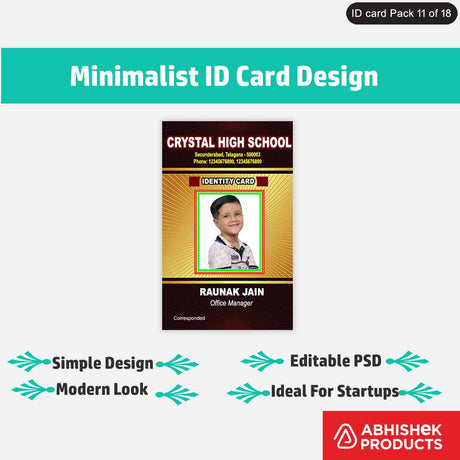
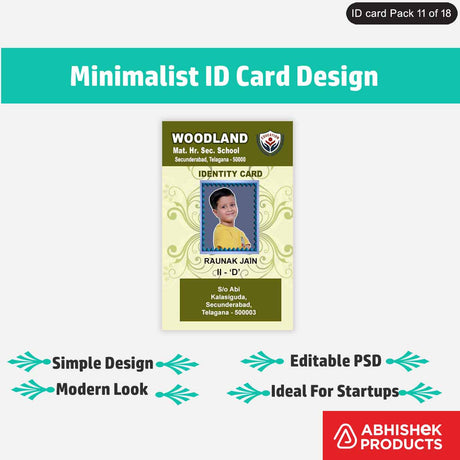
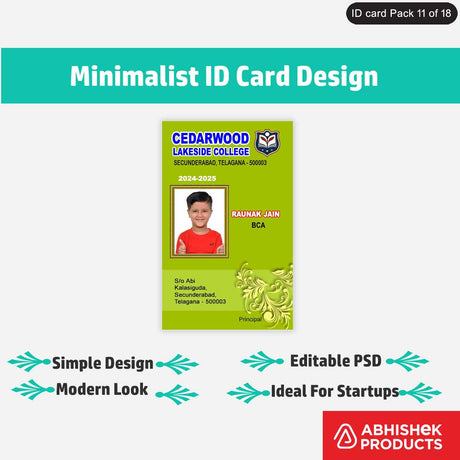
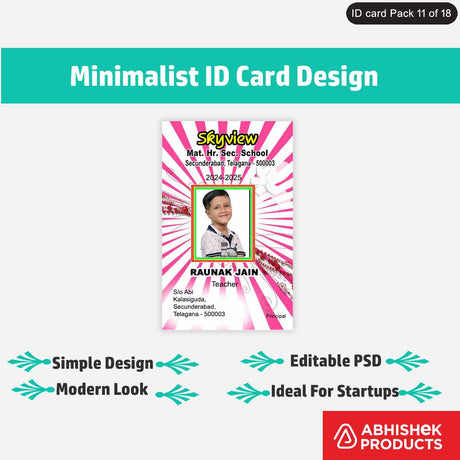
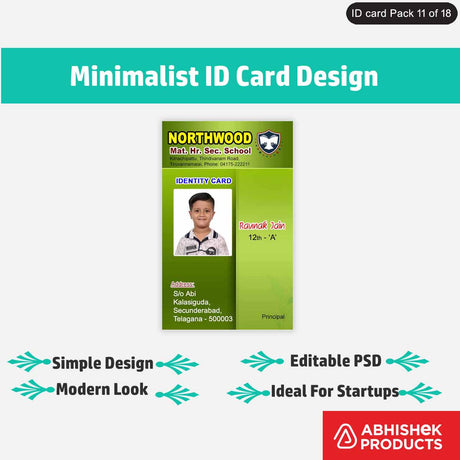
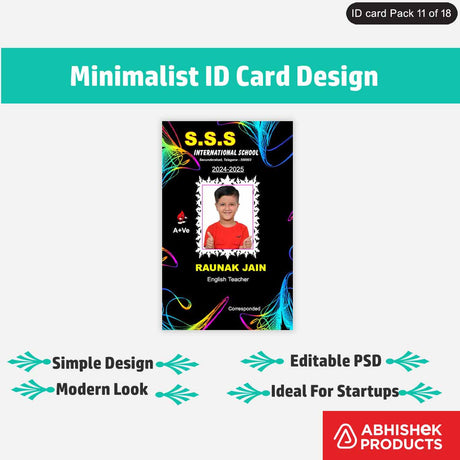
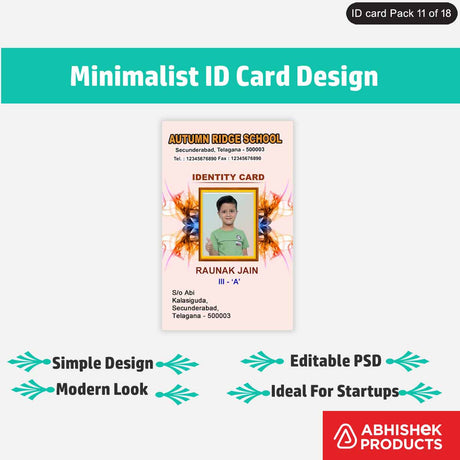
Setting Custom Label Size for TSC Label Printer in BarTender. Make levels of any size shape or in any design using the Bartender software for TSC thermal label printer you can make labels for shipping MRP licence numbers expiry date and other usage and warranty details in any size using the Bartender software for the TSC printer of any model
Hello every one and welcome to
Abhishek products
In this video I am going to tell about the
how to use TSC, TVS or X printer for
printing different types of barcode label
how to use bar tender software
to desing the sticker size and the label size
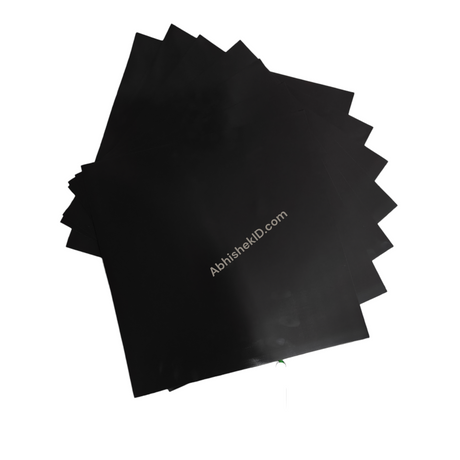
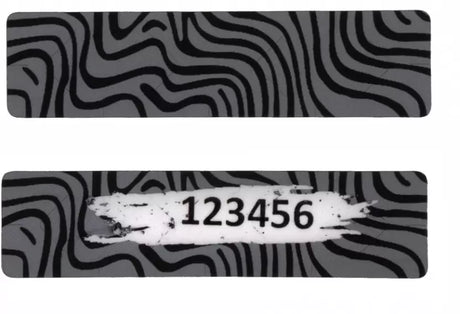
many of you purchase different types of stickers,
ribbons
printer also, but many of find difficult
in the starting
setting the label size
for this purpose I am going to tell about
the Bar Tender software to solve this problem
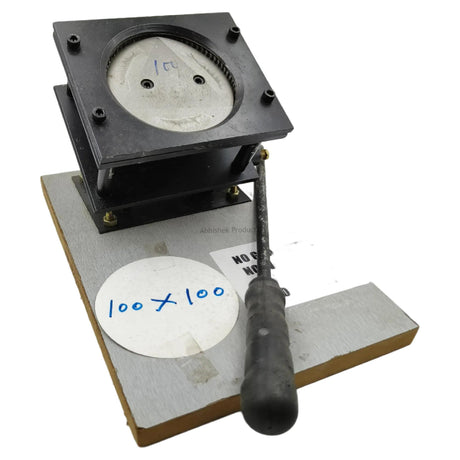
first take a scale
measure each label size in millimeter
and also measure the gaps between the stickers
left, right, bottom and top
you have to measure the total gaps
in the centre there is no gap, in the top
there is gap and on left and right side
this is bigger size label, it has gap on left
and right side, there is no division in the centre
it has gap on top and bottom
you have to measure the gaps
in many labels their is 2 millimeter gaps
but if you mesure this, the setting will be
fix permanently
we supply label which has 2 millimeter
gap on top, bottom, left & right
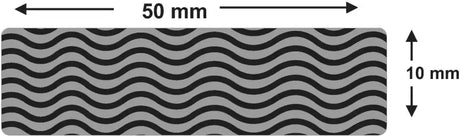
I have measured each label size
like this and like this and this has
by 150/100 millimeter
and this has 100/70 millimeter
this has 50/50 millimeter
and this has 25 and 50
now we will see how to set this
in the software
come here and click the new button
from new button go to blank template or
select template from library
now we have no template so we select
blank template and press next
select the your printer model number
and press next
and here comes user predefined stock
ok, here there is so many internation
sizes
for the labels, you can check for the
label of yours size in this
check that your ready made label
size is here or not
ok, we have got the size
inside this if we get our sizes ready made
press next
then click the finish button, so that
ready made size is ready
now it's designing, DTP, typing whatever
you can do here
but if didn’t get the size there
so what you do select your size and
click ok
we have mesured 50x50 millimeter and
2 millimeter gap
one more thing we have to measure
total width
here total width is 110 millimeter
this is 110 mm width 90% of the paper
is of 110 mm width
come here and go to file
go to page setup
select page option
and here we give the 110 and 110
also just needed for setting
come to the layout
in the layout how many rows we have
we have one rows
and how many coloum we have, in
the coloum we have to give 2
when you give 2 there is an error
message
the mathematics is not same here
because the template size is wrong
this was the first predefined template size
now we put our template size
we put 50
and here aslo 50
height and width we have put 50
height and width we have put 50
now the two of them match
but what we see that there is gap
in between two stickers
so this gap must aslo be in the design
so what will we do, put 2 mm gap at the top
you can see in the arrow
we put 2 mm gap in the left
and in the right side also we put 2 mm gap
here we have to change the widht to 50
I have mistakenly changed the value
here we have set the settting for the sticker
in the lap top it seems like this
and our sticker in the physical
real world it also seem like this
two of the setting is prefect match
this is satisfied
now we click ok button
when you press ok button
now we have given the setup for the
barcode desing
we have given the design setup, but
you have to note one thing
here there is only one sticker setting
but we have 2 stickers
we have to design only one sticker,
when you print with ctrl+P
we have to decide the quantity
it will automatically set the left and right
and print
this is a short video
to solve the issue how to set
custom sticker size in BarTender software
in this video I have teached that how to
set different size stickers of your own
with Bar Tender software
thank you for watcing the video
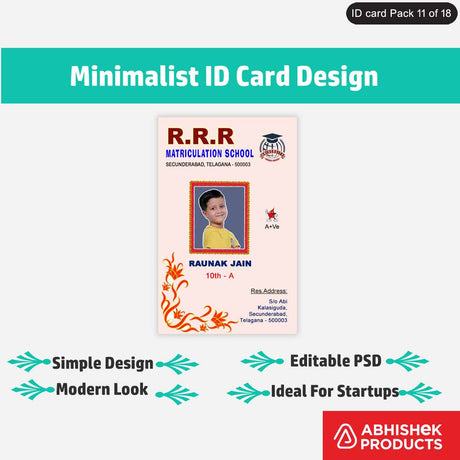
if you want to order any type
of stickers like this
or if you want purchase this barcode printer
go to www.Abhiskekid.com
or you can contact through the Whatsapp which
is below the description
there is a Whatsapp number through which
you can call or message to comunicate with us
and thank you very much