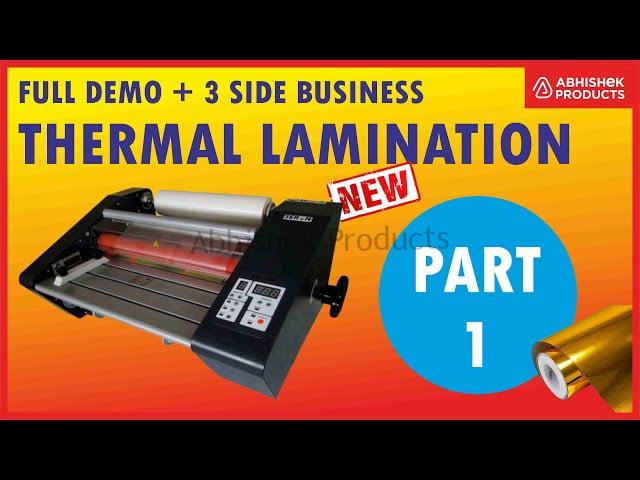
Roll To Roll Laminator is loaded with features. Digital Display, Lesser Warm-Up Time, Light signals when the machine is ready, special rollers for uniform and bubble free lamination, Hot and Cold lamination and reverse function, temperature control system, and Light Weight Plastic body with smart looks. You can do both side lamination at the same time by using two Thermal lamination rolls i.e. one above and one below. Used in Thermal Lamination.
Hello everyone. And welcome to Abhishek Products By S.K.Graphics
I am Abhishek Jain
Today we are going to talk about
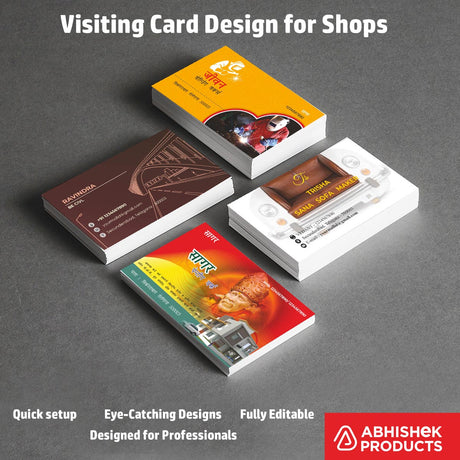
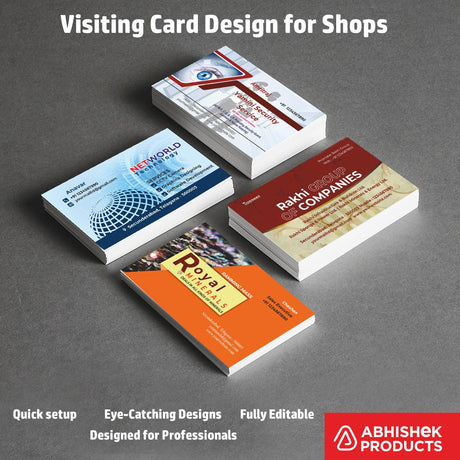
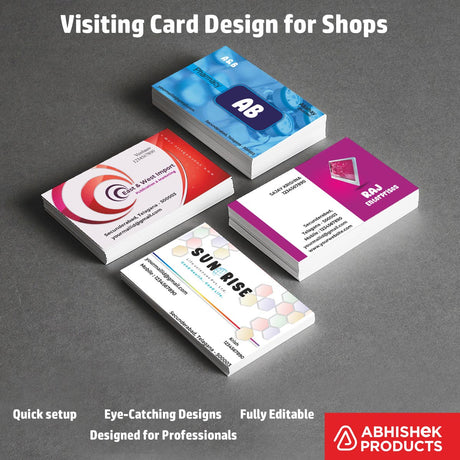
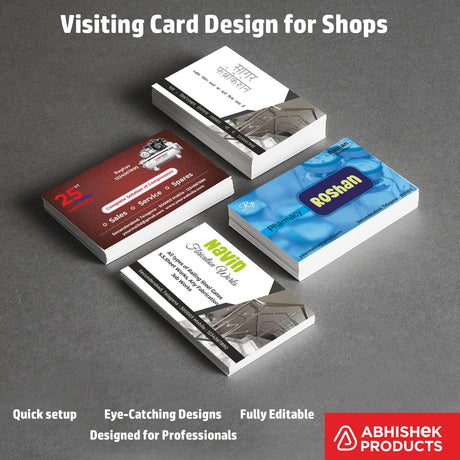
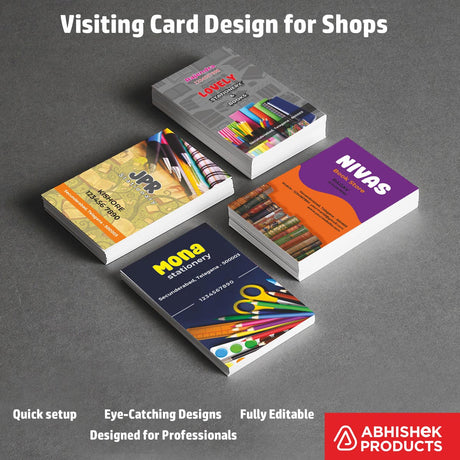
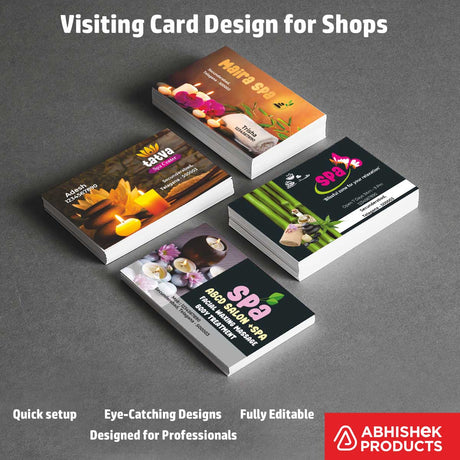
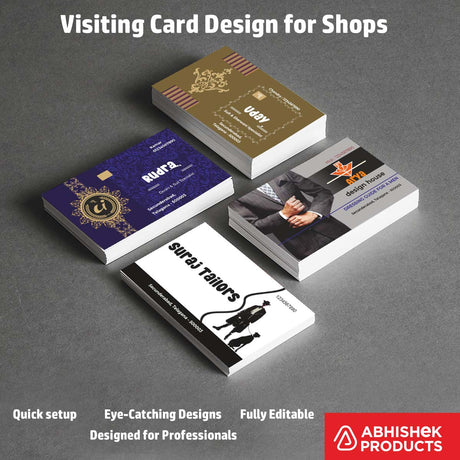
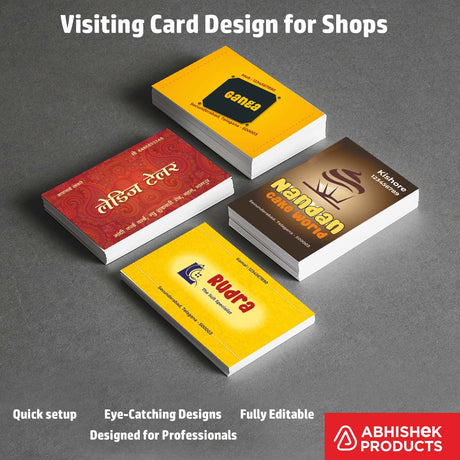
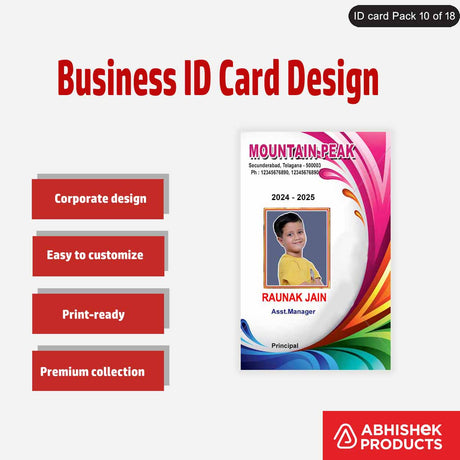
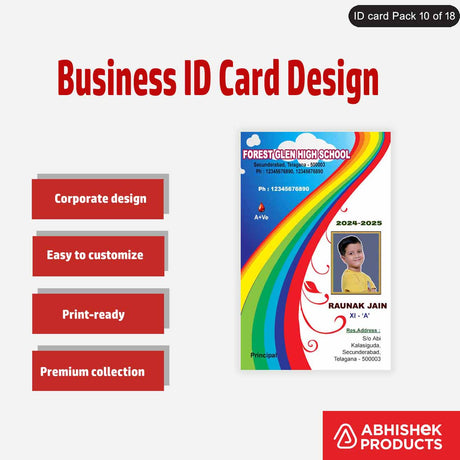
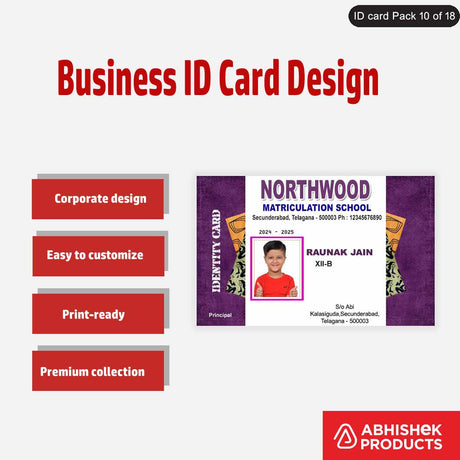
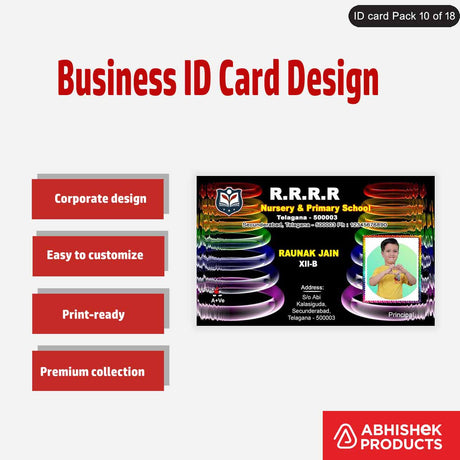
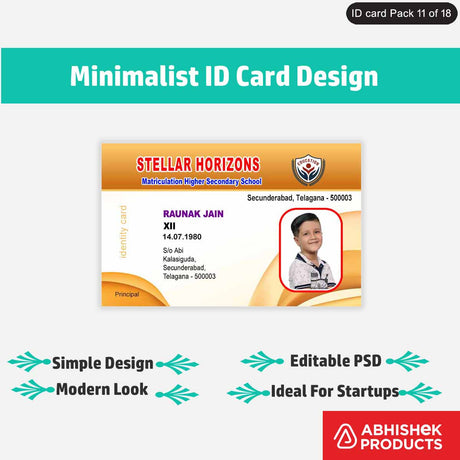
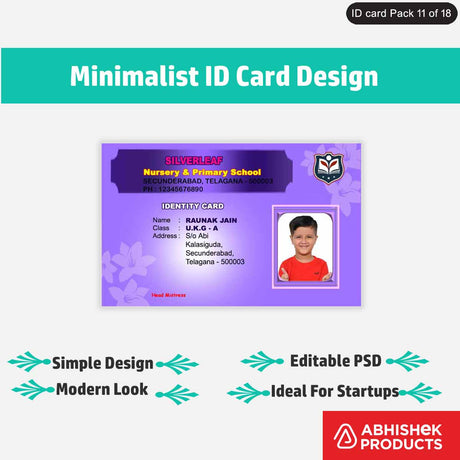
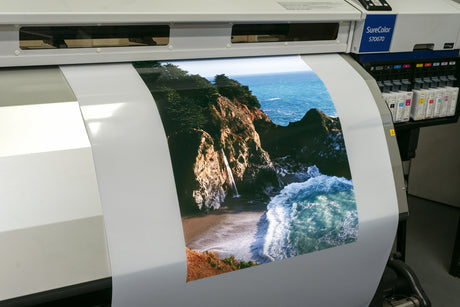
Roll-to-Roll thermal heat lamination machine
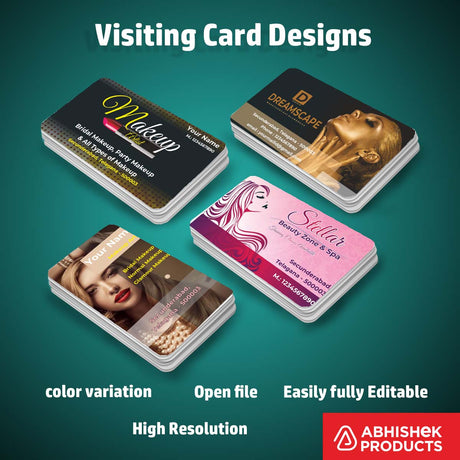
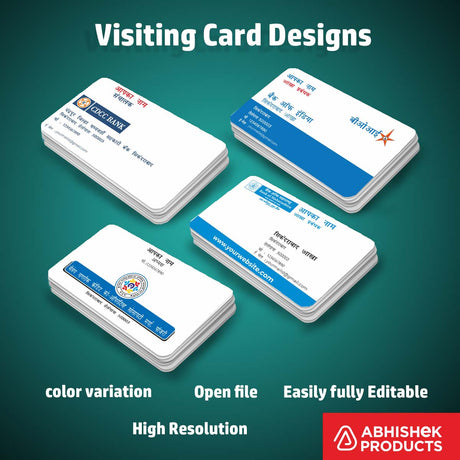
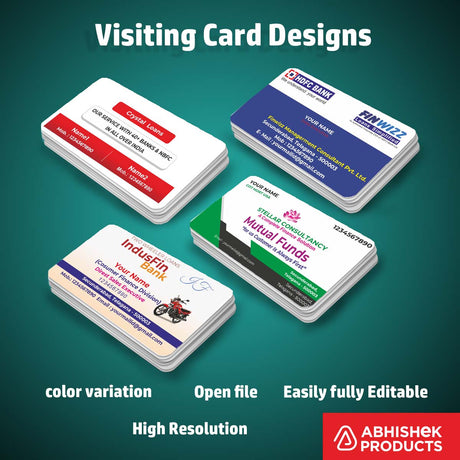
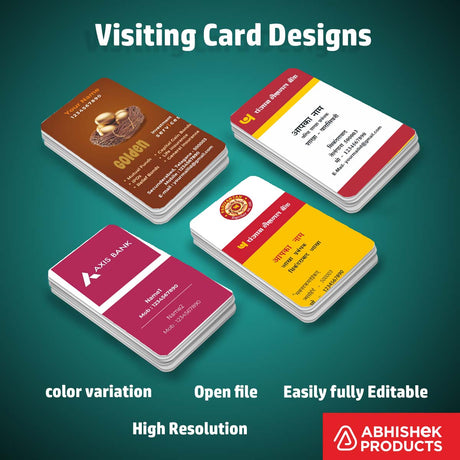
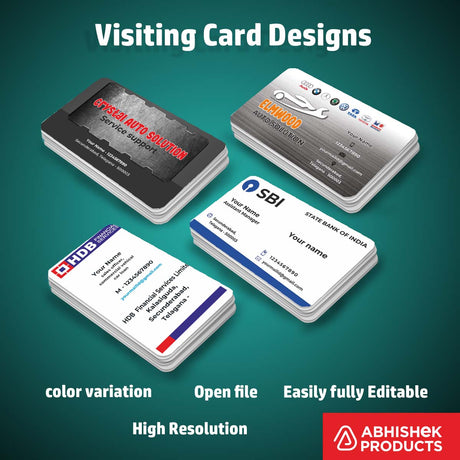
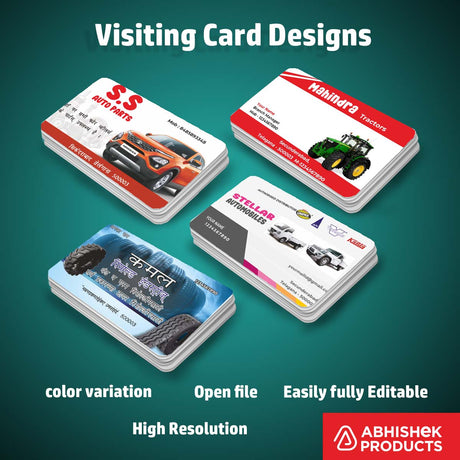
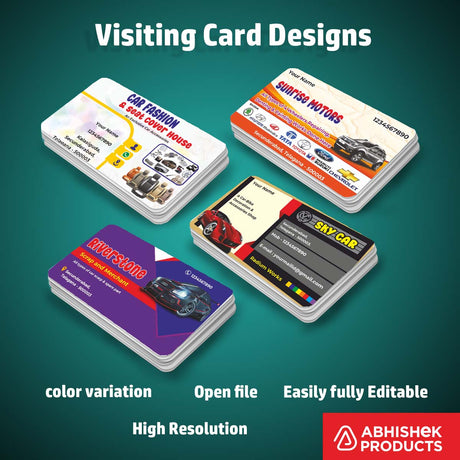
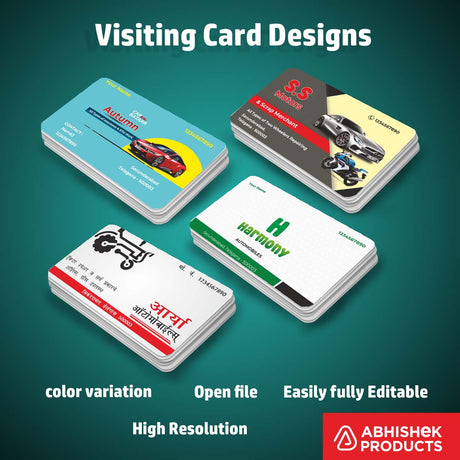
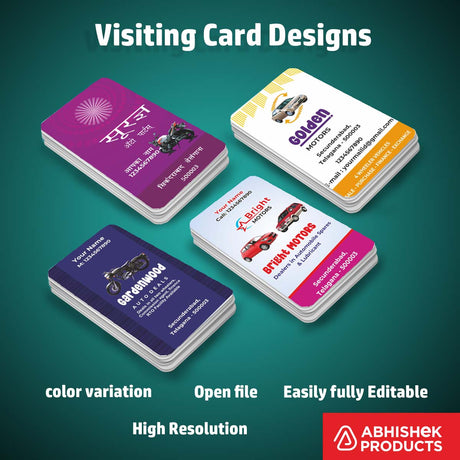
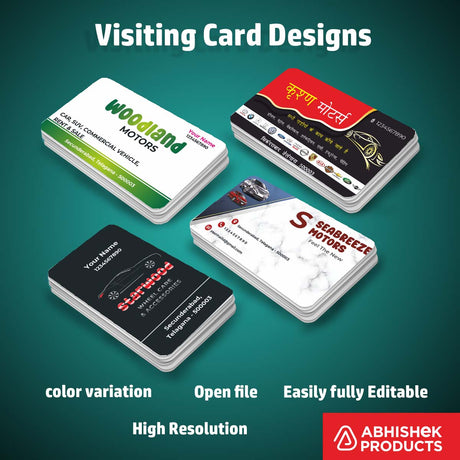
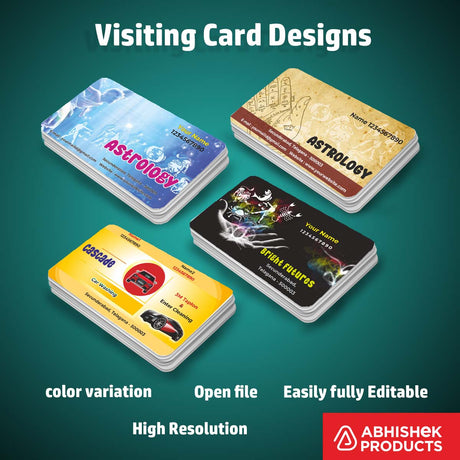
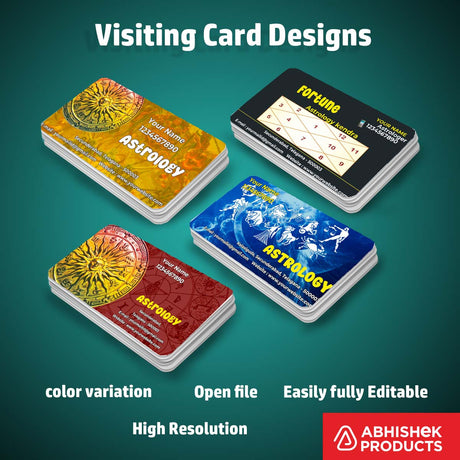
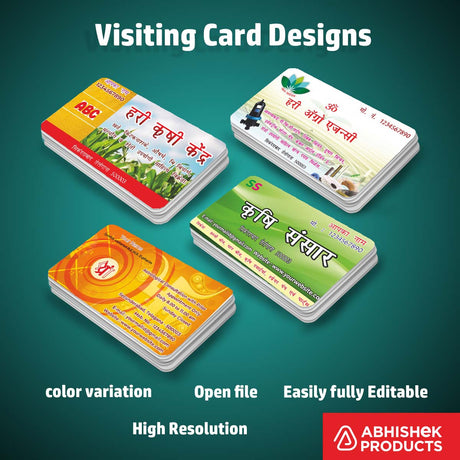
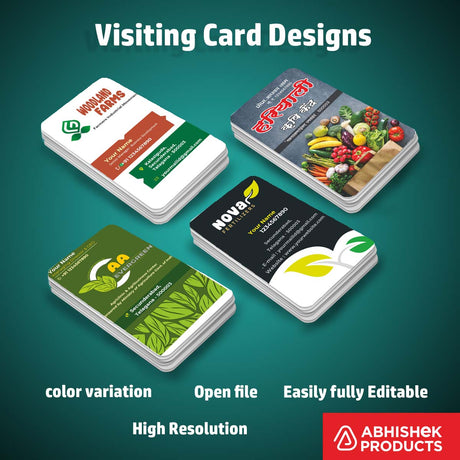
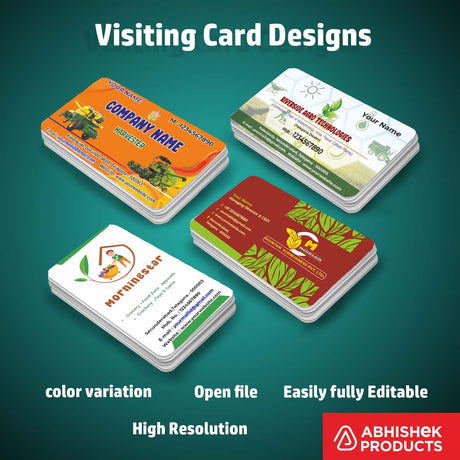
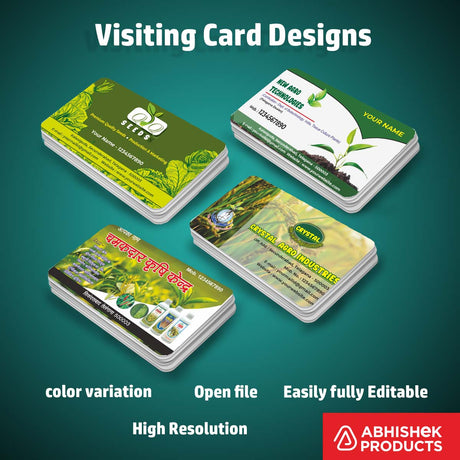
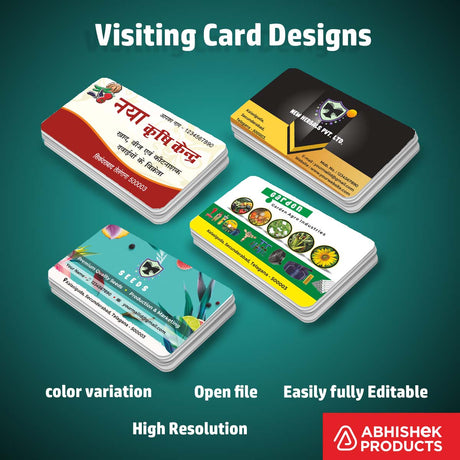
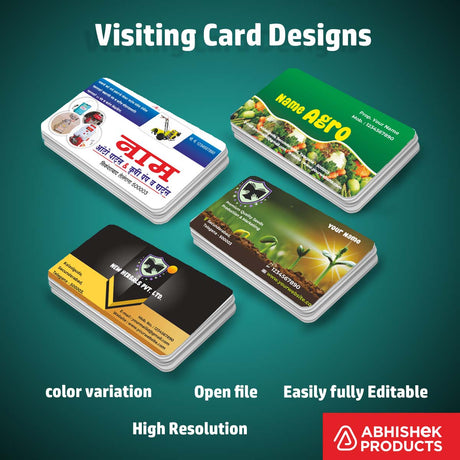
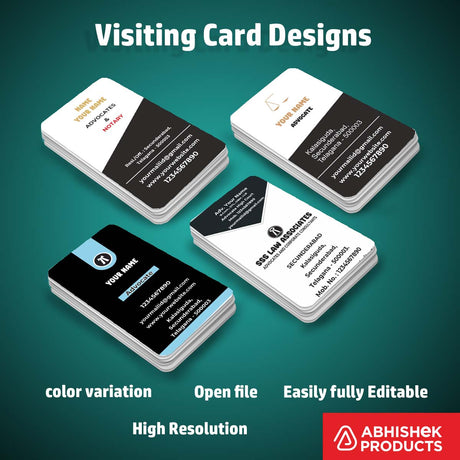
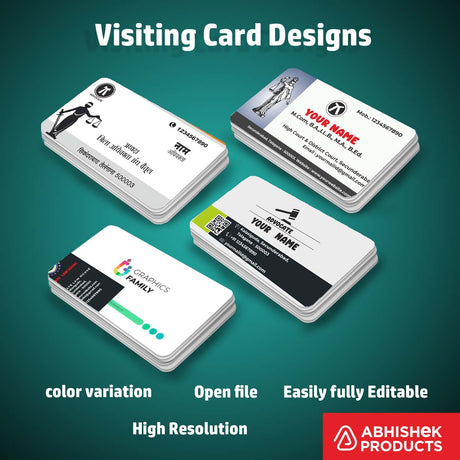
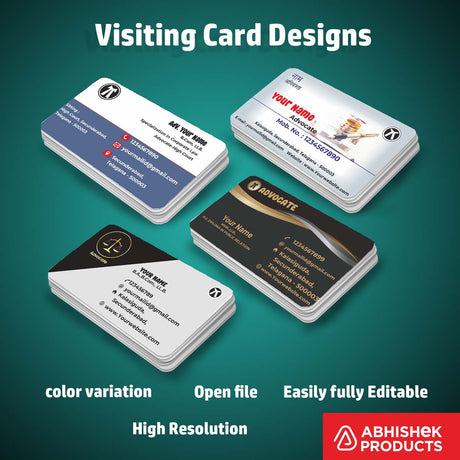
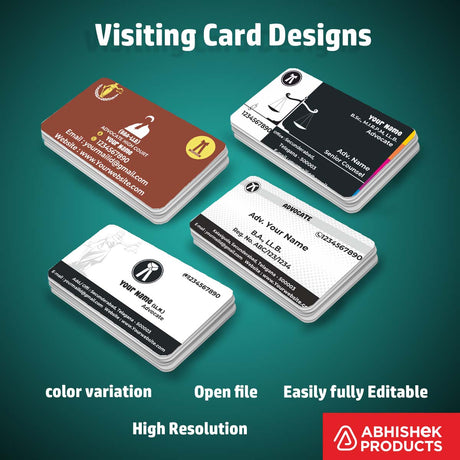
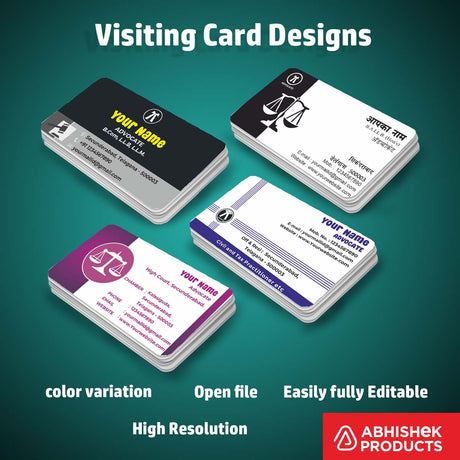
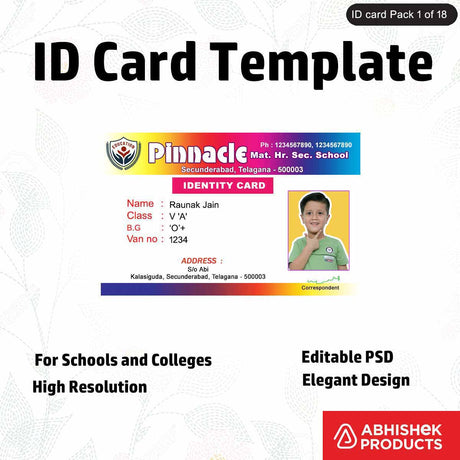
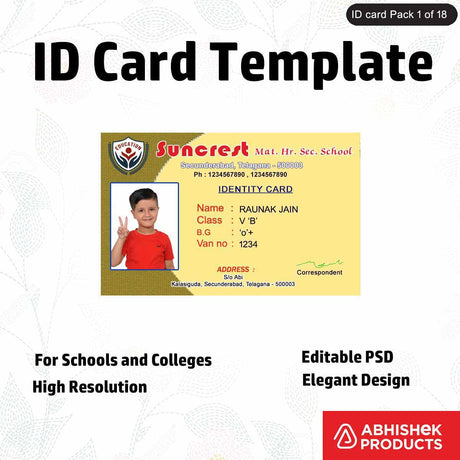
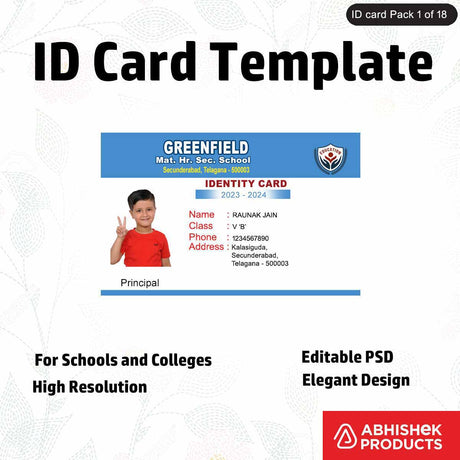
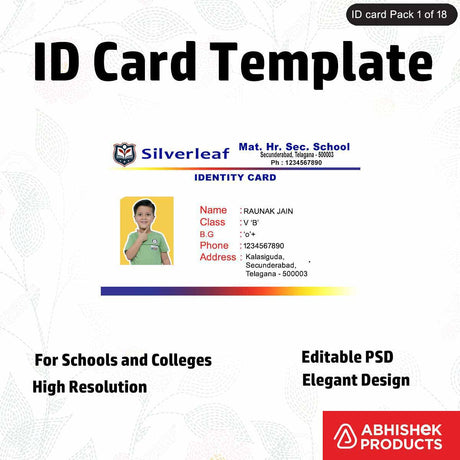
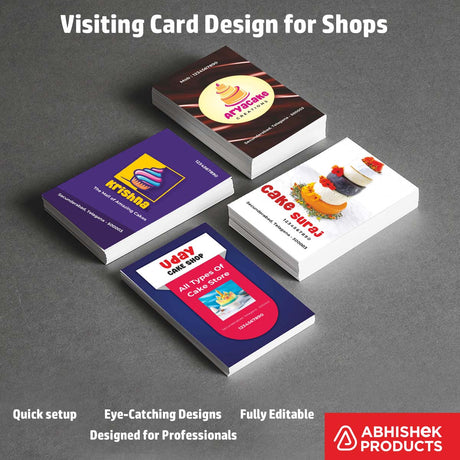
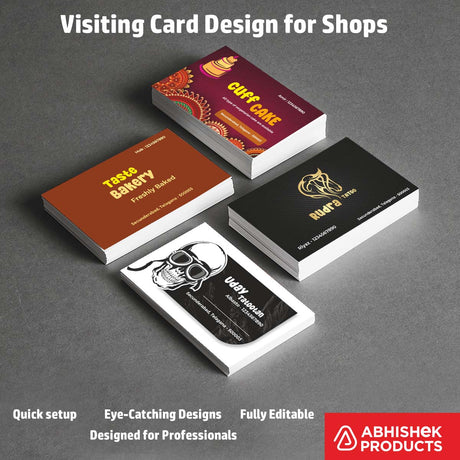
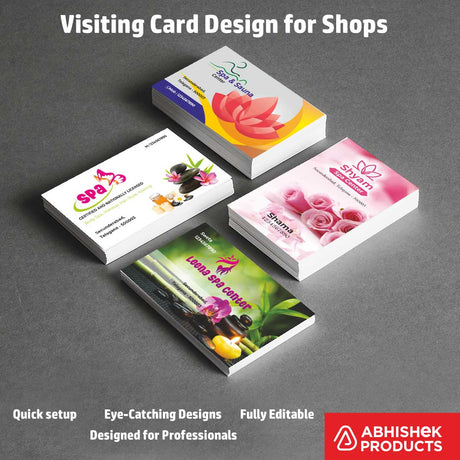
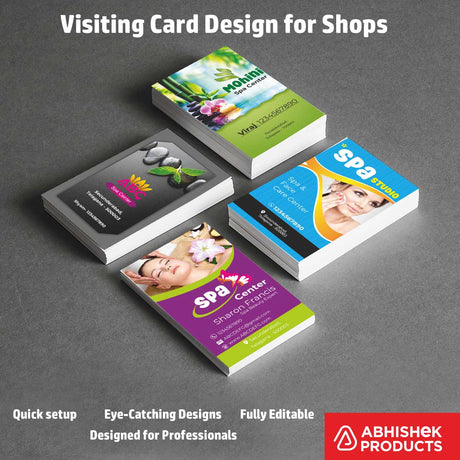
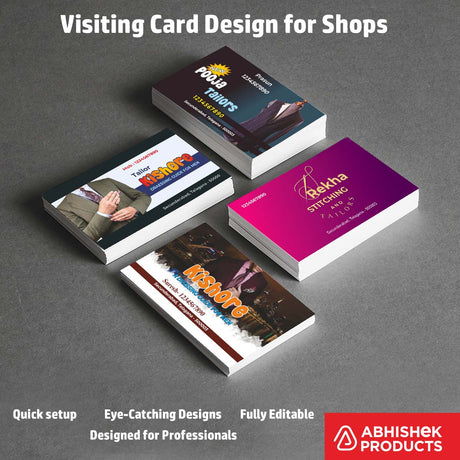
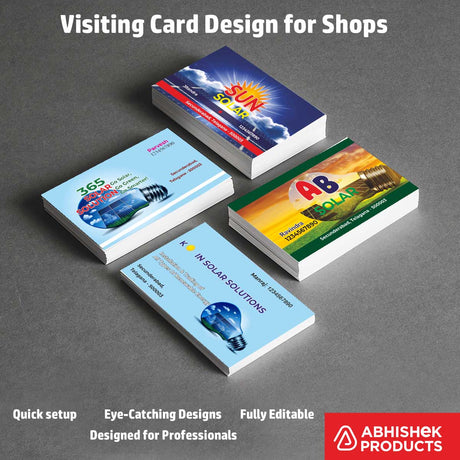
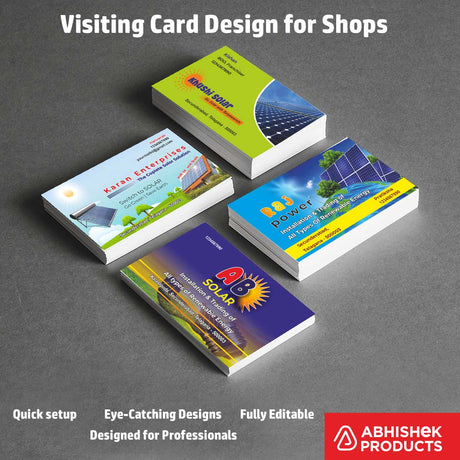
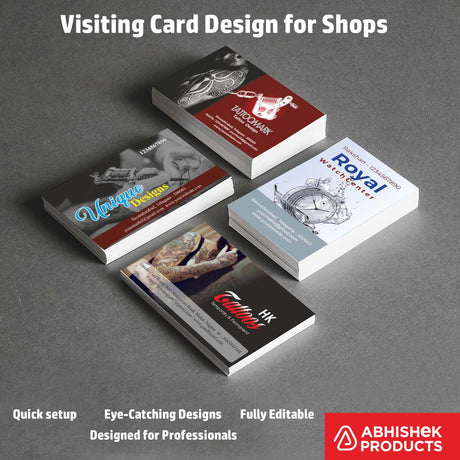
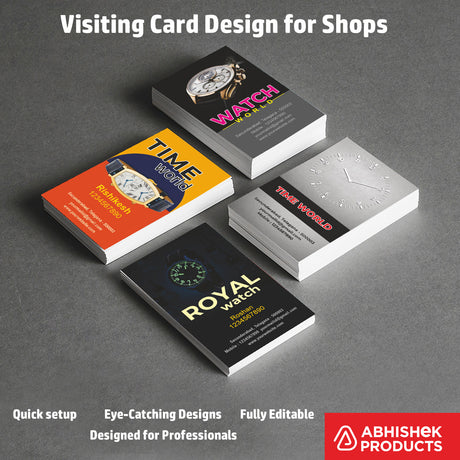
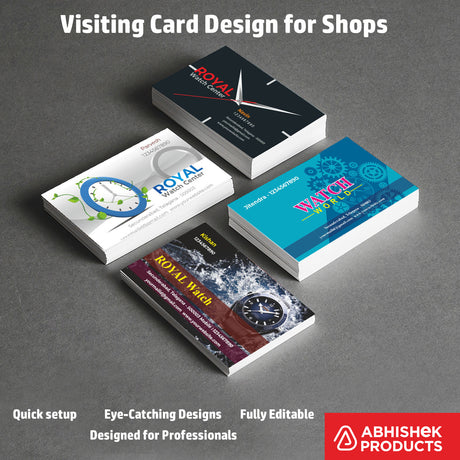
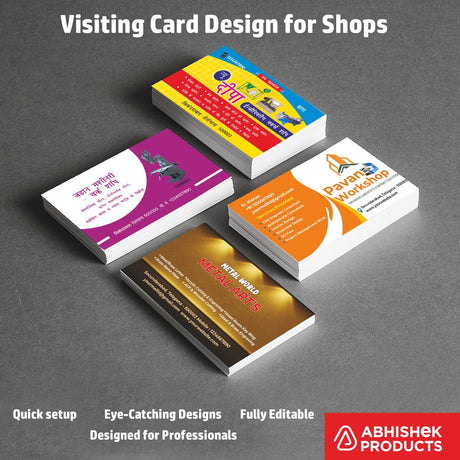
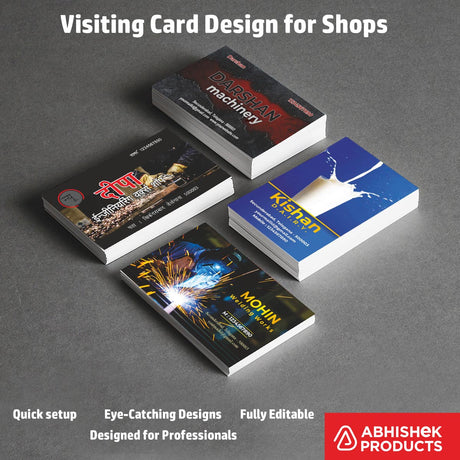
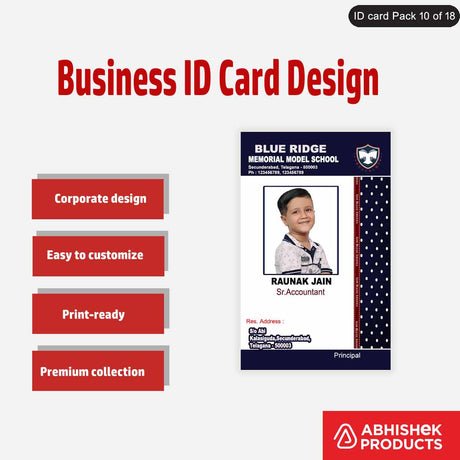
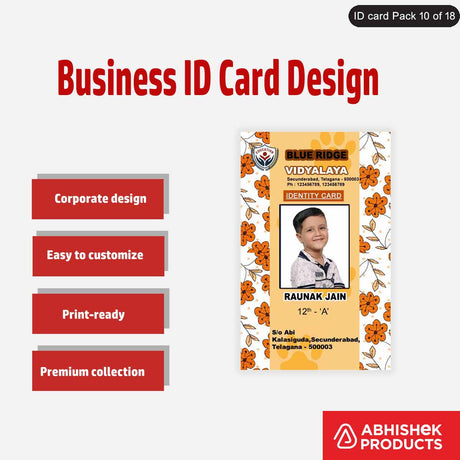
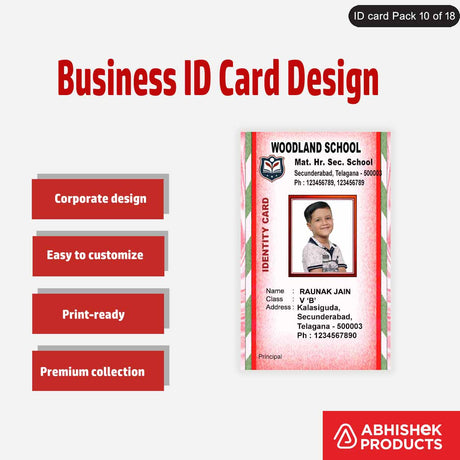
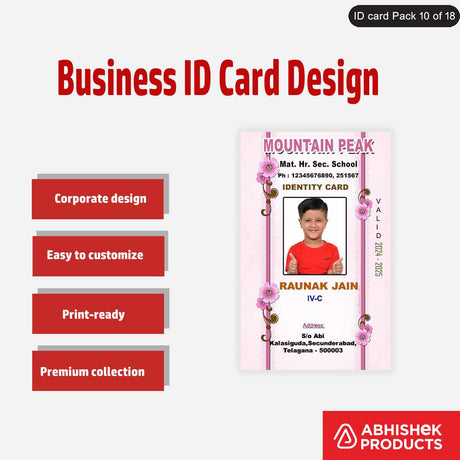
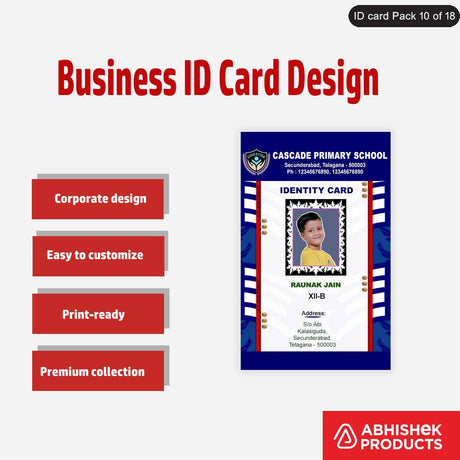
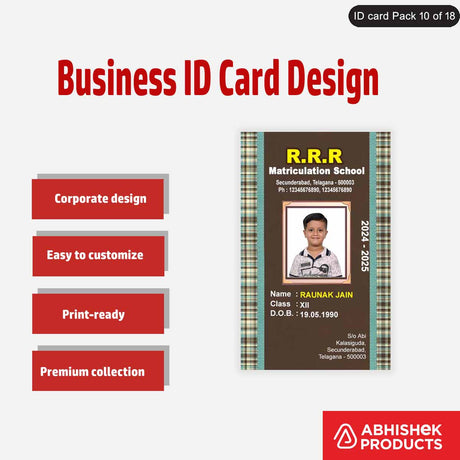
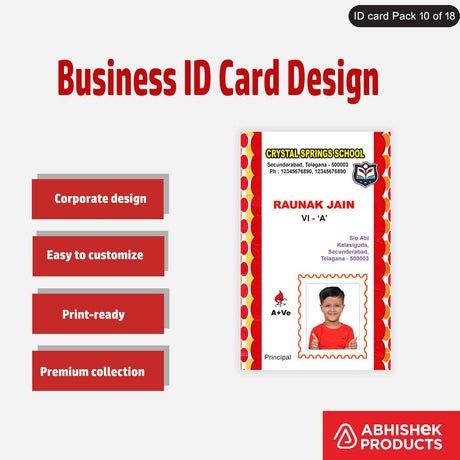
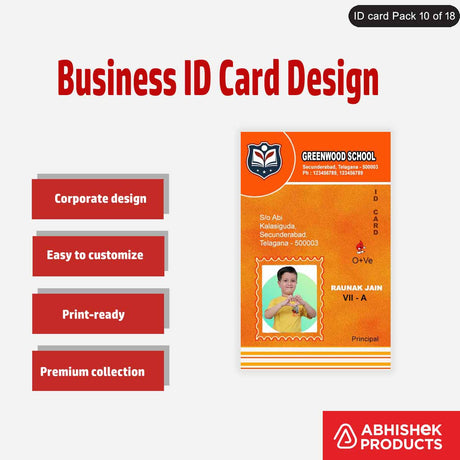
from which you can laminate visiting cards
wedding cards
Brouchers and Pamphlets and catalogues
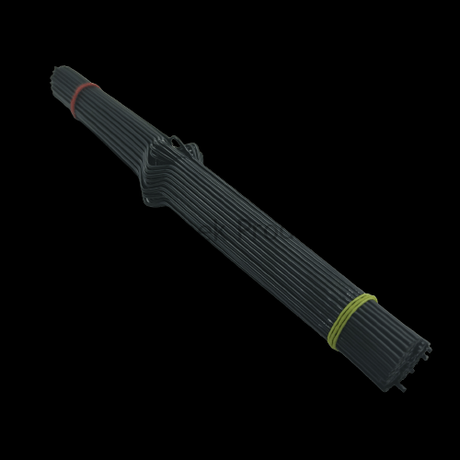
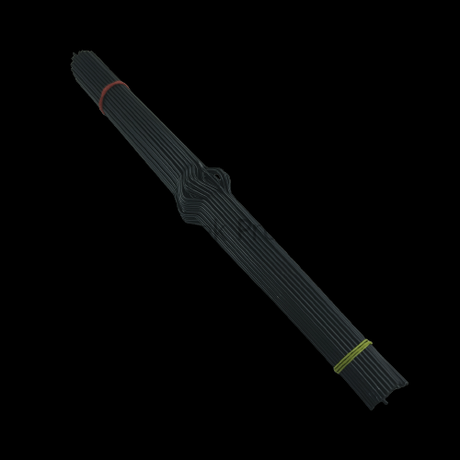
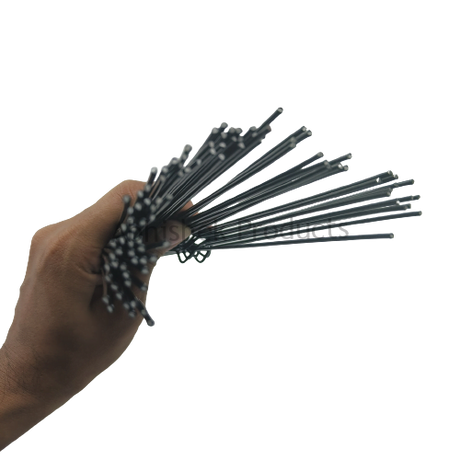
With this machine, you get an electric wire
two rods and four spare parts
and a user manual
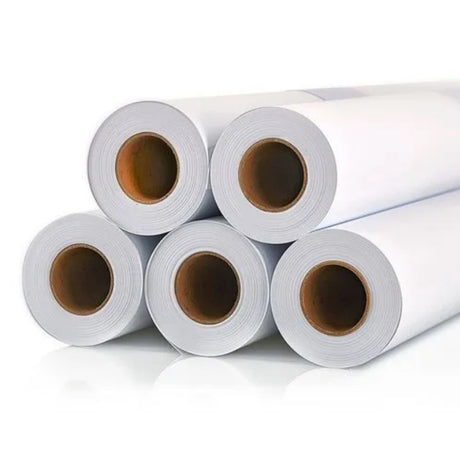
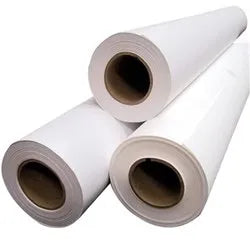
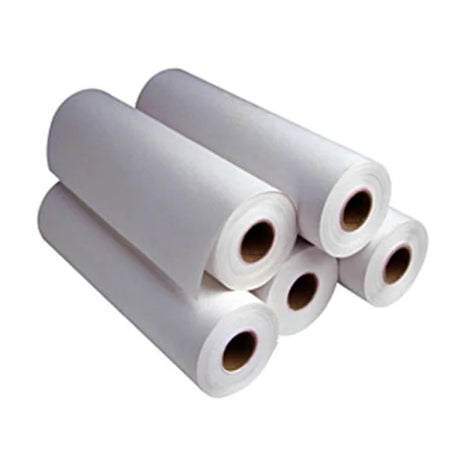
You will not get any type of rolls with this machine
But you can purchase roll with us
or you can visit our website
We talk about this machine in three-part series
in the first part
you see about how to assemble this machine
In the second part, you can see about
How to use this machine with thermal lamination
and in the third part
we will tell you about how to do the gold foil lamination
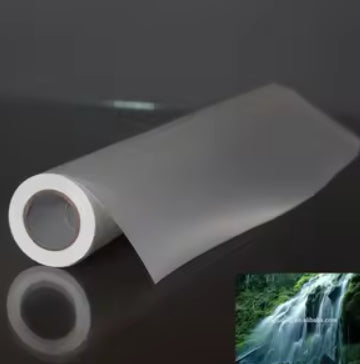
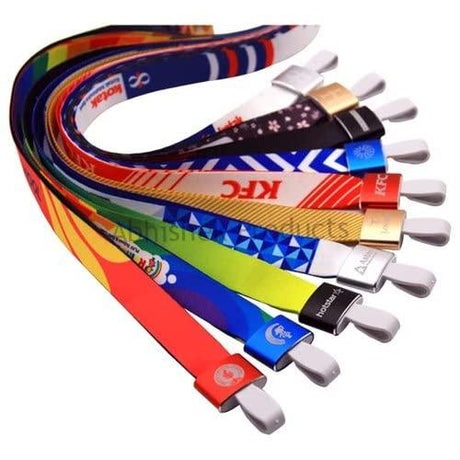
The gold foil roll looks something like this and it's available in different colours
you can make gold foil in different types of papers
with different types of foils
by using this thermal lamination machine
Here we have used red, pink
and using the golden colour
We have made gold foil over different types of imprints in this paper
by using this thermal lamination Roll-to-Roll machine
We will tell you, show you and teach you all about these things
how to work with this machine in three-part series
so, let's start with how to assemble this machine
So, this is the thermal Roll-to-Roll thermal heat lamination machine
we have connected this machine with an electrical cable
with single phase current and turn on
After turning on
we have put this machine in the heating mode
How to put this machine in the heating mode?
for that, you have to Press the select button
when you press the select button it will move on from, cold to hot mode
you have to select the hot mode
then you have to set the temperature to 90 degrees Celsius
so that you can laminate the visiting cards
here you have to change the temperature
you have to set it at the 90 degrees Celsius
After 10 seconds
now it's showing the original temperature 77 degrees Celsius
It will reach 90 degree celsius slowly
and here comes the speed
If you want to do a quality lamination
then our suggestion is
keep it in the speed 2 mode
you can increase the speed by pressing the up button
up to 9 steps
But, if you want maintain a good quality
and maintain a uniform result
Then you have to set the speed in 2
here you have forward, reverse and stop button
forward means the paper moves in the forward direction
and reverse means the paper moves in the backward direction
Stop means the paper stops at the roller position
and does nothing
while the machine is getting heated
this button is used to stop the rolling
After that
This is the important panel
Roller heating configuration is set from this panel
What is roller heating configuration?
In this machine there are two rollers
one is at the top and other one is at the bottom
while the heating is on, this part of the machine will also get heated
here there is a lock
open the cover using this lock only
This machine is not an ordinary machine
This is a special Roll-to-Roll thermal lamination machine
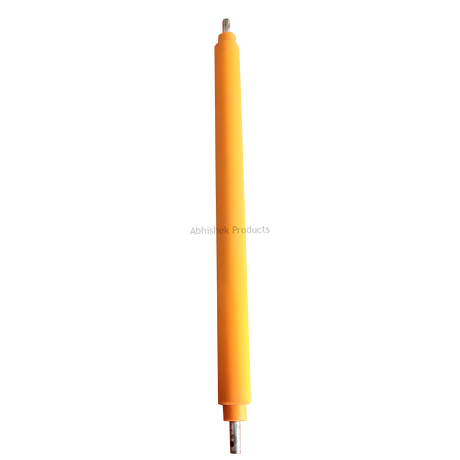
In this machine we have given a steel roller
What is a Steel roller?
and how many types of rollers are there
you can see two types of roller here
At the top is the steel roller
and at the bottom you can see the rubber roller
This rubber roller is good for pressing the paper
as far as the steel roll is considered, it is used to heat the lamination roll
and to give a uniform finish
So there are two combination rollers here
So that the temperature increases quickly
electricity consumption is low
fewer scratches over the rollers
and the paper is laminated in a good manner
Here we have given steel by rubber roller
before that rubber by rubber roller was there
and not by steel by rubber rollers
In our point of view, steel by rubber, the roller is better
because the cost is less, maintenance is less and long life
Because it is made of steel, it does not wear out easily
and you will get a good paper finishing
The big benefit is, it is made of steel
This is the benefit of buying the steel roller lamination machine
Here we have set the temperature
It is slowly going to touch 90 degree Celsius
When you use this machine
it takes about 15 minutes to reach 90 degrees Celsius
If you have any orders, first switch on the machine first
Until then you can do other settings
like putting the stand under the machine and above the machine
Now, we will show you how to put the thermal lamination roll
I have forgotten to tell you have one important thing
In this panel
Here there are two options given one is double roller heating
or single roller heating option
when you push this button down
only the steel roller is heated
but when you push this button up
Then the two rollers are heated the upper and the lower
the lower roller is a rubber roller and the top roller is a steel roller
We want to heat the two rollers
so we have pushed this switch to an upward direction
Here the temperature has reached 89 degrees Celsius
Soon it will reach the 90 degrees Celsius
Now we are going to fit the stands
To assemble the machine we have to remove this cover
This is very easy, just push it up
and remove it
It is very easy
Here you can see three screws
like a triangle
Here it is forming a triangle shape for the three screws
and down here also forming a tri-angle shape for three screw
one more tri-angle shape is formed at the back of the machine
at the top is a triangle for three screws
and here is another tri-angle is there for three screws
First, of fall you have to put this three screws and these three screws
here are three and here three
you have to open 12 screws
with a normal star screwdriver
after removing all the screws
at the right-hand side, below the machine
at the hand right side
you will see a triangle in the machine
you have to put it like this
This shape will come down
and this shape will come at the top of the machine
This can be fitted at the top three screws
and after that
you have to put this part below the left-hand side of the machine
you have to fit it below the the left-hand side of the machine
with the star screwdriver
you will not get the screw driver with this machine
you have to buy screwdriver separately
and at the top, right-hand the side you have to fit it like this
so the fitting work is very simple
now we go forward
now we have fitted all the parts
below and above parts have been fitted
at the right-hand side we have put a stand
at the top is the U-shape and at the bottom is the J-shape
and the roller is ready after heating
now we put the plate back in its position
The plate is fitted and it has become the flat surface now
Now the machine is ready for inserting the paper
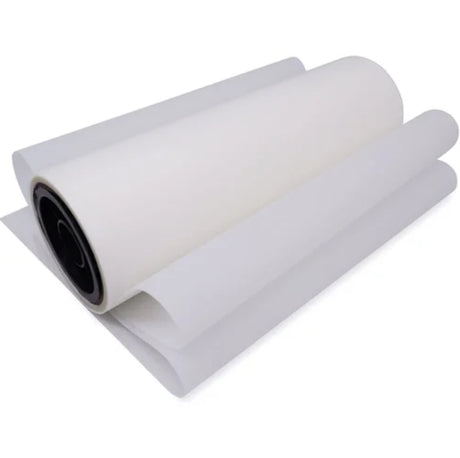
But, before that, you have to fit rolls in the top and the bottom
Because it's a roll-to-roll lamination machine
At the bottom, there would be thermal a lamination roll
And at the top also there would be a thermal lamination roll
and that roll moves into the machine with the paper
Now, we will tell you about
How to fit this lamination roll?
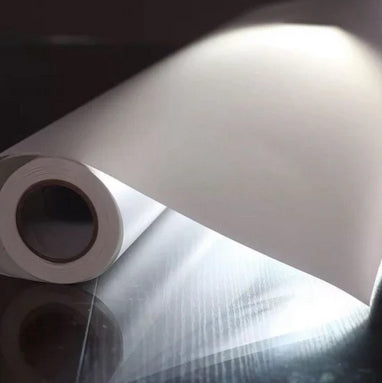
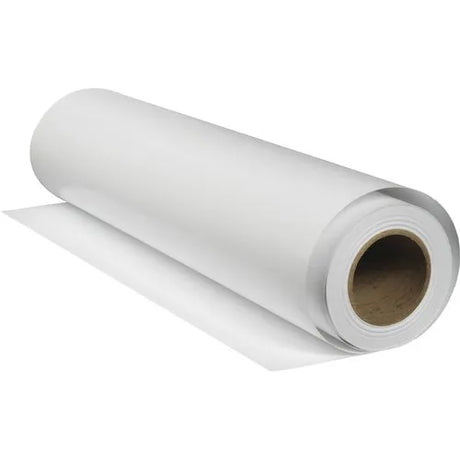
for the demo, we are using a velvet roll and a 3D roll
Glossy roll is the most popular in the market
Today for demo purposes we are using Velvet and 3D rolls
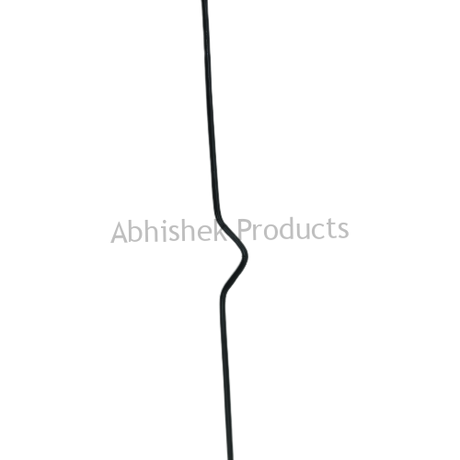
The rods that come with the machine is called a shaft
So, now we put this shaft in the machine
and there is an adjustment knobs in the shaft
In each rod there is two adjustment knobs
You have to just put the rods into the roll
and
you have to put the plastic knob also into the roll for tight-fitting
into the roll for a tight grip
After getting a tight grip, put the other knob into the rod
After tightening there is a screw near the knob
You have to tighten the two screws in the knob with a star screwdriver
So that it fits in the rod permanently
This is a very important thing.
So that only it will get a good grip
So that only you will get good finishing in the lamination
you may know-how to tighten the screws
When you do one or two time you will get a good practice
As we have put the velvet roll into the rod
like that, you have to put the 3D roll also into the rod
What is 3D roll, velvet roll, glossy roll and matt?
These all are the finishing we get at the top surface of the lamination
Here we are using the matt finish roll
In the matt finish the surface frosty
When you touch this, you can feel the premium finish
Its surface is not smooth nor rough it's in between the both
so it's said a velvet
Similarly, there is our 3D roll
3D is made of many box, box design
So it's called a 3D finish
Like that is the glossy finish with shining
Like that is the dull matt
and there are many finishing like this
The most popular finishing in the market is first the glossy
Second is the matt
The third is the 3D finish
and in the fourth comes the premium quality velvet
There are also many more finishing available in the market
for thermal lamination
But 90 per cent of the jobs will be covered by these finishings
Give the glossy finish to those who asks budget, budget, budget
And give matt finishing for those who want a premium finishing
Those customers who want
good quality, finishing and wants a good premium branding
for those customers tell about the velvet and 3D finishings
Every customer has their own choices
Some need budget products, some needs quality products
the machine is one, you have to select the lamination roll only for quality
For those customers who wants low-cost products
use low-cost raw materials
Fix the roll like this
See how we have fixed this roll
The rolls side stopper is at the left-hand side
and the free knob is at the right-hand side
Like that you have to fit this roll below
See how we have fitted in the left-hand side
Keep the pressure the knob on the left-hand side
Keep the silver colour grip On the right side as shown
do the same method below
The main rod is in between two washers
A separate is at the left-hand side
you have to fit it like this
and the remaining work is to fit back the plate
While fitting the below roll
The roll must fall in the forward direction as shown
When you are loading the roll in the top rod
The roll must fall in the back ward direction as shown
The paper release is in the back-ward direction
the bottom roll will fall in the forward direction
when you fit in the reverse direction
Then you will face many difficulties and you may need maintenance many times
do like this so that your the machine gets a long life
and your work will be perfect
the bottom roll is falling in the forward direction
now we will insert this roll inside the machine
Slowly bring the roll of film from one rod to the other rod
so that the tension will be there in the roll film
so that the tension is maintained in the roll
so that the finishing will be good
we have brought the roll film here
here is a rod which moves forward and backwards
we have locked this by bringing all the back and bring forward