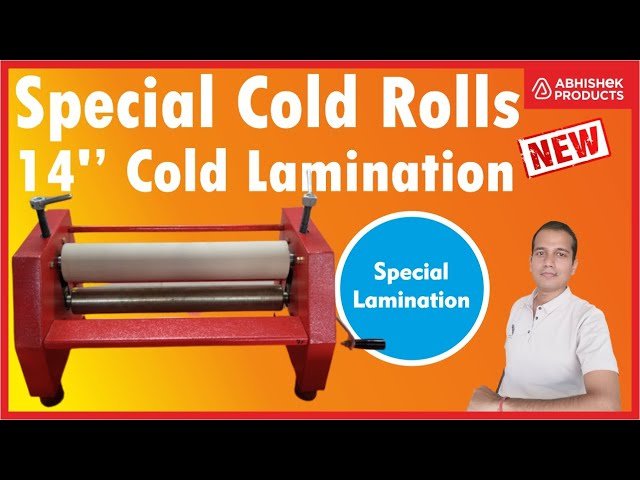
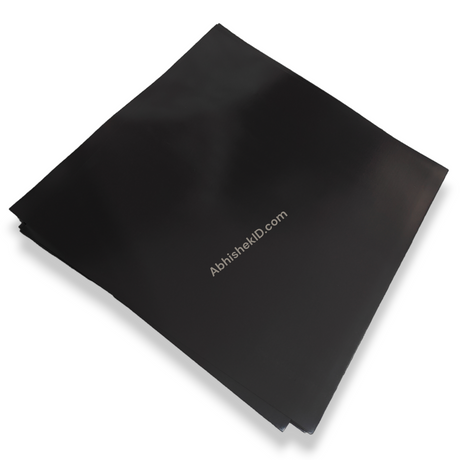
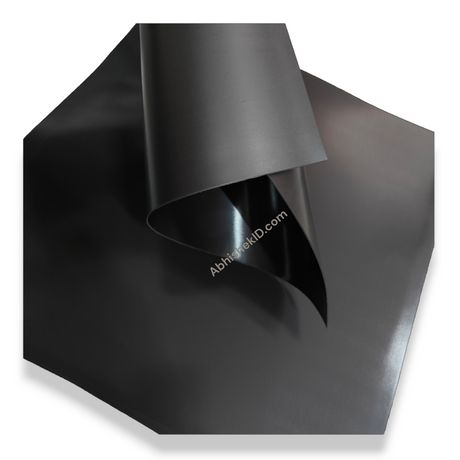
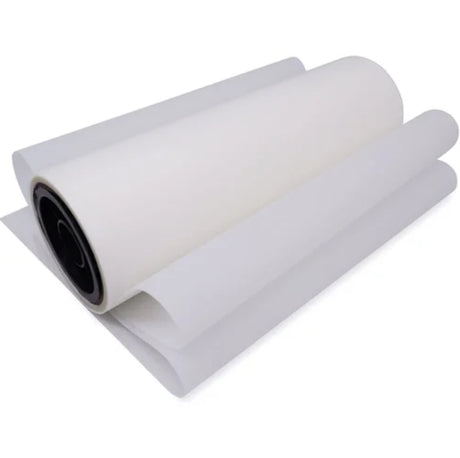
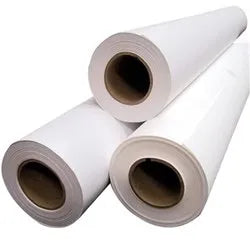
14 అంగుళాల యంత్రాన్ని కొనుగోలు చేయండి - https://abhsk.com/5i | ప్రత్యేక కోల్డ్ రోల్స్ కొనండి - https://abhsk.com/cqww4 | 14 అంగుళాల కోల్డ్ డెస్క్టాప్ లామినేషన్ మెషిన్ బహుముఖ రోలర్తో వస్తుంది, ఇది A4, 12x18, 13x19 మరియు 12x36తో సహా వివిధ పరిమాణాల వ్యాసాలను సులభంగా లామినేట్ చేయడానికి మిమ్మల్ని అనుమతిస్తుంది. ఈ లామినేషన్ రోలర్ నిగనిగలాడే పాత లామినేషన్లు, మాట్, కాన్వాస్, మెరుపు, 3D మరియు తాజా మిర్రర్ లామినేషన్తో ఉపయోగించడానికి సరైనది. దాని వినియోగదారు-స్నేహపూర్వక డిజైన్తో, మీరు ఏ సమయంలోనైనా ప్రొఫెషనల్గా కనిపించే లామినేషన్లను సాధించవచ్చు. మీరు విద్యార్థి, ఉపాధ్యాయుడు లేదా కార్యాలయ ఉద్యోగి అయినా, ముఖ్యమైన పత్రాలు, ఫోటోలు మరియు కళాకృతులను భద్రపరచడానికి ఈ లామినేషన్ మెషీన్ తప్పనిసరిగా ఉండాలి. ఈ అద్భుతమైన లామినేషన్ మెషిన్ గురించి మరింత తెలుసుకోవడానికి ఈ వీడియో చూడండి!
శుభ సాయంత్రం స్వాగతం
అభిషేక్ ఉత్పత్తులు నేను అభిషేక్
మరియు నేటి వీడియోలో, మేము
మాట్లాడబోతున్నాను
సుమారు 14-అంగుళాల కోల్డ్ లామినేషన్
యంత్రం, ఈ చలితో
లామినేషన్ యంత్రం, మీరు చేయవచ్చు
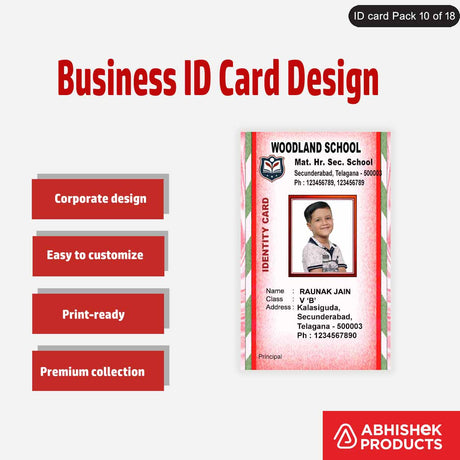
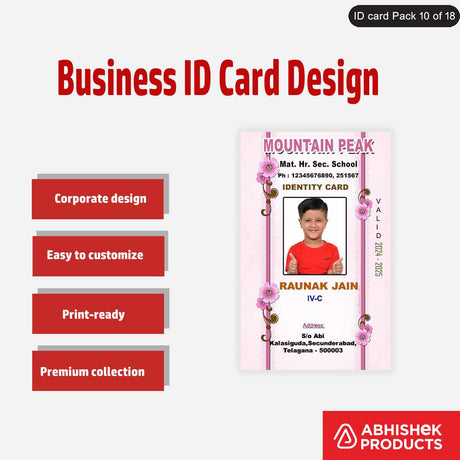
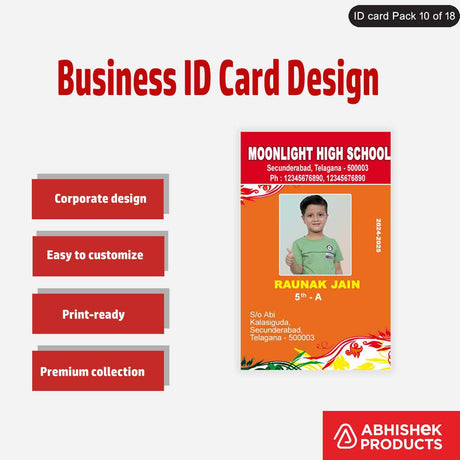
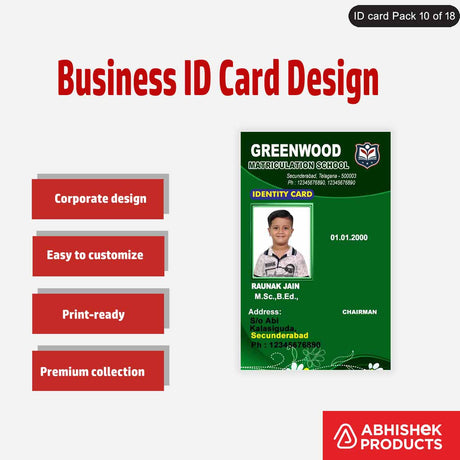
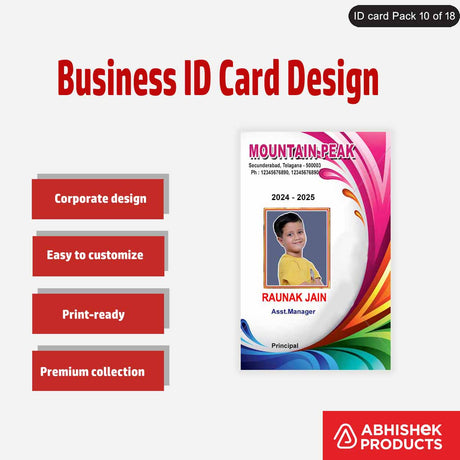
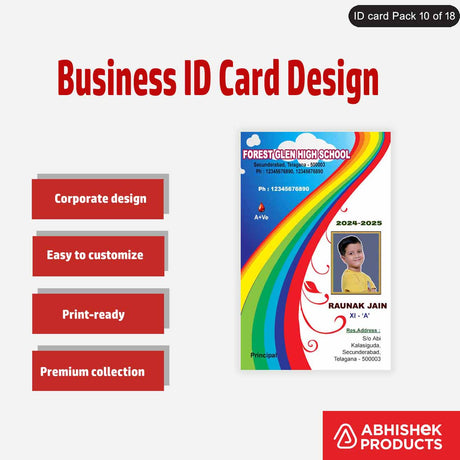
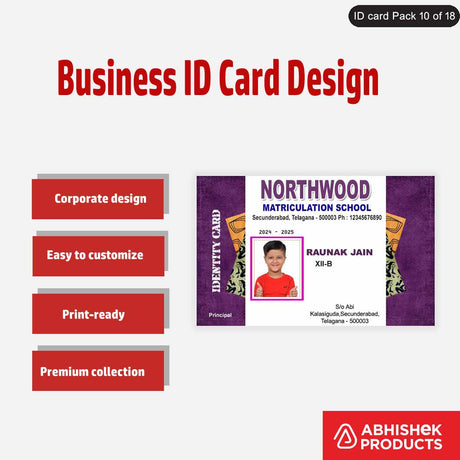
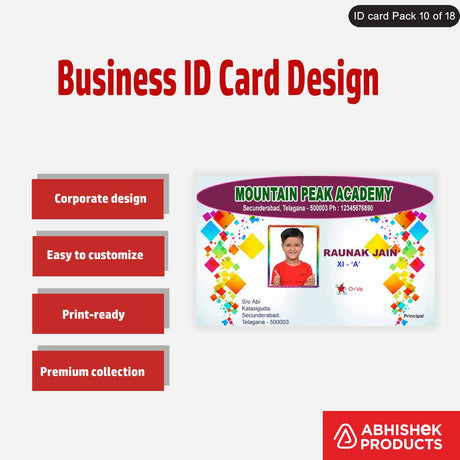
ID కార్డ్ స్టిక్కర్లు మరియు ఫోటో
లామినేషన్, మరియు మునుపటిలో
వీడియో 7ని ఎలా ఉపయోగించాలో చెప్పాను
అంగుళాల చేతి రోలర్ మరియు ఎలా చేయాలి
ఫోటోలు లేదా పత్రాలు తయారు చేయవచ్చు
వివిధ రకాల ప్రత్యేకతలు
లామినేషన్ మరియు నేటి వీడియోలో
ఎలా చేయాలో నేను మీకు చెప్పబోతున్నాను
14-అంగుళాల కోల్డ్ లామినేషన్ ఉపయోగించండి
యంత్రం నుండి A4 పరిమాణం, 12x18,
ఫోటో పేపర్ లేదా ఫోటో స్టిక్కర్ లేదా
ఏ రకమైన స్మార్ట్ స్టిక్కర్,
పారదర్శక స్టిక్కర్ లేదా AP
మీరు తయారు చేయగల దానిపై స్టిక్కర్
నిగనిగలాడే, 3D, శాటిన్, మెరుపు,
కాన్వాస్ మరియు మా తాజా అద్దం
లామినేషన్ ఇవన్నీ ఎలా చేయాలి
మీ క్లయింట్ కోసం ప్రత్యేకమైన లామినేషన్
నేను ఉపయోగించిన పత్రం కోసం,
ఎప్సన్ L4260 ప్రింటర్, ఇది a
నాలుగు రంగుల పర్యావరణ ట్యాంక్ ప్రింటర్,
లోపల మీరు సులభంగా చేయవచ్చు
A4 సైజు ప్రింట్అవుట్లను తీయండి.
పెద్ద ముద్రణ కోసం, మేము ఉపయోగించాము
చిన్న ముద్రణ కోసం, మేము ఉపయోగించాము
మీతో డెమో ప్రారంభించండి, మేము
రోల్ ఫార్మాట్ మరియు A4 ఆకృతిని కలిగి ఉంటాయి
మీరు కలిగి ఉంటే, మాతో అందుబాటులో ఉంటుంది
చిన్న ఆర్డర్ మరియు పెద్ద మొత్తం కాదు
ఆర్డర్.
మరియు మీకు A4 పరిమాణం కావాలంటే
లామినేషన్ అప్పుడు మీరు ఆర్డర్ చేయవచ్చు
మా నుండి ఈ A4 సైజు పత్రాలు
మా వెబ్సైట్ www.abhishek.comలో
లేదా మీరు మమ్మల్ని కూడా సంప్రదించవచ్చు
బల్క్ ఆర్డర్ల కోసం WhatsApp ద్వారా.
మీరు దీన్ని చేయవచ్చు, ఎవరి లింక్ మీకు
వివరణలో కనుగొంటారు
మరియు క్రింద వ్యాఖ్యానించండి, ముందుగా
మీరు కలిగి ఉన్న యంత్రాన్ని ఉపయోగించడానికి
సిద్ధం చేయడానికి ఫారమ్ బోర్డుని ఉపయోగించండి
యంత్రం.
కాబట్టి నురుగు ఏర్పాటు చేసిన తర్వాత
బోర్డు, మీరు సమలేఖనం చేయాలి
మీ ప్రకారం యంత్రం
సౌలభ్యం, కోసం స్థలం చేయండి
యంత్రం మరియు నురుగు బోర్డు సెట్
నురుగు ఆ విధంగా
బోర్డు వీటి ద్వారా గట్టిగా ఉంటుంది
నోడ్స్ మరియు రోలర్ తిప్పవచ్చు
సౌకర్యవంతంగా పైకి.
మరోవైపు, మనకు ఉంది
ఇందులో సిలికాన్ రోలర్ ఇచ్చారు
14 అంగుళాల వెడల్పు కలిగిన యంత్రం
మరియు దీని పైన, మేము వెళ్తున్నాము
A4 పరిమాణం మెరుపు చేయడానికి
లామినేషన్.
నేను చేయడం ద్వారా మీకు చెప్తాను
మెరుపు లామినేషన్ కోసం, మేము చేస్తాము
మీరు కొద్దిగా ఉంటుంది ఇవ్వాలని
A4 పరిమాణం కంటే పెద్దది కాబట్టి
మీరు సులభంగా లామినేట్ చేయవచ్చు
నాలుగు పత్రాలు. చేయడానికి
లామినేషన్, మొదట, తొలగించండి
కాగితాన్ని తేలికగా వదలండి మరియు మడవండి
అది మరియు రోలర్ దగ్గర నొక్కండి
తద్వారా మీరు మీ స్వంతంగా చేయగలరు.
చేయగలిగిన ఒత్తిడితో
పత్రాన్ని సులభంగా రోల్ చేయండి
ఈ విధంగా మీరు కట్టుబడి ఉండాలి
మీ లామినేషన్
మరియు కాగితాన్ని ఇందులో ఉంచండి
ధోరణి మరియు హ్యాండిల్ ఉంచండి
మీ దగ్గర, కాగితం ఉంచండి
నేరుగా
హ్యాండిల్ను తరలించడం ప్రారంభించండి
కాబట్టి ఈ విధంగా మీ మెరుపు
లామినేషన్ సిద్ధంగా ఉంది
ఇది చాలా సులభమైన పని, ఇది
మీరు కలిగి ఉంటే అటువంటి సులభమైన పని
నా రోల్ ఉపయోగించి నా డెమో చూసాను
ముందు, ఇది చాలా కష్టం
ఆ మెషీన్లో దీన్ని చేయడానికి, అది
చేయడం చాలా కష్టమైంది కానీ
ఇప్పుడు మేము లామినేషన్ చేసాము
సులభంగా ఎందుకంటే ఇక్కడ మీరు
మీరు ఖచ్చితమైన Aని పొందుతున్నారు
పరిమాణం కటింగ్ కోసం, ఇది తో ఉంది
ఖచ్చితమైన మార్జిన్, అమరిక కూడా
మీకు ఎలాంటి సమస్య లేదు
అది మరియు మీరు చాలా చూడగలరు
దానిలో మెరుపు లామినేషన్, నేను
రికార్డింగ్ చేసి మీకు ఇక్కడ చూపుతున్నాను
కెమెరాలో ఉంది కానీ అది నిజం
అందం ఉంది, మీరు చేస్తారు
మీరు చూసినప్పుడు మాత్రమే అర్థం చేసుకోండి
అది మీరే.
కాబట్టి ఇది స్పార్కిల్ లామినేషన్
లామినేషన్ తర్వాత, మీరు అవసరం
మీ పత్రాన్ని పూర్తి చేయండి
మార్గం, ఇక్కడ మేము రోటరీని ఉపయోగిస్తున్నాము
ఫినిషింగ్ ఇవ్వడానికి కట్టర్
సులభంగా ఎలాంటి పత్రాలు అయినా
అది 100 gsm కాదా
అది 800 GSM అయినా లేదా 300 అయినా
GSM, 600 GSM వరకు మరియు 800 వరకు
మైక్రోన్ ప్లాస్టిక్ను కత్తిరించవచ్చు
ఈ రోటరీ కట్టర్తో సులభంగా
ఇది మెరుపు లామినేషన్
దీని ముగింపు చాలా బాగుంది, ఇక్కడ నేను
మీకు చెప్పారు.
మీరు ఈ సమయంలో చూపబడ్డారు
మొబైల్ తో రికార్డింగ్
కెమెరా, కానీ దాని నిజమైన అందం చేయవచ్చు
మీరు సందర్శించినప్పుడు చూడవచ్చు
మీరే, మీరు దానిని చూడవచ్చు.
తదుపరి పత్రంలో, మేము చేస్తాము
లామినేట్ అనేది కాన్వాస్ లామినేషన్
ఇది ఇలా కనిపిస్తుంది,
తేలికపాటి మాట్టే పంక్తులు ఉన్నాయి
దాని పైభాగంలో ముగింపు రేఖ మరియు ఇది
ముగింపు శాటిన్ మధ్య ఉంటుంది
మధ్య మాట్ మరియు నిగనిగలాడే ముగింపు
కాబట్టి త్వరగా నేను మీకు చెప్తాను
డెమో.
ఇది శాటిన్ మాట్టే లామినేషన్,
మీరు దాని ప్రతిబింబాన్ని చూడవచ్చు లేదా
పైన లైట్లు ఉన్నాయి,
ఇది ఇది మరియు మీరు ఎలా చూస్తారు
ప్రతిబింబం వస్తోంది, ఉంది
ఓవర్షైన్స్ లేదా ఓవర్ బ్రైట్నెస్ లేవు
ఇక్కడ, ఇప్పుడు మేము పూర్తి చేస్తాము.
అదనపు అంచులను కట్ చేద్దాం
ఇది ఇప్పుడు కాన్వాస్ లామినేషన్
తర్వాత 3D లామినేషన్ చూద్దాం,
ఇది పెట్టె రూపకల్పనను కలిగి ఉంటుంది
లోపల, నేను ఇప్పుడు దానిని డెమో చేస్తాను మరియు
అది చెప్పు.
ఇవి 3D లామినేషన్లు
దేనికైనా చాలా మంచి రూపాన్ని ఇస్తుంది
ఫంకీ ఉత్పత్తి లేదా ఫంకీ ప్రదర్శన
పిల్లలకు లేదా ఏదైనా సూపర్
డూపర్ ఈవెంట్ చాలా ఉపయోగకరంగా ఉంది
ఇవి 3డి లామినేషన్
తదుపరిది శాటిన్ మాట్
లామినేషన్ లేదా మాట్ మాత్రమే
చాలా మంచి లామినేషన్
మరియు మీరు కలిగి ఉన్నప్పుడు ఆర్థికంగా
చాలా కాంతి మూలం లేదా చాలా
చాలా ప్రతిబింబం, అప్పుడు మీరు చెయ్యగలరు
ఆ ప్రతిబింబాన్ని తగ్గించడానికి దాన్ని ఉపయోగించండి.
ఇప్పుడు దాని డెమో చేద్దాం మరియు
చెప్పు
మేము ఇక్కడ రింగ్ లైట్ ఉంచాము
మరియు నేను దానిని చాలా దగ్గరగా తీసుకుంటున్నాను,
అప్పుడు కూడా టార్చ్ రిఫ్లెక్షన్ లేదు
దానిపై కనిపిస్తుంది, ఇక్కడ మనకు ఉంది
పైన మరియు ఉన్నప్పటికీ లైట్లు
అని, లైట్లు లేవు
దానిపై ప్రతిబింబం.
కాంతి ప్రతిబింబం కూడా ఉంటే
మీ ప్రాంతంలో చాలా లేదా ఉంటే
కాంతి ప్రతిబింబం చాలా ఎక్కువగా ఉంటుంది
మీ గది, అప్పుడు మీరు మాట్టే ఉపయోగించండి
లామినేషన్. ఇప్పుడు చేద్దాం
పనిని పూర్తి చేయడం
కాబట్టి ఇది నిగనిగలాడే లామినేషన్
మరియు దాని లోపల ప్రతిదీ ఉంది
ప్రతిబింబిస్తుంది, ఇక్కడ మీరు చూస్తున్నారు
రింగ్ లైట్, లైట్లు
పైన పైకప్పు కనిపిస్తుంది,
కాబట్టి మీ కాంతి మూలం లేదా
మీలో అనుకరణ చాలా ఎక్కువ
గది అప్పుడు ఈ లామినేషన్
మీ కోసం కాదు
మీరు దానిని లోపల ప్రింట్ చేయగలిగితే
కొన్ని లింక్ లేదా మెరిసే వస్తువు, ఆపై
అది సరిపోతుంది, కానీ ఉంటే
మితమైన కాంతి ఉంది మరియు
కాంతిపై మంచి నియంత్రణ ఉంది,
అప్పుడు ఈ లామినేషన్ ఉపయోగకరంగా ఉంటుంది,
దానిని నిగనిగలాడే లామినేషన్ అంటారు.
కాబట్టి ఇది నిగనిగలాడే లామినేషన్
మరియు తదుపరిది మా తాజా గొప్పది
మిర్రర్ లామినేషన్
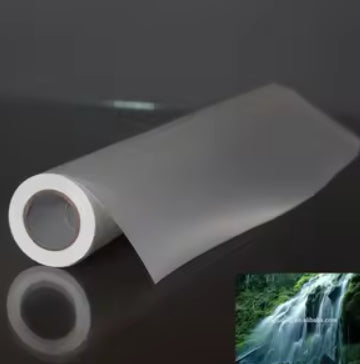
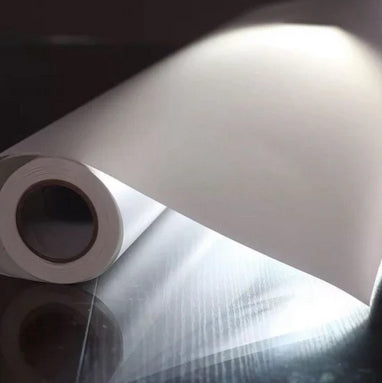
అద్దం లామినేషన్ షీట్
అన్నింటికీ కొద్దిగా భిన్నంగా ఉంటుంది
ఇతర లామినేషన్లు, మిగిలినవి
లామినేషన్ a లో వస్తుంది
డబుల్ లేయర్ షీట్, అయితే
అద్దం లామినేషన్ లోపల,
మూడు చేయడం ద్వారా మేము మీకు చెప్తాము
పొర లామినేషన్, అప్పుడు ఉంది
దాని పైన విడుదల కాగితం,
దాని వెనుక ఒకటి.
ఒక విడుదల కాగితం ఉంది మరియు
గమ్మింగ్ పూత ఉంది
దాని మధ్యలో మరియు దాని ముగింపు
అవుట్పుట్ ఏదోలా కనిపిస్తుంది
ఇది అద్దం
లామినేషన్, ఇప్పుడు నేను త్వరగా చేస్తాను
దాని యొక్క వివరణాత్మక డెమోను మీకు చెప్పండి.
అన్నింటిలో మొదటిది, మీరు సరిపోలాలి
మీ కాగితం
కాగితం అదనపు మార్జిన్ ఉంటే
మీ సౌకర్యవంతమైన పరిధిలో, అప్పుడు
దానిని అలాగే ఉంచండి లేదా మీరు కత్తిరించవచ్చు
అది కొద్దిగా.
ఆపై విడుదలను తీసివేయండి
ఏదైనా ఒక వైపు కాగితం
పైన, విడుదల పేపర్ చాలా ఉంది
సన్నగా ఎందుకంటే మేము దానిని ఉంచవలసి వచ్చింది
మార్పిడి, కాబట్టి మీరు ఉంటుంది
తొలగించడానికి కొద్దిగా గోరు ఉపయోగించండి
రిలీజ్ పేపర్ అది కావచ్చు
తీసివేయడానికి మీకు కొంత సమయం పడుతుంది
అది,
మీరు దానిని నేర్చుకున్న తర్వాత, మీరు పని చేయవచ్చు
అది వీలైనంత త్వరగా బయటకు.
రోటరీతో కత్తిరించిన తర్వాత
కట్టర్, మీరు తొలగించాలి
అద్దం యొక్క మూడవ పూత
లామినేషన్
పైన విడుదల పత్రం ఇక్కడ ఉంది
కూడా సన్నగా ఉంటుంది, కాబట్టి మీకు ఒక అవసరం
దాన్ని తొలగించడానికి చిన్న అభ్యాసం
మరియు మీకు గోర్లు ఉంటే
పని చాలా సులభంగా చేయవచ్చు.
అది కూడా ఇప్పుడు తొలగించబడింది
కేంద్రం యొక్క పొర మాత్రమే
ఎడమ, లోపల ఒక ఉంది
గమ్మింగ్, ఇదిగో నేను నిన్ను తాకుతున్నాను
మరియు ఇక్కడ మీకు చెప్తున్నాను, అది చూడండి
అది అంటుకుంటుంది.
ఈ గమ్మింగ్ పేస్ట్ చేయడానికి ఉపయోగిస్తారు
ఎందుకంటే ఏదైనా గాజు లేదా కిటికీ మీద
నాకు ఈ పరిమాణం విండో ఉంది, కాబట్టి నేను
ఒక 4x6 అంగుళాల కాగితం తీసుకొని చేసాడు
దానిపై అద్దం లామినేషన్ మరియు దాని
అవుట్పుట్ మీకు ఇవ్వబడుతుంది.
ఎలా చూపించారో చూడండి,
ఇప్పుడు మీది
ఇక్కడ, నేను స్క్రాచ్ అయినా
ఇక్కడ లేదా ఏదైనా చేయండి
అప్పుడు కూడా ఏమీ జరగదు
ఈ పత్రానికి, అది సాధ్యం కాదు
చెడిపోయింది, కానీ నేను దానిని తీసుకుంటే
వెనుక వైపు ఆపై గోరు,
అప్పుడు ఈ పత్రం ప్రారంభమవుతుంది
ఇక్కడకు వస్తున్నాను, అందుకే
మిర్రర్ లామినేషన్ అంటారు
ఎందుకంటే దాని వెనుక భాగంలో ఉంటుంది మరియు
ముందు వైపు కాదు
దీని అప్లికేషన్ చాలా ఉంది
విస్తృత శ్రేణి, మీరు దీన్ని ఉపయోగించవచ్చు
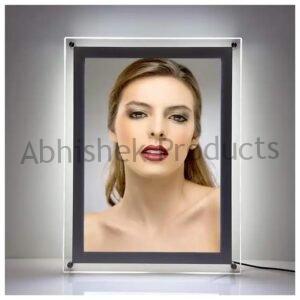
ఒక క్లిక్ ఫ్రేమ్లు, ప్యానెల్లు,
విండ్షీల్డ్ గాజు, ఇంటి కిటికీలు,
ఏదైనా చెల్లింపు QR కోడ్లు లేదా ఉంచాలి
ఏదైనా టిక్కెట్ కౌంటర్ వద్ద పోస్టర్లు.
ఇది కార్లకు ప్రత్యేకమైనది
దీనికి ప్రత్యేక అప్లికేషన్ ఉంది
కార్ల కోసం మరియు దీన్ని చేయడానికి
అప్లికేషన్, మేము కూడా ఇవ్వవచ్చు
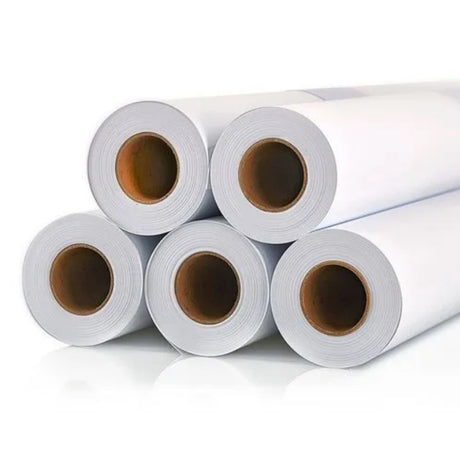
మీరు రోల్ ఆకృతిలో ఉత్పత్తి
మరియు మీరు కూడా ఇవ్వవచ్చు
ఉత్పత్తి A4 పరిమాణంలో మరియు ఉపయోగించడానికి
మీకు లామినేషన్ అవసరం.
యంత్రం 14 అంగుళాలు
మరియు మీకు రోటరీ కట్టర్ ఉంటే
అప్పుడు మీరు ఇవ్వగలరు
బాగా పూర్తి, అప్పుడు ఇది
సాధారణ అద్దం లామినేషన్ మరియు ఉంటే
మీకు కావాలంటే, మీరు ఎప్సన్ని ఉపయోగించవచ్చు
దాని కోసం ఇంక్జెట్ ప్రింటర్.
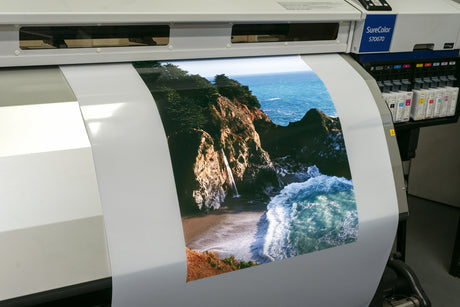
మీరు 13x19 డిజిటల్ని ఉపయోగించవచ్చు
మీకు ఇవ్వగల ప్రింటర్
వివిధ ఫార్మాట్లలో ముద్రించండి
మీడియా, కాబట్టి ఈ అద్దం
లామినేషన్ చాలా సులభం
ఉత్పత్తి, కొంతమంది కూడా కాల్ చేస్తారు
ఇది లామినేషన్ లేదా విండోను రివర్స్ చేస్తుంది
లామినేషన్.
అవును, కానీ దాని సరైన పేరు
మిర్రర్ లామినేషన్.
కాబట్టి మీరు దీన్ని ఆర్డర్ చేయాలనుకుంటే
మా నుండి ఉత్పత్తి అప్పుడు మీరు చెయ్యగలరు
మా వెబ్సైట్ ద్వారా మమ్మల్ని సంప్రదించండి
abhishekid.com.
లేదా మీరు మమ్మల్ని సంప్రదించవచ్చు
వాట్సాప్ లింక్లు క్రింద ఉన్నాయి,
ఇది మీరు రెండింటిలో కనుగొంటారు
దిగువ సంప్రదింపు వివరణలు.
వీక్షించినందుకు ధన్యవాదాలు
వీడియో, నేను మిమ్మల్ని తదుపరిసారి కలుస్తాను

